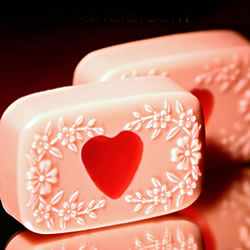
…Filigree Bee Soap Mold if you wish, to make a matching set! Step 5: Gently place the bubble wrap on top of the soap (immediately, before the soap begins to solidify) with the bubbles facing down. Press down lightly on…
Search results for: Что такое Абьюзивные родители детальнее bit.ly/psy3000
Embedding Photos
…way to do it. The largest obstacle in embedding photos in candles is probably getting the photos close enough to the surface so that you may clearly see what is depicted. In pursuit of getting photos to appear as clearly…
How to Make Votives
…your wax to completely cool before proceeding to the next step. This may take 3-4 hours. 4. Re-pour Wax When the wax has completely cooled, it will have shrunken a bit, leaving a sink hole that needs to be filled….
How to Make Pillar Candles
…finished candle. Overfilling may also cause wax to seep down between the mold and the candle, resulting in an unsightly finish. Allow the candle to cool completely before proceeding to the next step. 9. Remove Candle From…
Melt and Pour Chunk Soap
…Crisco, or a light coating of petroleum jelly. Heat your soap and color as desired, then pour into the mold (I poured mine about 1/2 inch deep). After it has been poured, applying a quick spritz of rubbing alcohol to…
Ice Cream Cone Candles
…allow the wax to cool from time to time between intervals of whisking, rather than continually whisking. This allows the wax to clump up a bit rather than having a softer, more frosting-like texture. Step 7: When you are satisfied…


Recent Comments