Playing with color.
Here is roughly what was used for this candle:
- 3×3 square mold,
- IGI-1343,
- liquid dyes (only used red, blue, and yellow),
- A water bath.
-
*Please review the basic molded pillar candle instructions.
Here’s how it was done:
1. Since I knew I was going to use a water bath (more on that later), I set the wicked mold into a saucepan that was about 4 inches deep and applied some weights to the base of the mold. The saucepan was to serve later as the water bath.
2. I poured the wax at about 200 F directly into the mold that was pre-positioned inside the water-bath-to-be. The temperature was on the high side to allow me some working time.
3. Then using the eye-dropper included with the liquid dyes, I dabbed small amounts (less than a drop) of the dye on the sidewalls of the mold just above the wax level. The objective was to get the dye to sort of run into the wax gradually. Once the dye runs into the wax, the convection currents from the cooling cause it to streak down the sides.
4. After I was satisfied with the streaking, using a water pitcher I filled the saucepan with cool water for a make-shift water bath. This was necessary to lock the streaks into place. If it were allowed to air-cool over a long period of time, then all of the colors would have continued to mix. The end result would have been a uniformly colored candle of some shade of grey or maroon.
5. Re-poured as usual. Un-dyed wax was used for the re-pour
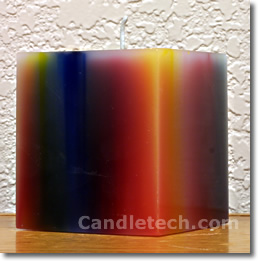
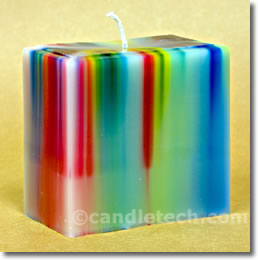 Here is another: This time stearic acid was used at 5% to increase the opacity of the wax a bit. Notice that, with more opacity, the colors are not as deep, but they are brighter and more contrasty.
Leave a Reply