
Learn to make these fun, festive pot o’ gold chunk candles just in time for St. Patrick’s Day!
You Will Need:
–Pillar Wax (Such as IGI 1343 or 4625)
–Container Wax (IGI 2281 is ideal)
–Tureen Jars
–Clover Wax Tart Mold
-Cookie Sheet
–Pouring Pitcher
–Wicks
–Hunter Green Liquid Dye or Dye Chips
–Golden Honey Liquid Dye or Butterscotch Dye Chips
-Round Cookie Cutter (optional)
–Fragrance Oil (optional)
–Sparkle Gold Mica (optional)
–Heat Gun (recommended)

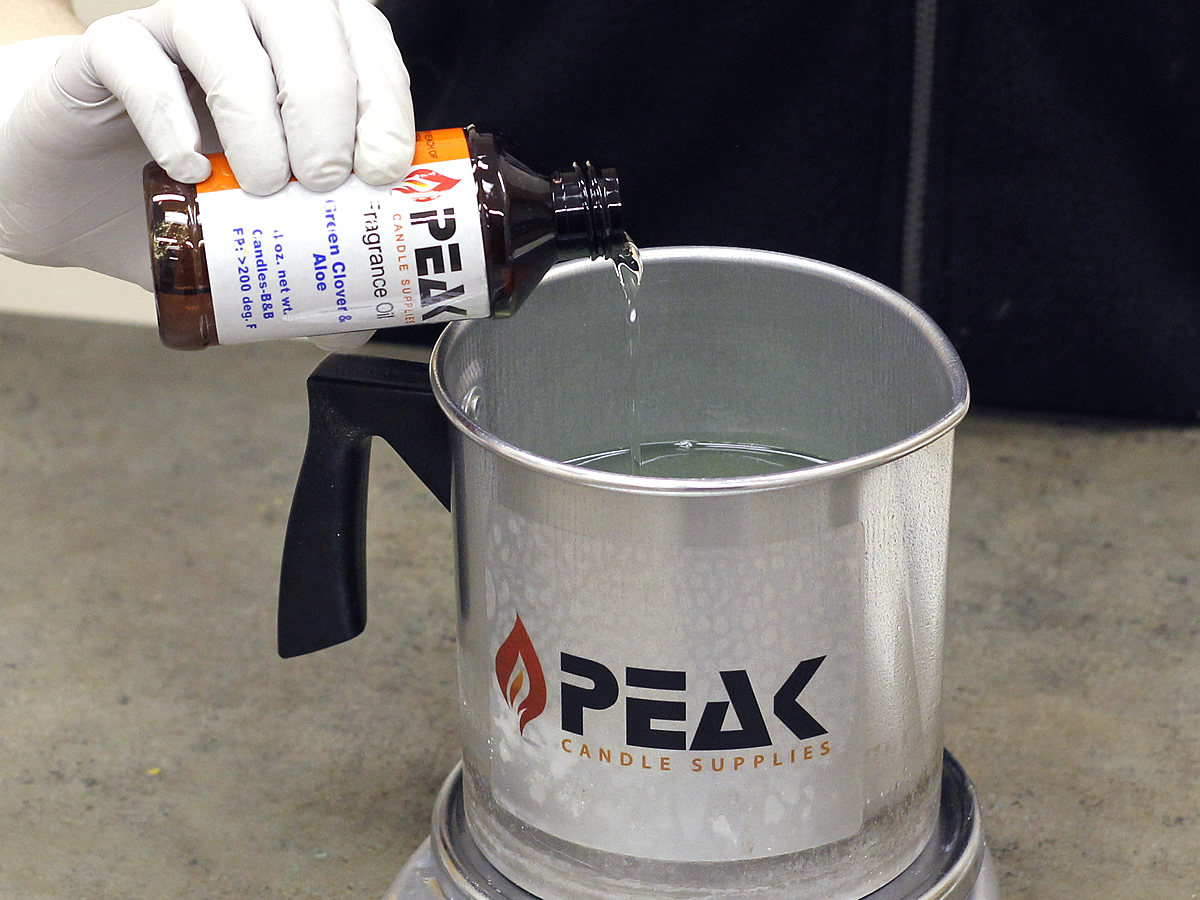
Step 1:
Melt a small amount of pillar wax in a double boiler. When fully melted, add a small amount of fragrance if desired and the Hunter Green dye and mix thoroughly.

Step 2:
Carefully pour the wax into the Clover Tart Mold, filling only the clover portion of the mold.

Step 3:
Once the wax has cooled, pop the clovers out of the mold. Use a paring knife to remove any excess wax from the sides of the clovers.
Step 4:
Melt some more pillar wax in a double boiler. When fully melted, add fragrance if desired and the Golden Honey or Butterscotch dye and mix thoroughly. Meanwhile, lightly grease a cookie sheet with unflavored cooking spray or Silicone Spray.
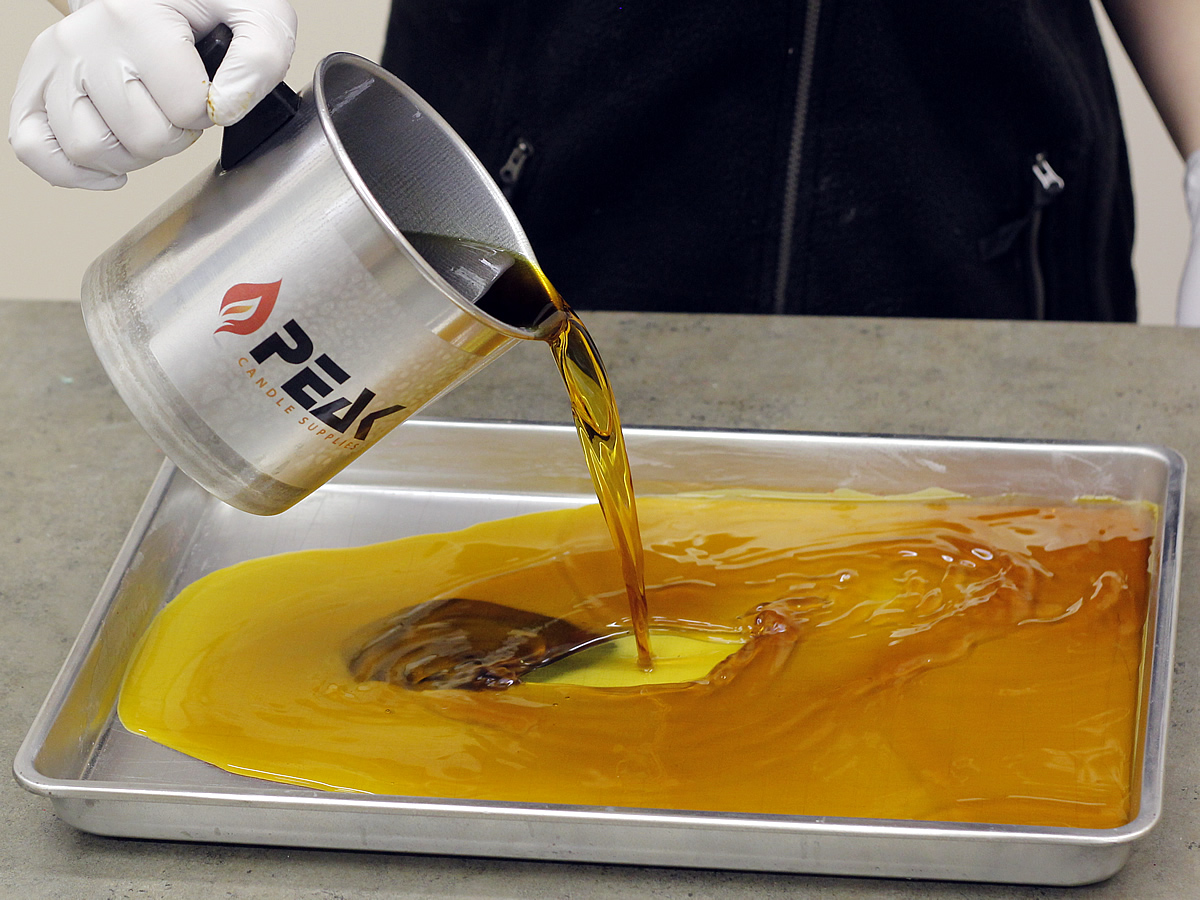
Step 5:
Pour the wax onto the cookie sheet and allow to cool.
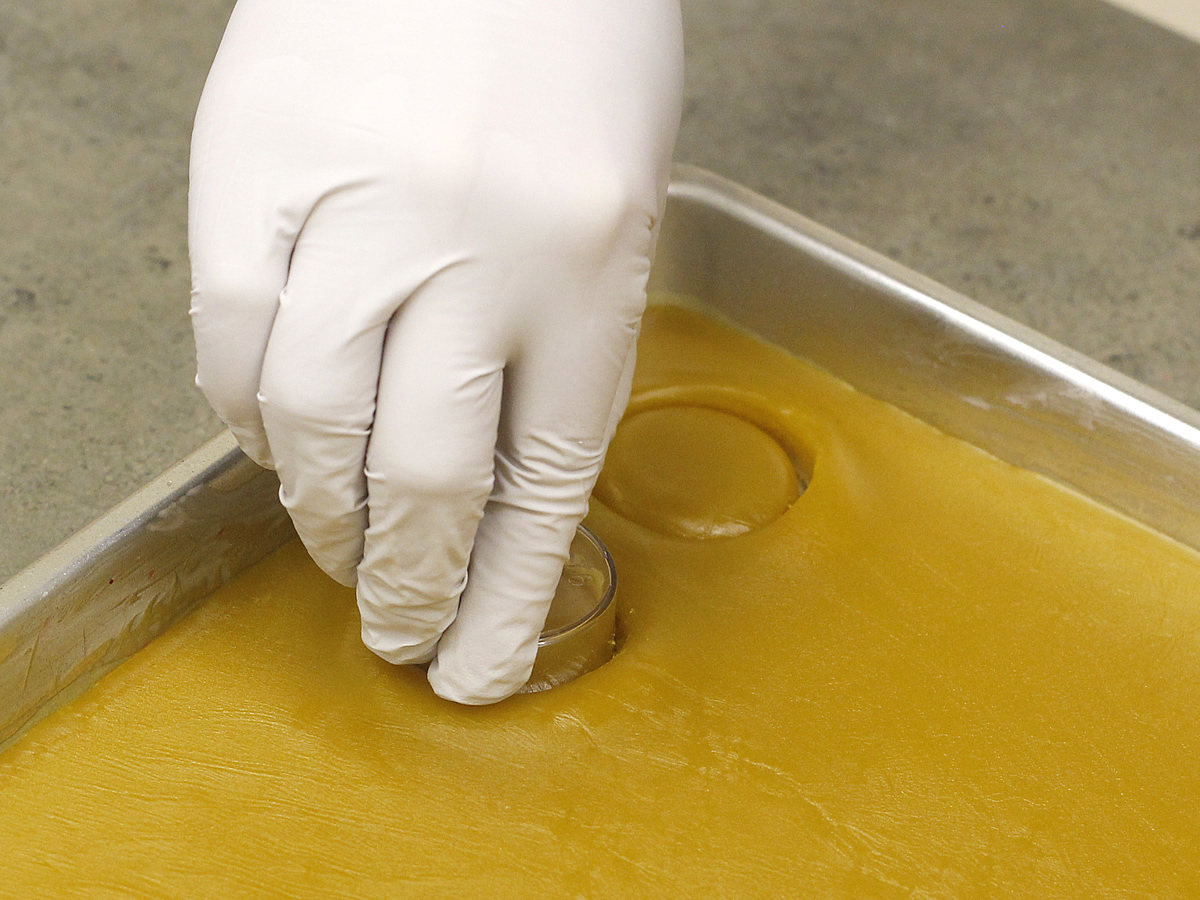
Step 6:
When the wax has cooled to the consistency of thick cookie dough, use your cookie cutters (we used a plastic tea light cup) to cut circular chunks to make the gold pieces. You can also use a knife to cut round chunks by hand. Once completely cool, remove the chunks from the cookie sheet.
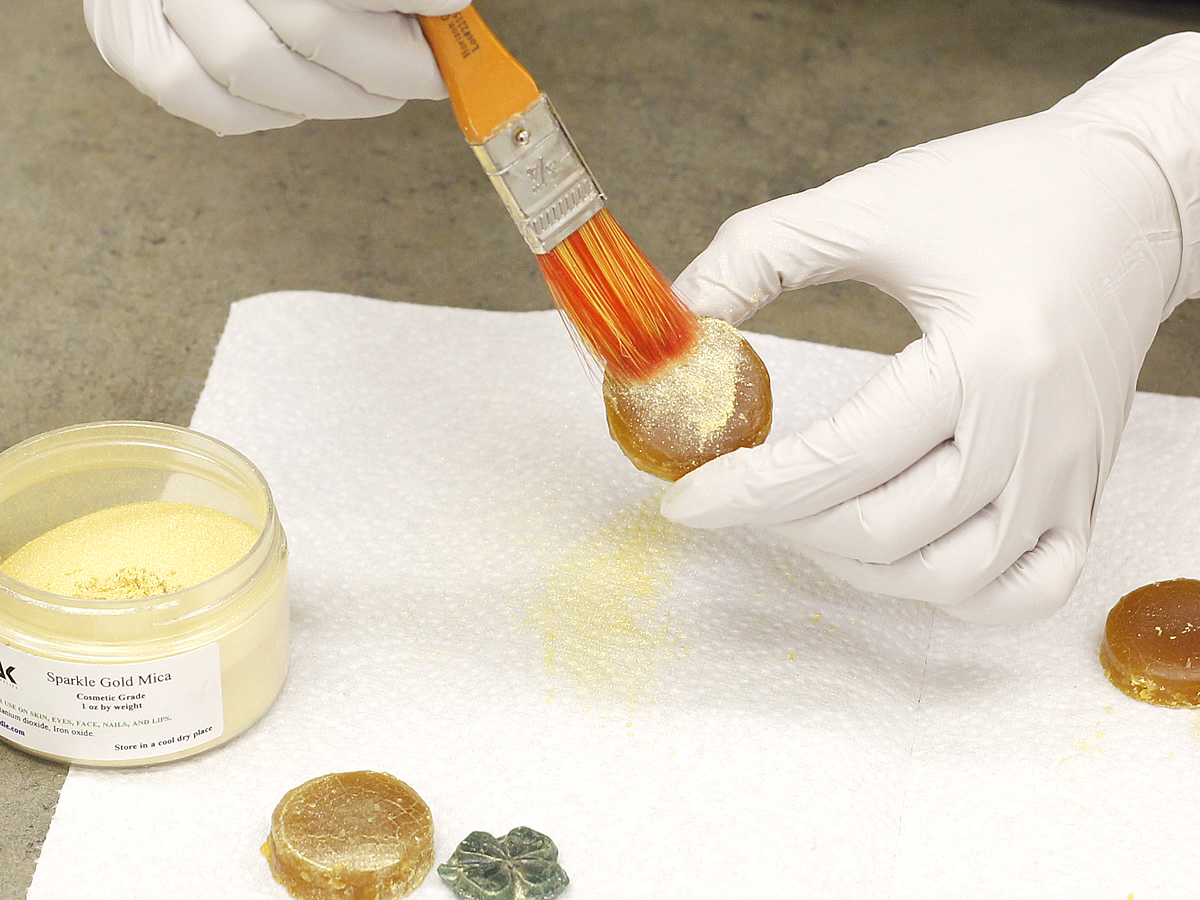
Step 7 (optional):
Use a brush to lightly dust the chunks with Sparkle Gold Mica to add a gold sheen to the coins (and clovers if desired).
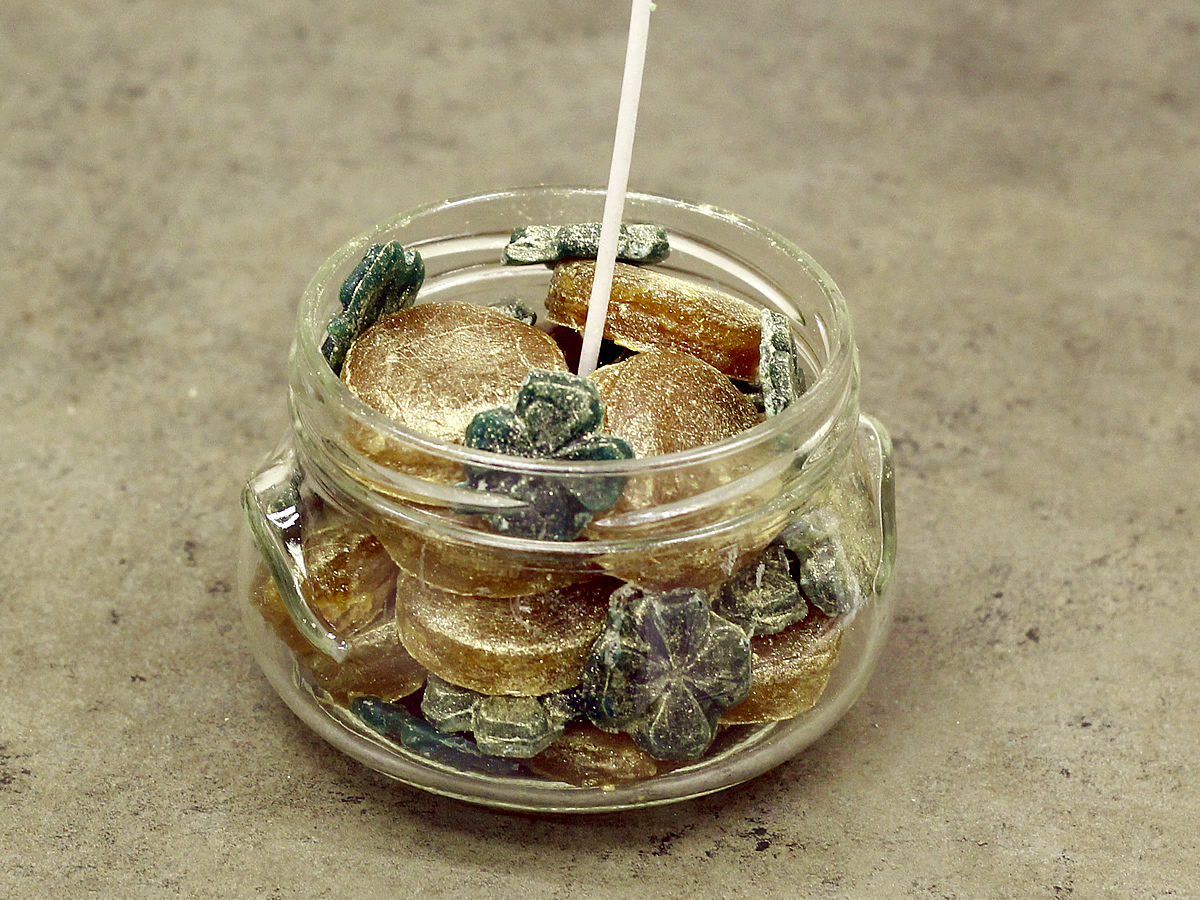
Step 8:
Wick the Tureen Jar using a wick sticker or hot glue and arrange the chunks around the wick. Take care to keep the wick in the center, and try to arrange some of the chunks up against the sides of the glass.
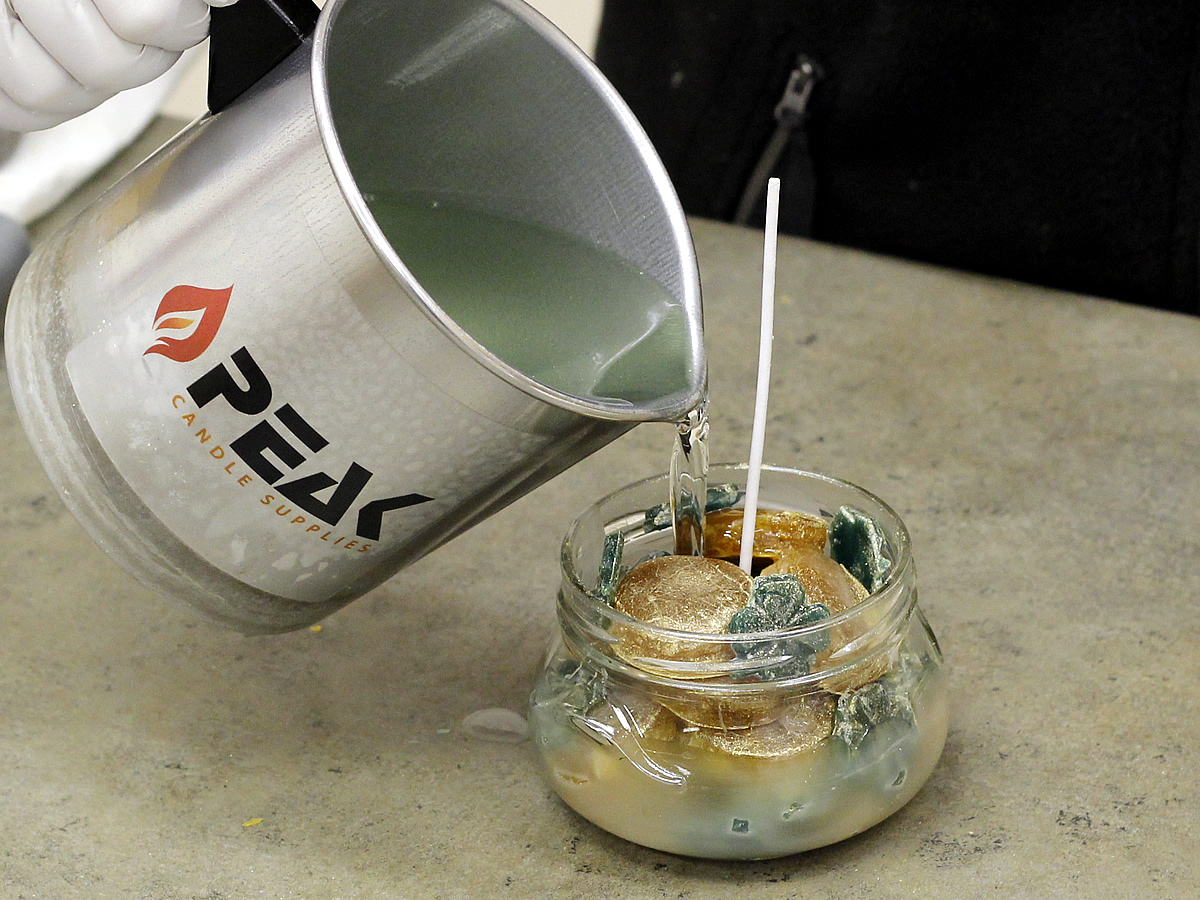
Step 9:
Melt the container wax in a double boiler and add more fragrance if desired. You may also wish to add a small amount of green or gold dye, but make sure not to add too much or you won’t be able to see the chunks. Straight Paraffin Container Wax – IGI 2281 is ideal for this project because it is more translucent than other container waxes. When the wax is ready, carefully pour it over the chunks, leaving some chunks sticking up out of the top of the wax.
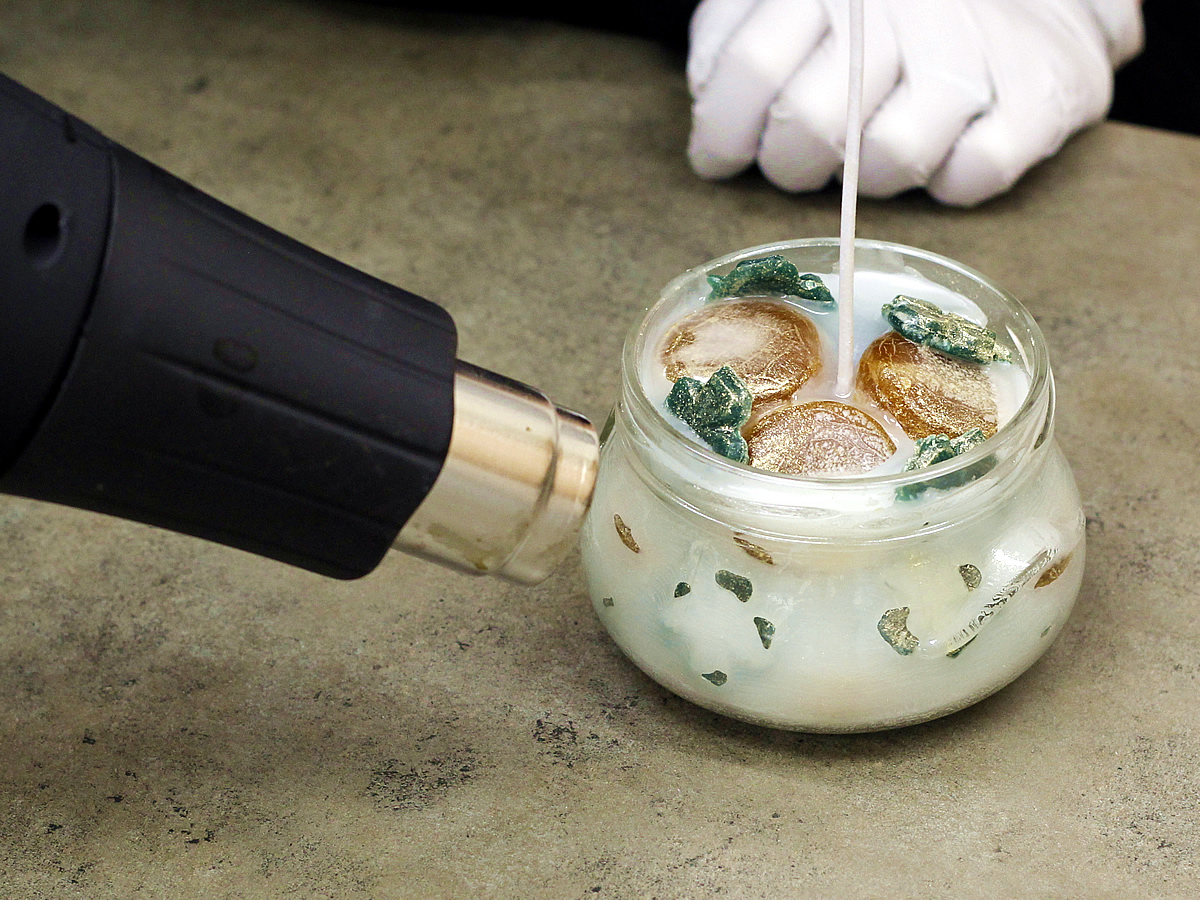
Step 10:
When the candle has cooled completely, you may wish to use a heat gun to melt the sides to help the chunks show through. Make sure to stop the heat gun as soon as the wax begins to melt so that you can just see the chunks, to prevent the colors from bleeding.
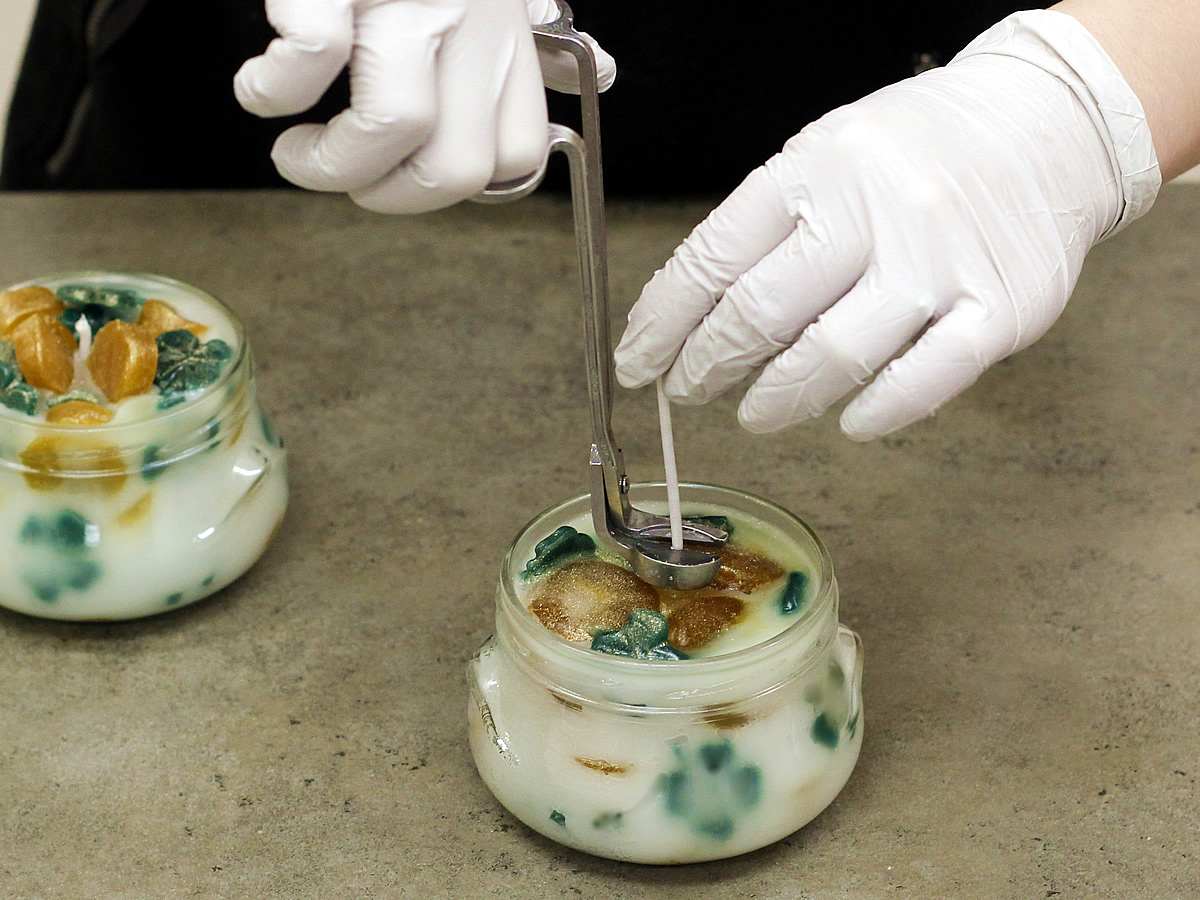
Step 11:
Trim the wick to about ¼” above the top of the wax and enjoy!


Leave a Reply