Add beauty and elegance to any room with this easy project
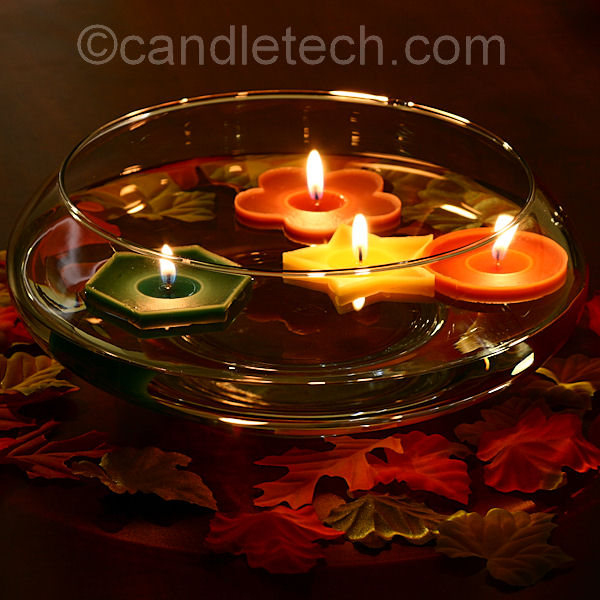
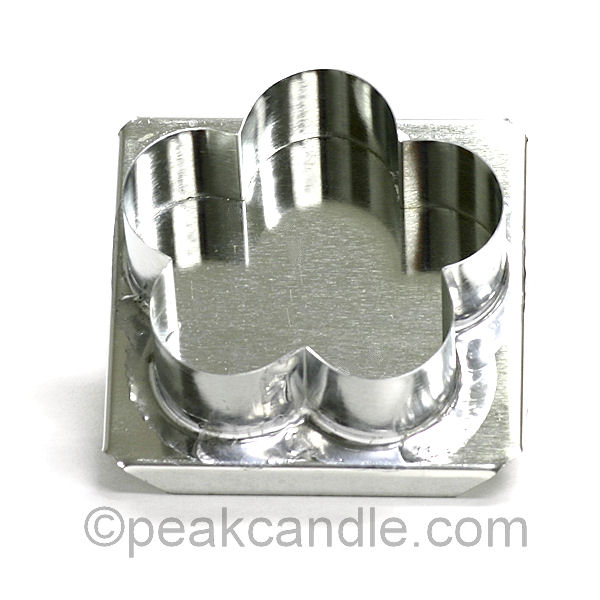
Any candle can actually be used as a floating candle, as long as it is wider than it is tall. The newest floater molds from Peak Candle Supplies take out all the guesswork and measurement to help you create the perfect floating candle.
You will need:
- Any Pillar Wax or Votive Blend Wax
- Floater Mold
- Pre-Tabbed Wicks
- Pouring Pitcher
- Your choice of Fragrance Oil and Candle Dye
Creating floating candles is similar to making votives.
Instructions:
1. Melt down your choice of pillar wax. Place your floater molds on a newspaper-lined surface to catch any spills. With your wax at the proper pouring temperature, fill your floater molds to the lip of the mold.
2. Once the wax begins to cool, as evidenced by a slight haze forming along the edges of the mold, place your pre-tabbed wicks into the floater molds. The tab will “stick” to the congealed wax on the bottom when it touches. Care should be taken to position the tab roughly in the center of the mold.
3. When the wax has completely cooled, it will have shrunken a bit, leaving a sink hole. To fix this, melt down saved wax from the first pour, and heat it up 10-15 degrees hotter than the initial pour. This will facilitate adhesion between layers. Once your wax is at the proper temperature, fill the molds again to the lip of the mold. You can also use a heat gun to smooth and even out the top of the floater.
4. When the floaters are completely cool, and the tops are flattened out, remove them from the mold. They will usually slide right out without any difficulty if they are completely cool. If you attempt to take them out too soon, it will be more difficult to finally get them out. If they are difficult to remove, place them in the freezer for about 5 minutes.


Leave a Reply