
Enjoy the popular ombre look for your candles with this simple technique!
You Will Need:
–Pillar Wax (Such as IGI 4625)
–Pillar Mold (Any size or style will work! We used the Seamless Aluminum)
–Raw Wick (Appropriate size for your wax and mold diameter)
–Fragrance Oil (Optional)
–Pouring Pitcher
–Liquid Candle Dye or Dye Chips
–Mold Sealer
–Wick Screw
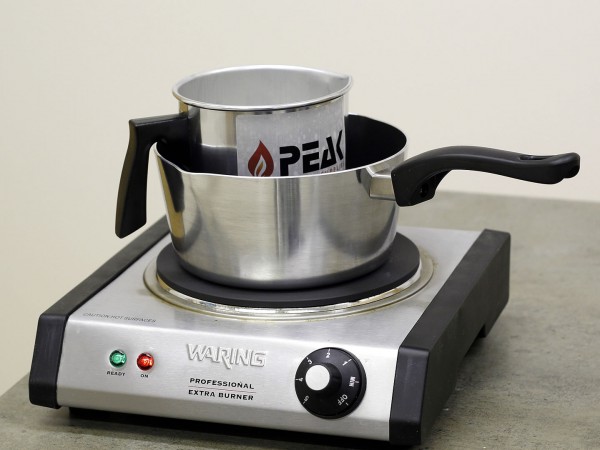
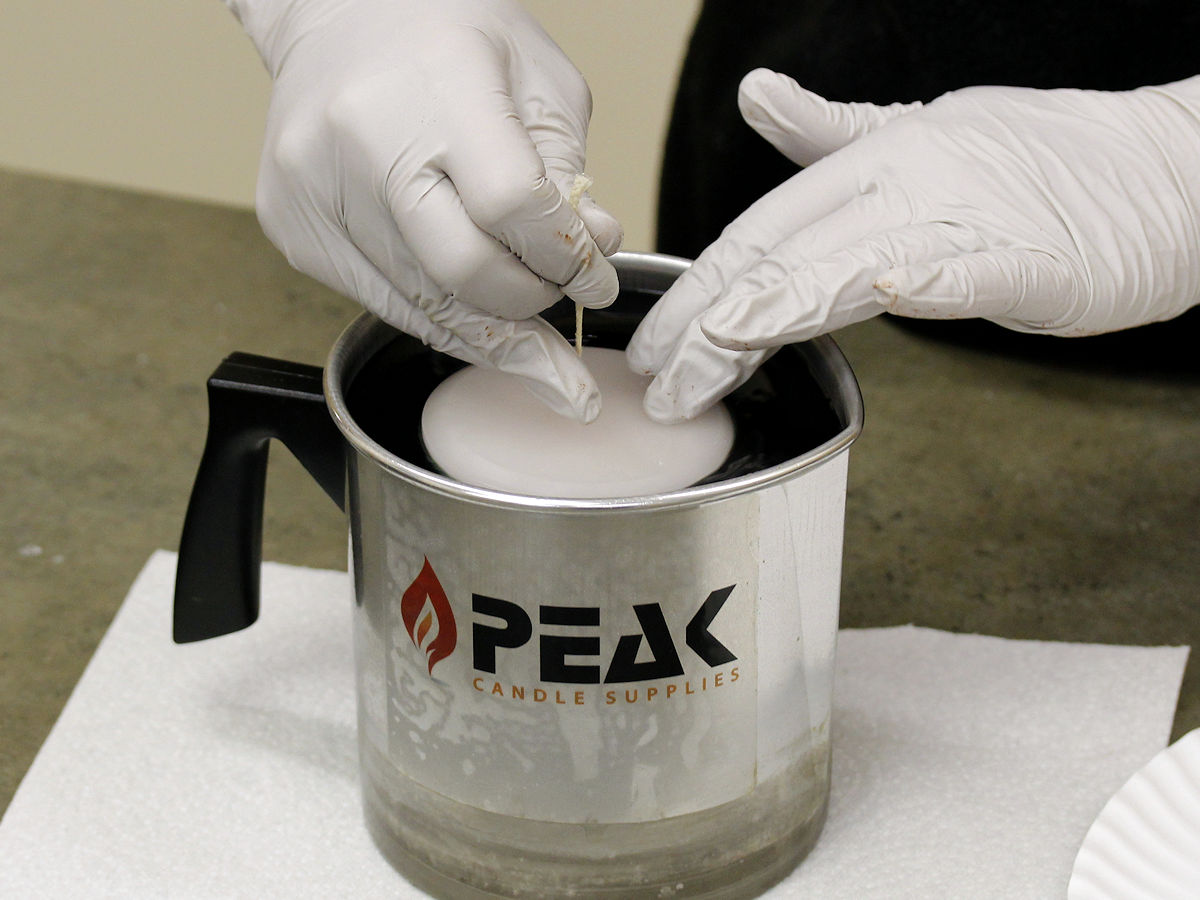
Step 1:
Melt enough pillar wax to fill your mold. Use the double boiler method as shown here.
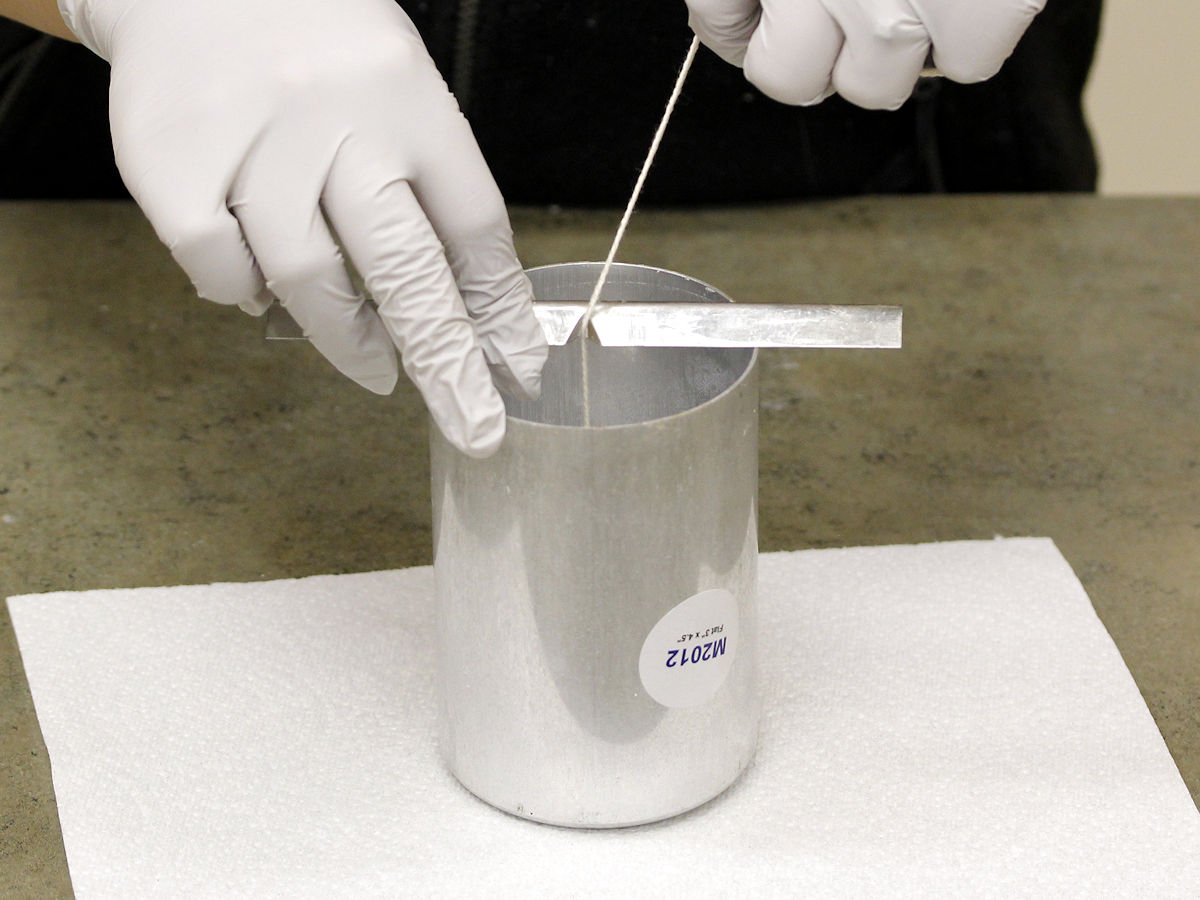
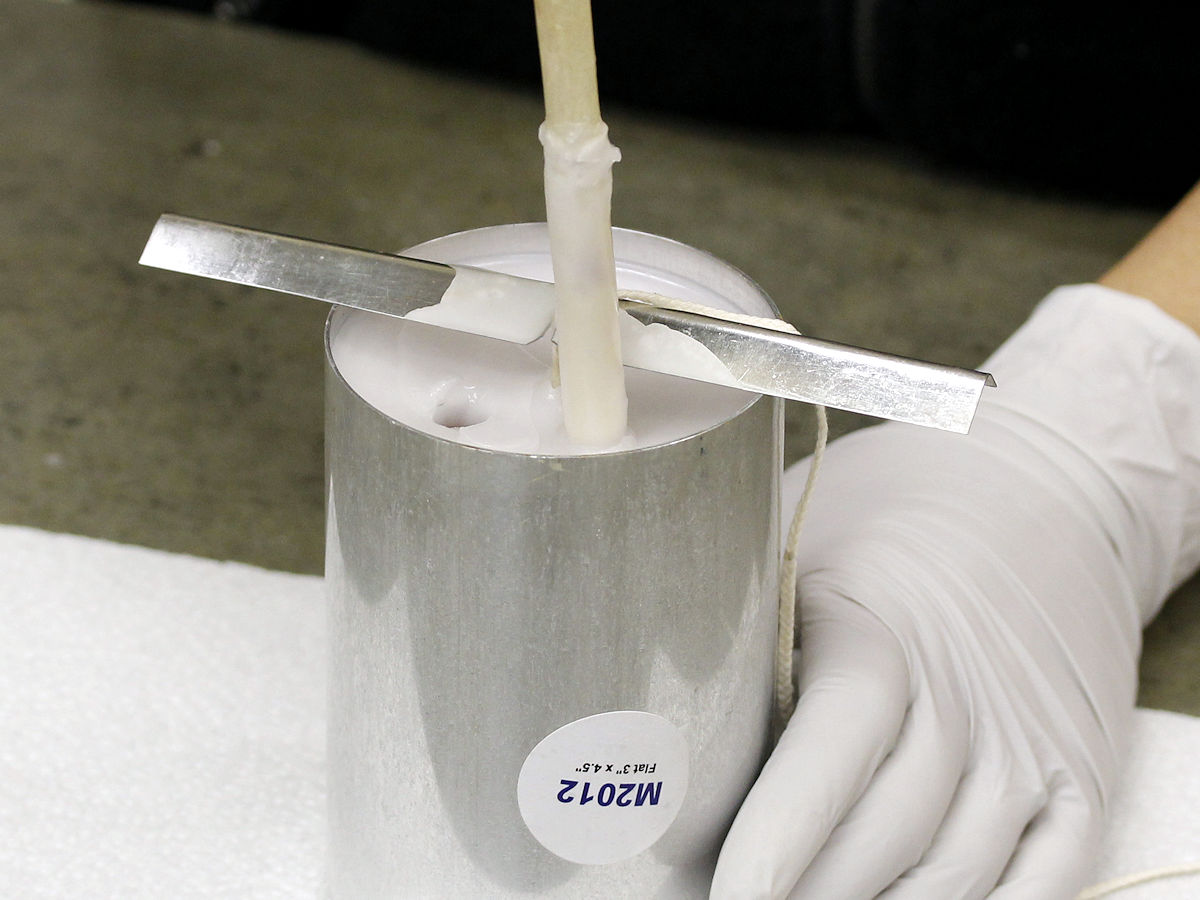
Step 2:
Prepare your pillar mold with wick, wick screw, and mold sealer. Use a Wick Holder Bar or skewer to secure the wick at the top of the mold.
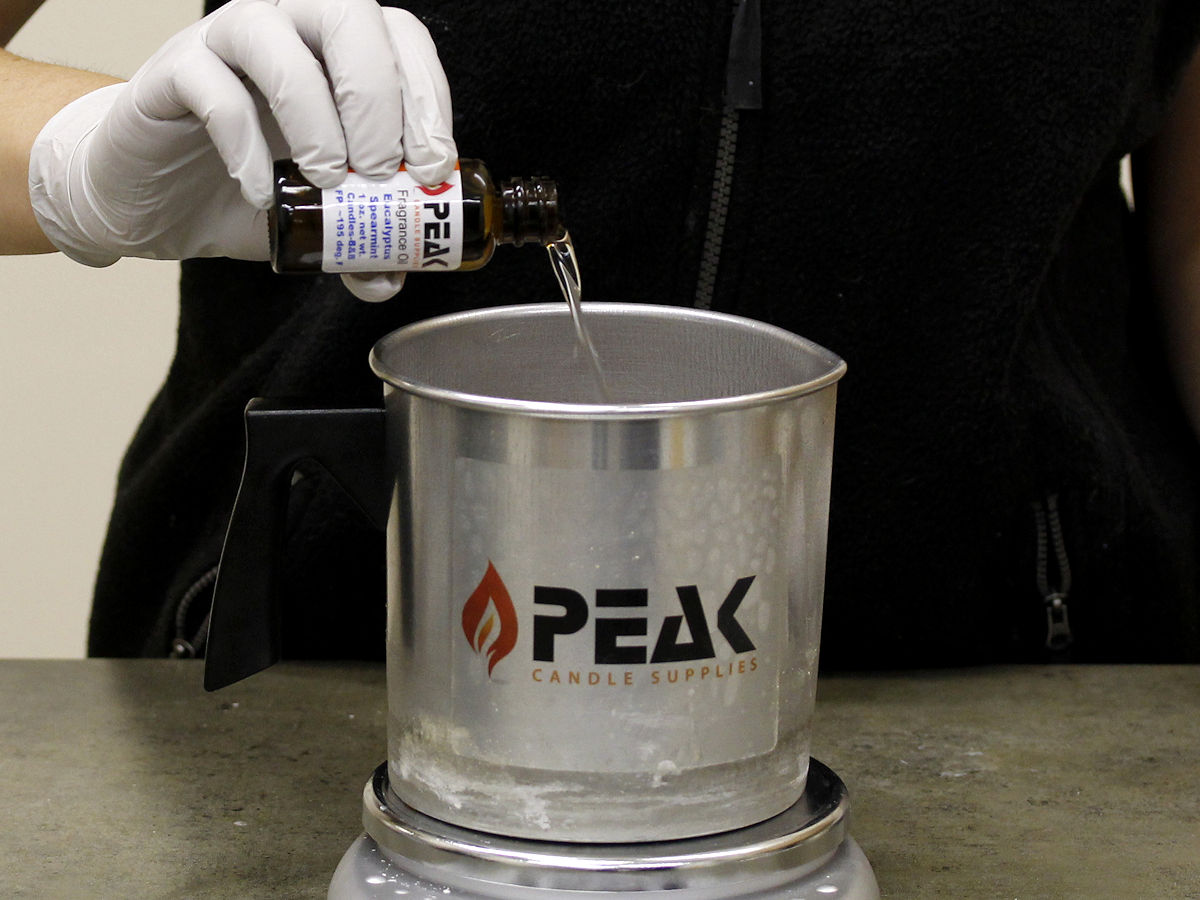
Step 3:
When your wax is melted, add your fragrance oil if desired. Do not add color yet.
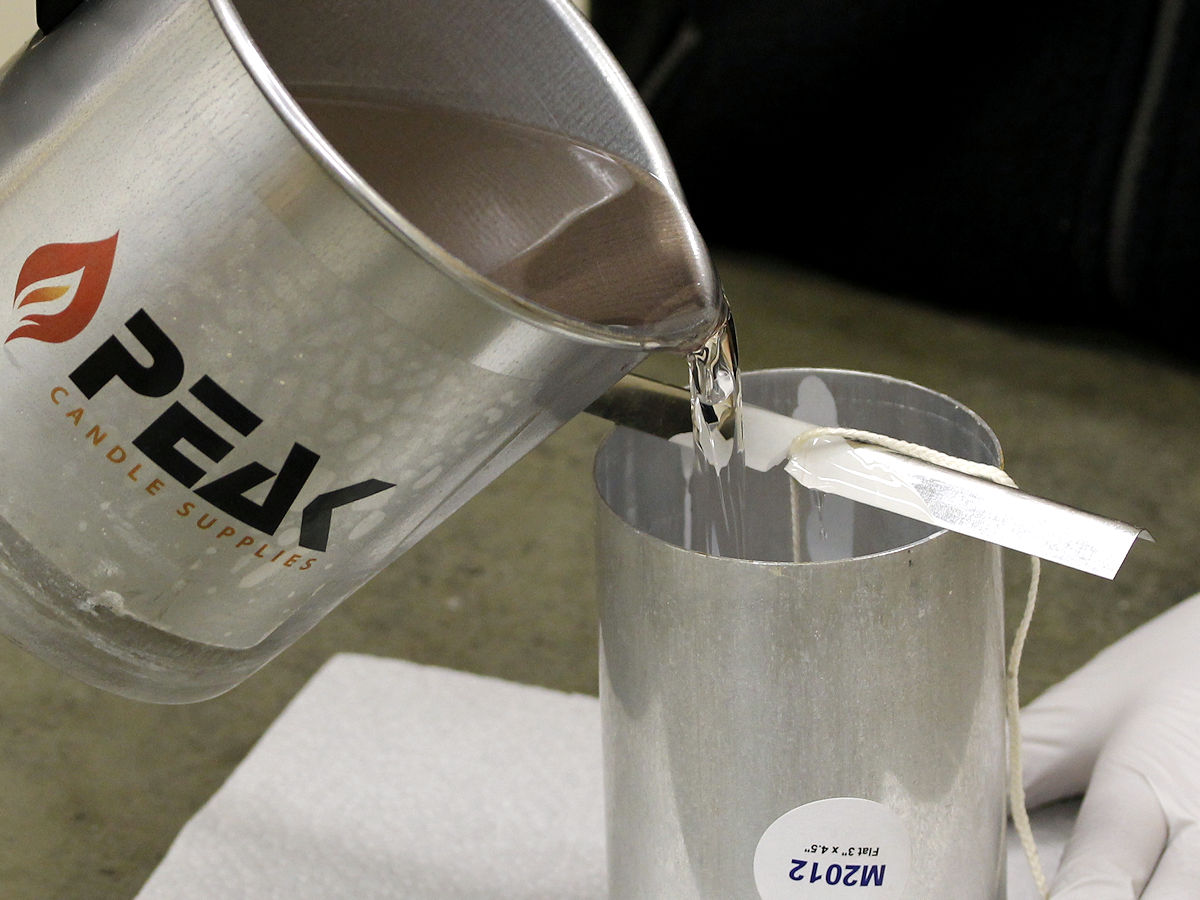
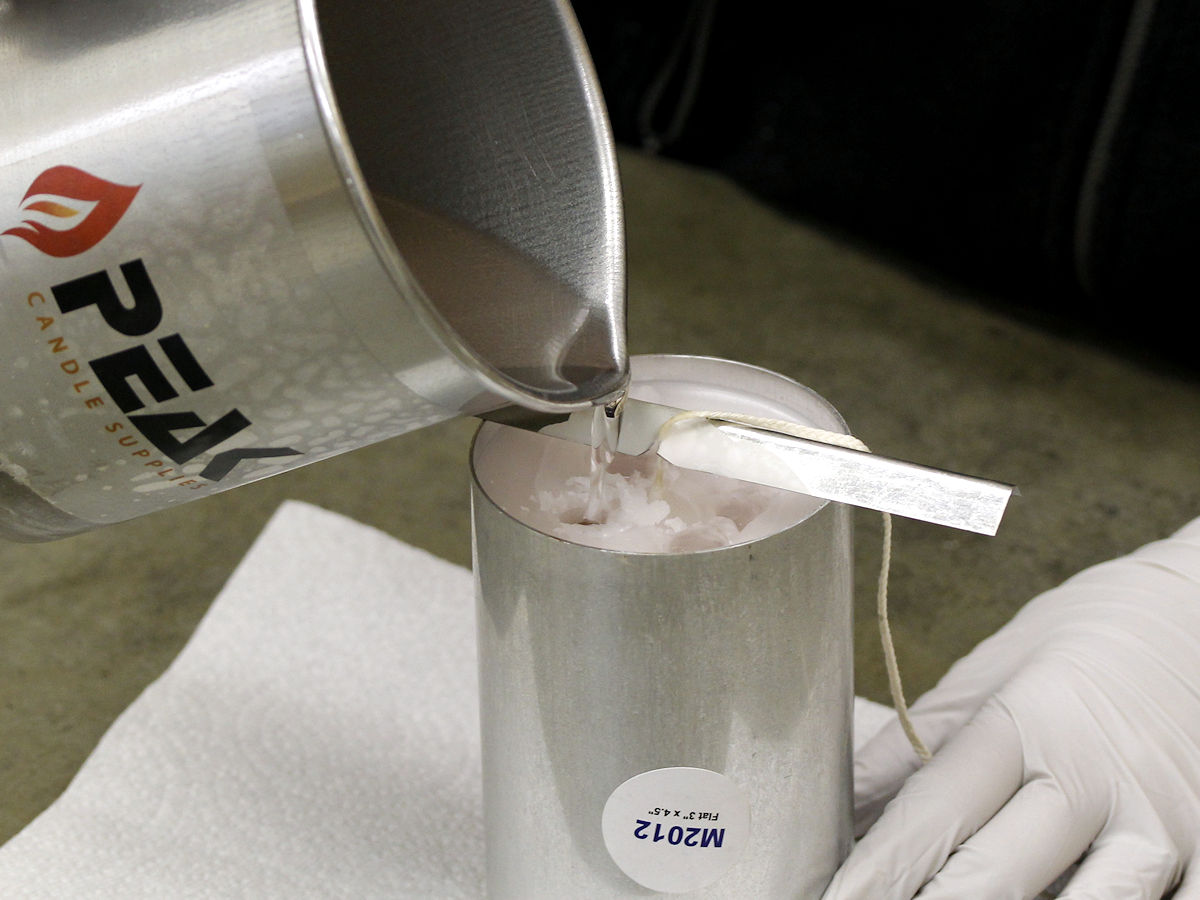
Step 4:
Pour the wax into your pillar mold and allow to cool. Be sure to save some leftover wax for the second pour.
Step 5:
Periodically poke relief holes in the top of the wax during the cooling process.
Step 6:
When the candle is completely cool, re-melt the leftover wax and fill the relief holes just to the top of your original pour. Allow candle to cool completely.
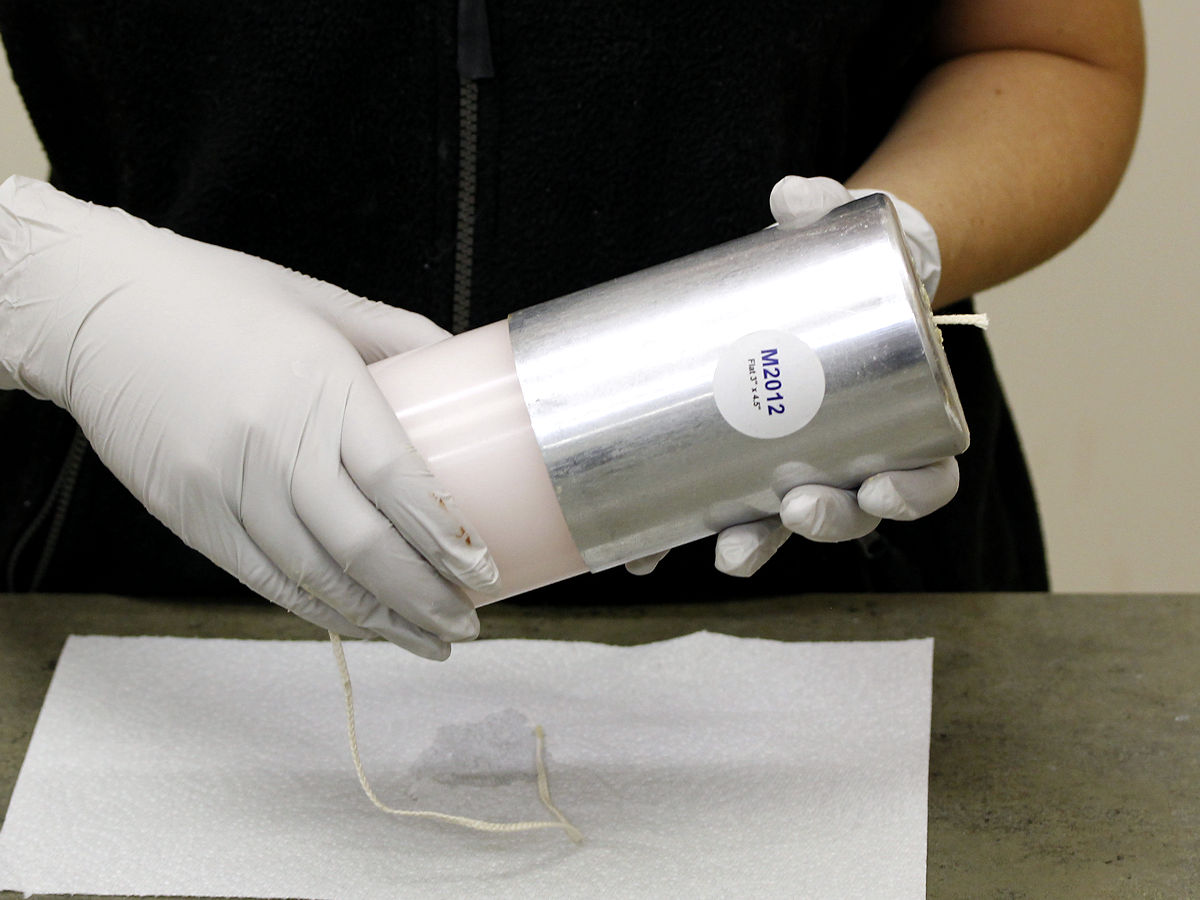
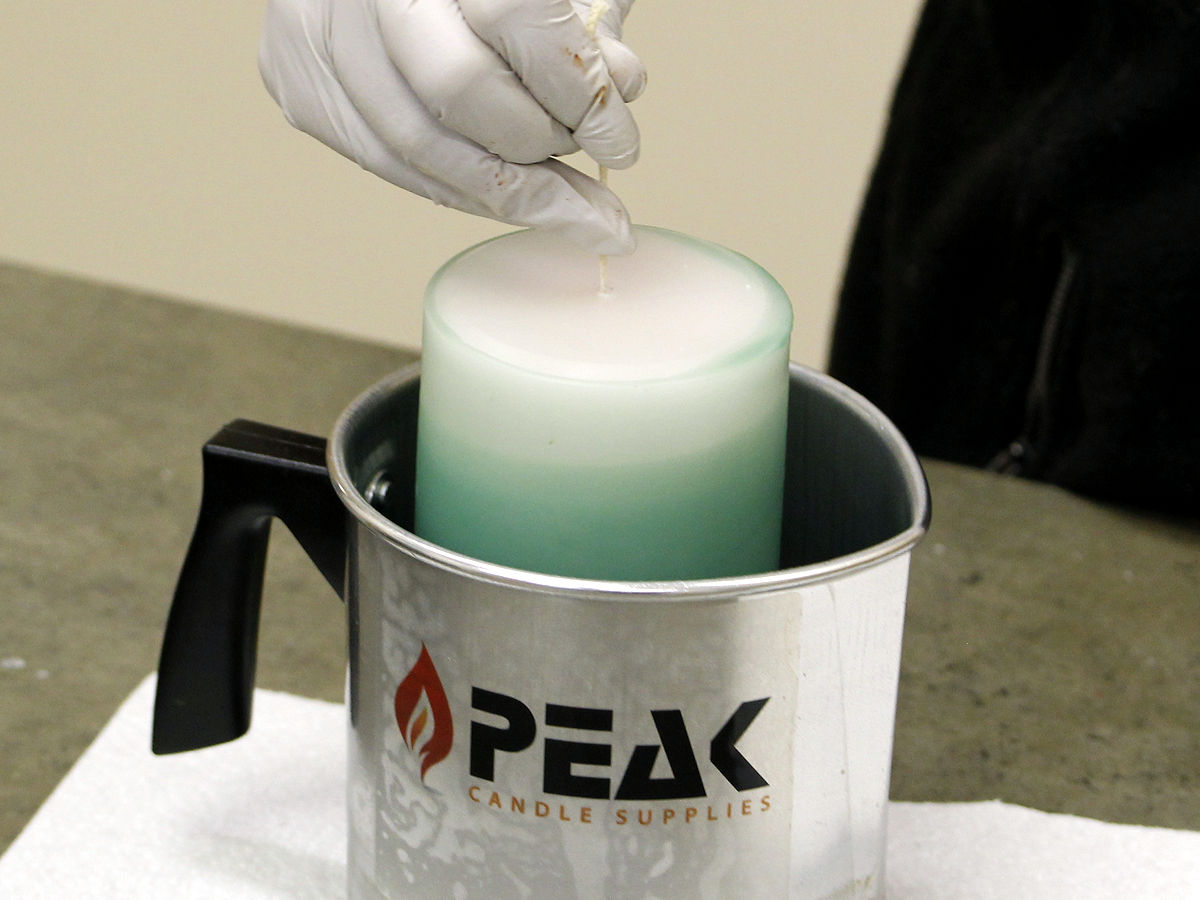
Step 7:
Melt some more wax for dipping your pillar (you will need about half of the pouring pitcher full, depending on the size of your candle). While the wax is melting, remove the mold sealer and wick screw from the mold and gently remove your candle. If you have trouble getting it out, try placing the mold in the refrigerator for 10-15 minutes and try again.
Tip: Do not trim the wick at the top of the candle yet; you will need it to hold onto while dipping the candle in the colored wax.

Step 8:
When the wax is fully melted, take the pitcher off the heat and add your dye to get a medium-dark shade of your desired color and mix thoroughly.
Step 9:
Grasping the wick at the top of your candle, carefully dip the candle into the colored wax up to the top, or leave about an inch or so for a white layer. Repeat a once or twice and set aside on a paper plate or something similar for a few seconds to cool the first layer.
Step 10:
Dip the candle again, going a little lower than your first dip. Continue doing so all the way down the candle. Be sure to set the candle aside now and then to cool the layers. The wax will accumulate more toward the bottom of the candle, creating a faded “ombre” appearance.
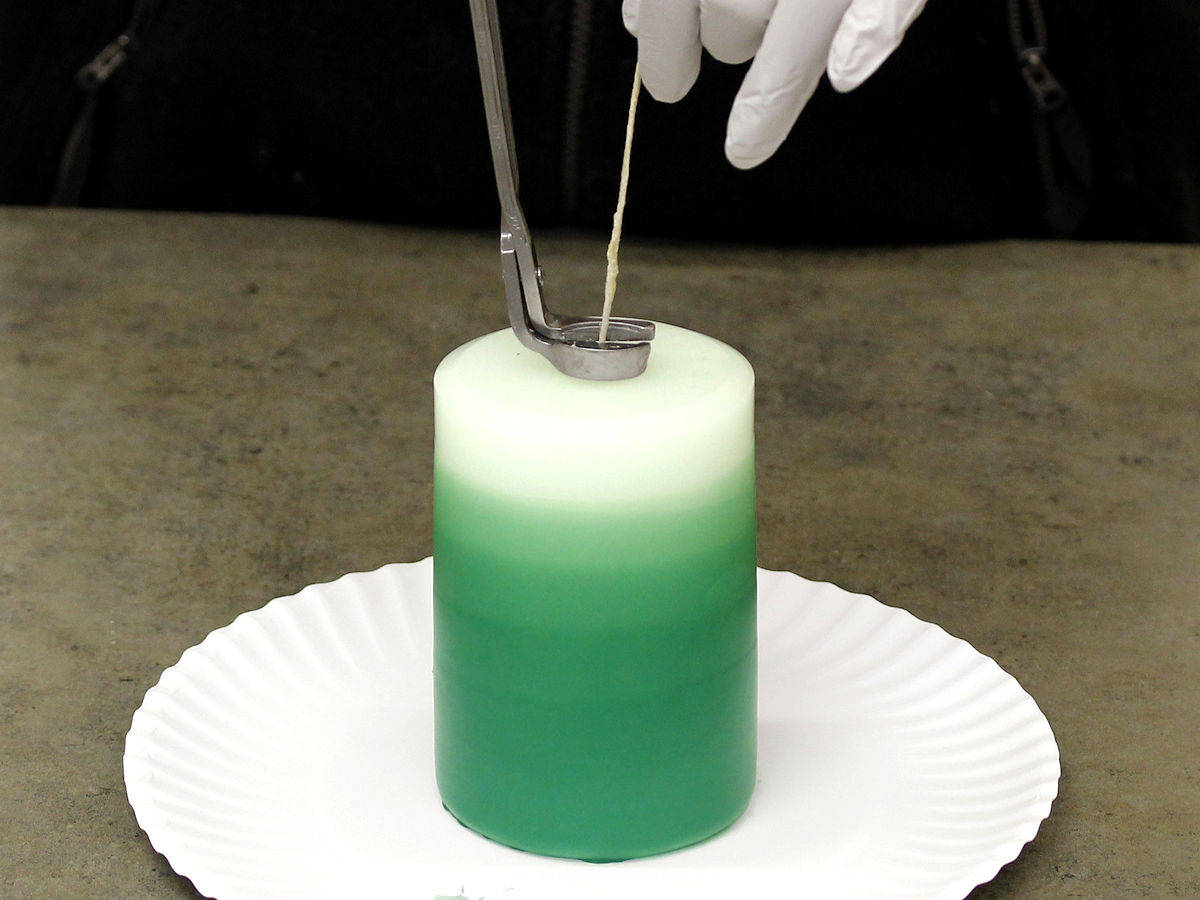
Step 11:
When you reach the desired look for your candle, set it aside to cool completely, and trim the wick to about ¼”. Enjoy!


I made the ombré candles but got a lot of bubbles on the outside of my candles…please help. What do I need to do to not get bubbles
Hi Veena,
Try heating the dipping wax to a slightly higher temperature. Depending on the wax you are using, heat it to about 20-30F above the melting point of the wax before dipping the pillars.
Also, pillars should be at room temperature, or slightly warmer. If they are really cold, it can hinder the adhesion between the layers of wax.
hi,thanks for usefull tricks you share,
i want to know
why we should poke holes?
Hi everyone!
I’ve tried this wonderful technique but after some times (3-4 weeks)some bubbles appeared on the surface of my candle… It seems like air between the pillar candle and the colored layers.
What I have to do?
Thank you in advance!