
This simple technique makes unique crackle candles, perfect for fall and winter décor!
You Will Need:
–Paraffin Wax (1343 works best but the crackle can still be achieved with other pillar blends)
–Candle Mold(s)
–Raw Wick
–Wick Screw
–Mold Sealer
–Wick Holder Bar or Skewer
–Pouring Pitcher
-Two 4 lb. Pouring Pitchers or large buckets
–Fragrance Oil (optional)
–Candle Dye (optional)
–Scale (recommended)
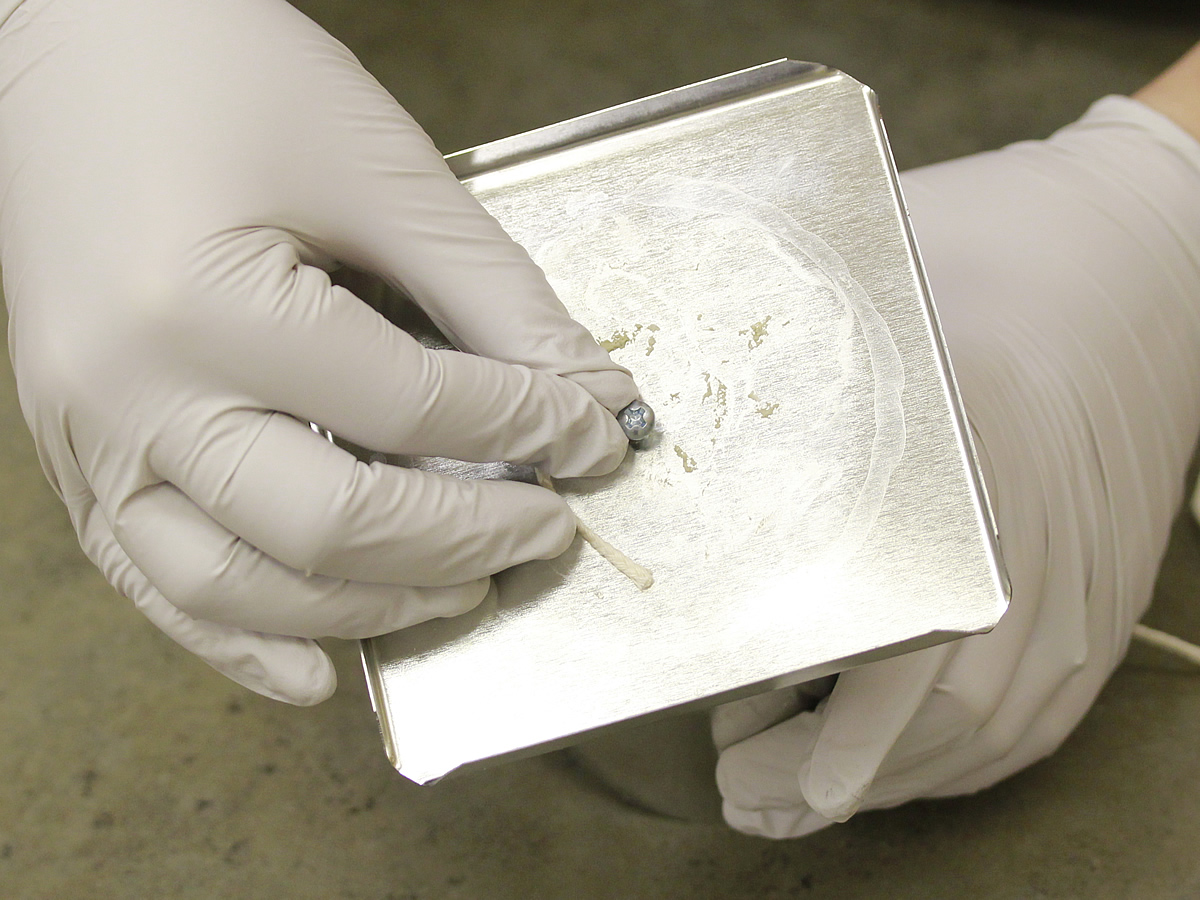
Step 1:
Melt your wax in a double boiler. While the wax is melting, prepare your candle mold by threading the wick through the wick hole, securing at the bottom with a wick screw and covering with mold sealer, and securing the wick at the top with a wick holder bar or skewer.
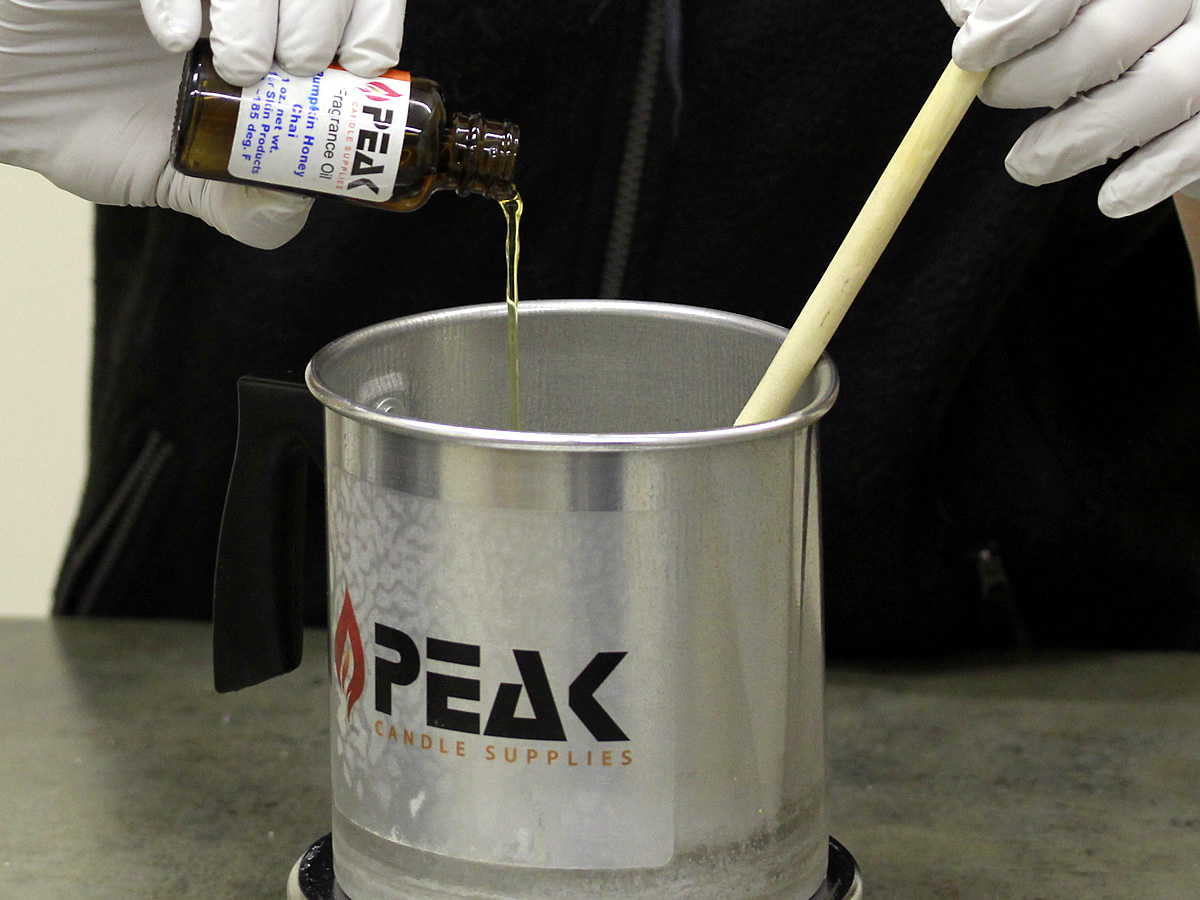
Step 2:
When the wax is melted, add your fragrance oil and candle dye if desired, and mix thoroughly.
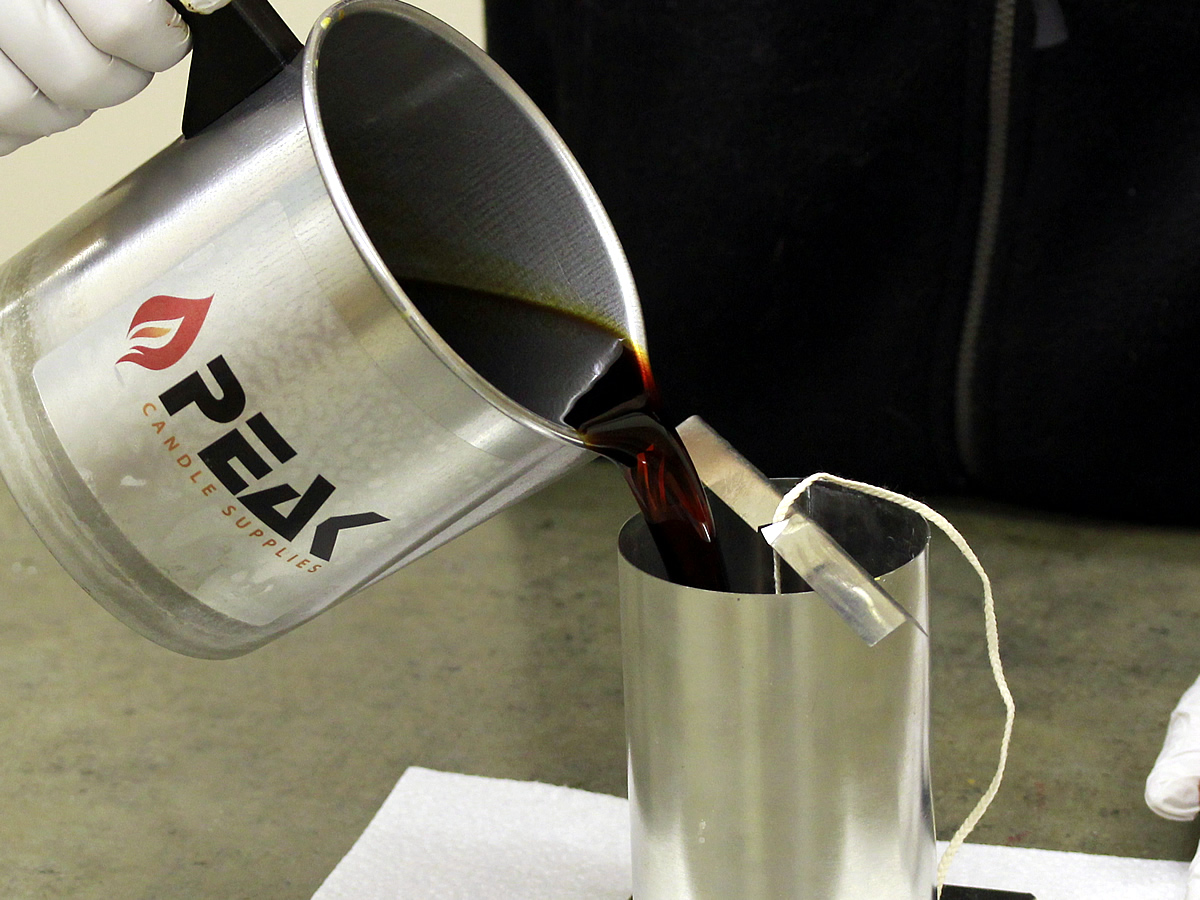
Step 3:
Pour the wax into the mold and allow to cool. Be sure to leave a small amount of wax for the second pour.

Step 4:
Poke relief holes in the wax as it cools to prevent air bubbles or warping as the wax shrinks. When the first pour has cooled to room temperature, re-melt the left over wax and fill in the sink hole. Allow to cool completely.
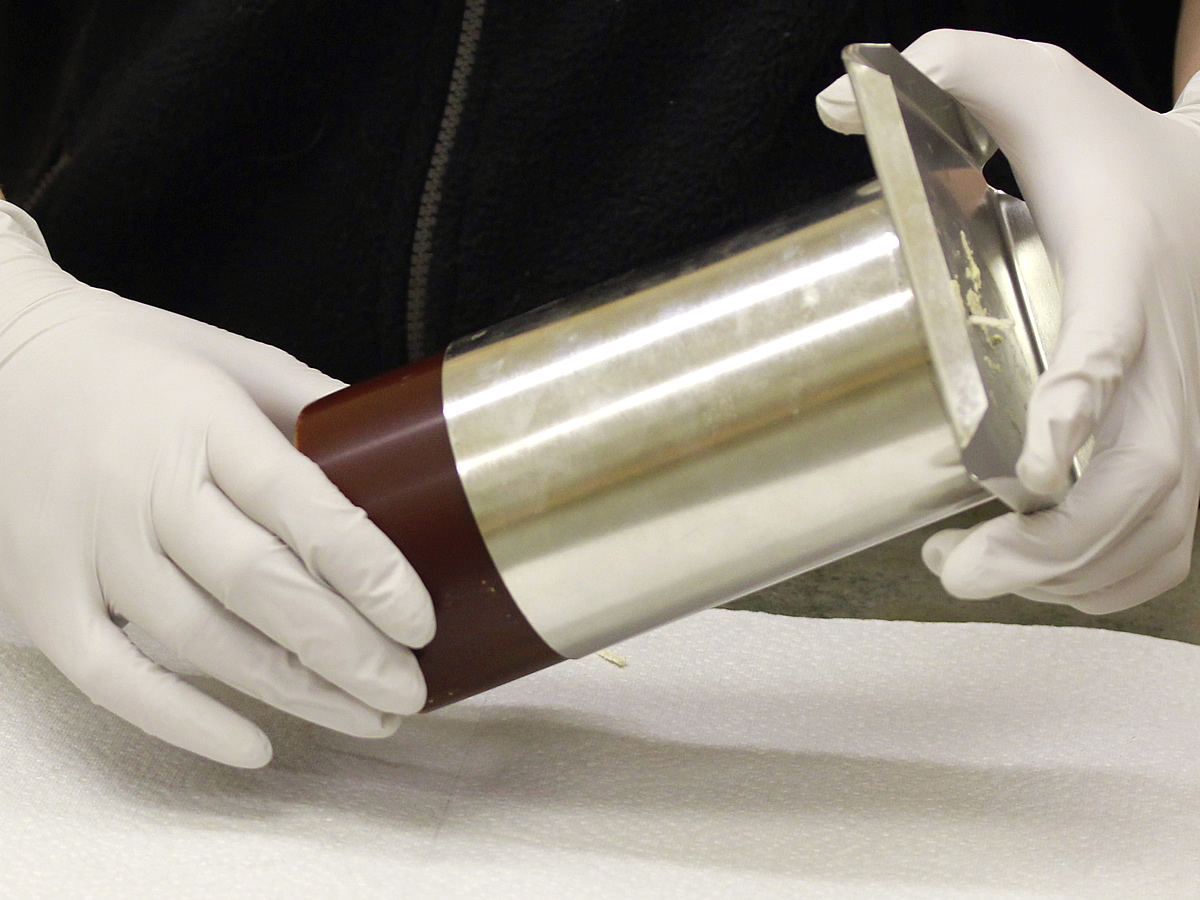
Step 5:
When the candle is completely cool, remove the mold sealer, wick screw, and wick holder bar and gently remove the candle from the mold. Do not trim the wick yet, as you will need it to hold the candle for the next step.
Step 6:
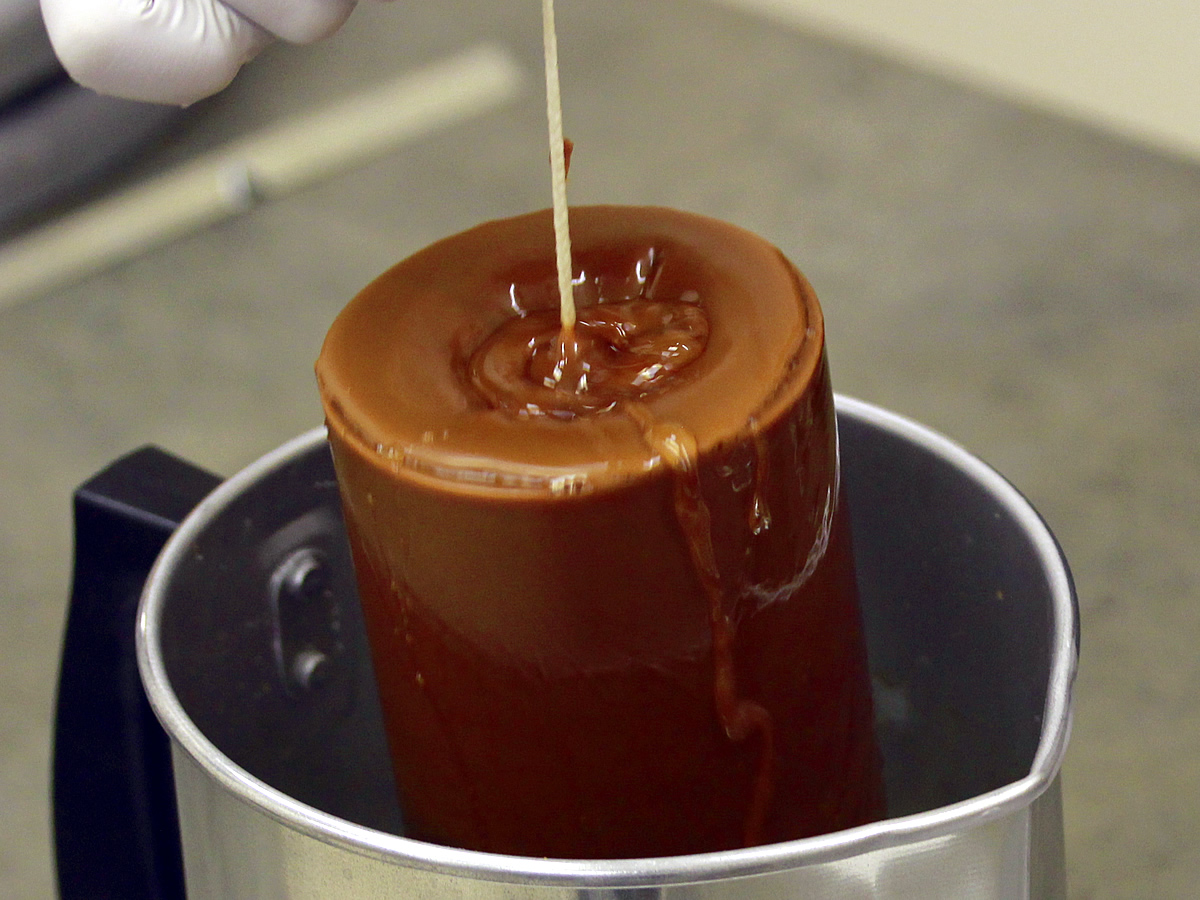
Fill one pitcher or bucket with very hot (but not boiling) water, and the other with very cold water. You can add ice to make it colder if you wish. The colder the water, the better the cracking effect should be. Quickly and smoothly dip the entire candle into the hot water first.
Step 7:
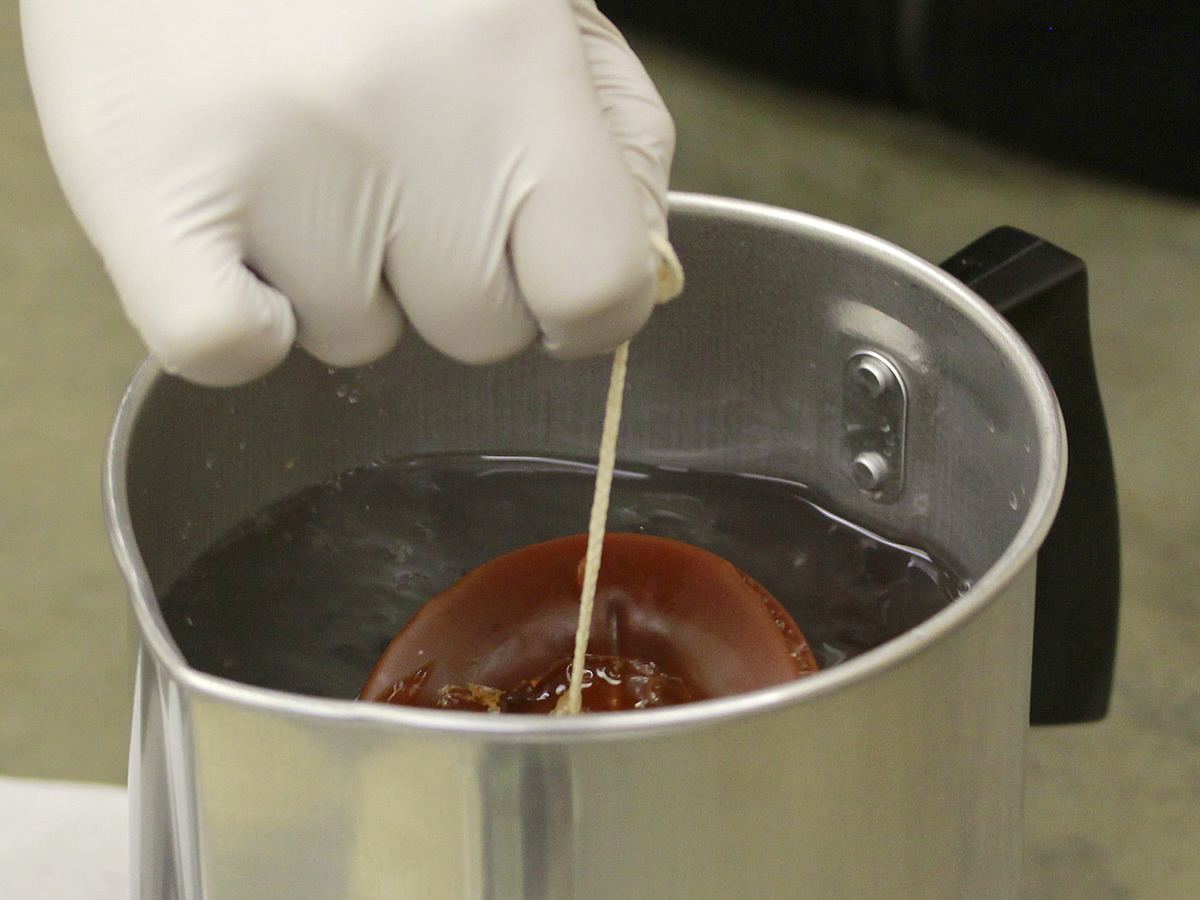
Now quickly and smoothly dip the entire candle immediately into the cold water. Repeat this process several times, then set the candle on a paper towel to dry off. You may not see the cracks appear right away, but they should appear over time. If you do not see any cracks by the next day, re-heat the water and try again. Tip: Pre-blended waxes containing additives are less likely to crack easily than straight paraffin waxes. Unfortunately soy does not work well for this project.
Step 8:
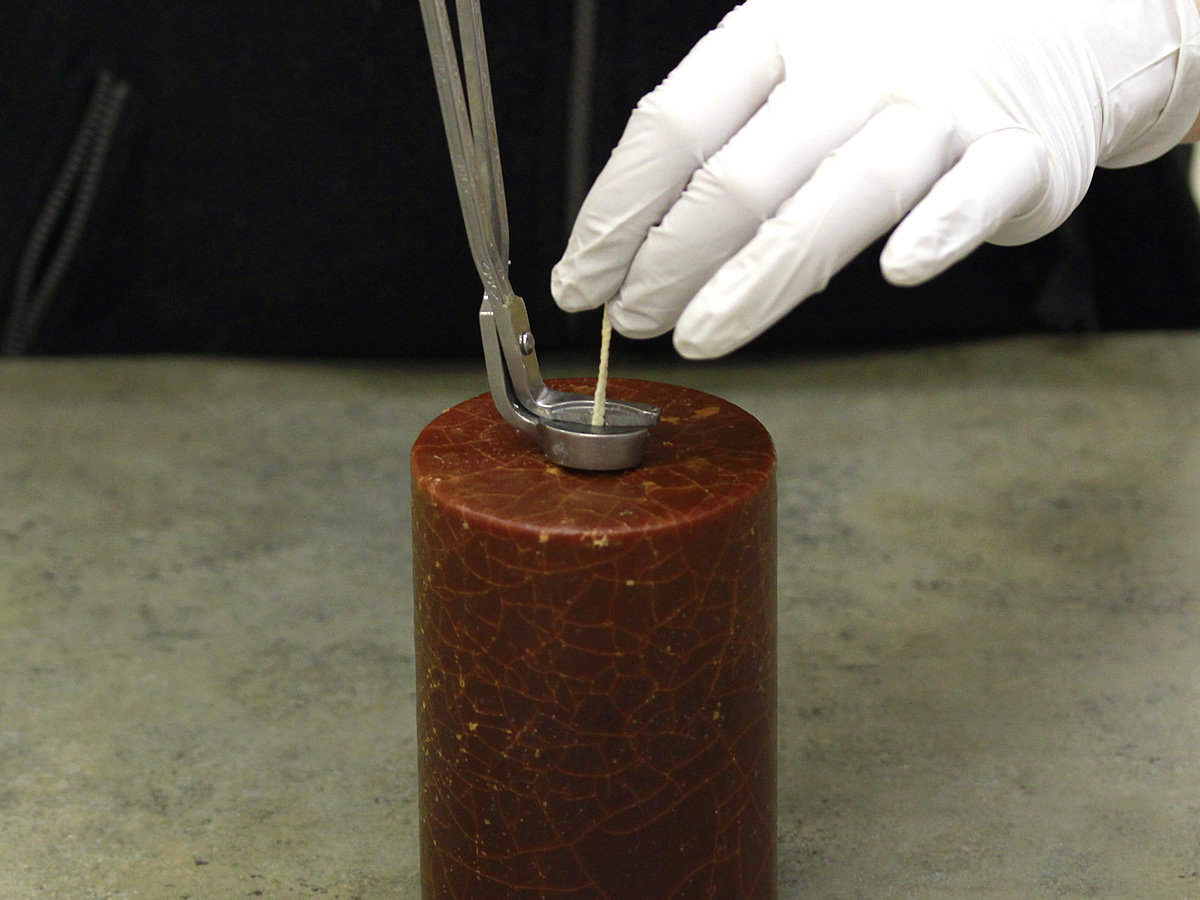
When you are satisfied with the candle’s finished appearance, trim the wick on the bottom to be level with the wax, and trim on the top to about ¼” and enjoy!


Leave a Reply