Here is a great way to make your own cute and inexpensive covers for candles that don’t have lids.
You Will Need:
–Containers
–Container Wax
–Wicks
–Fragrance and Colorant (optional)
-Card Stock
-Printer
-Document Program (such as Microsoft Word)
-Scissors (Regular or Crafting Scissors)
-Paring Knife or Hole Punch
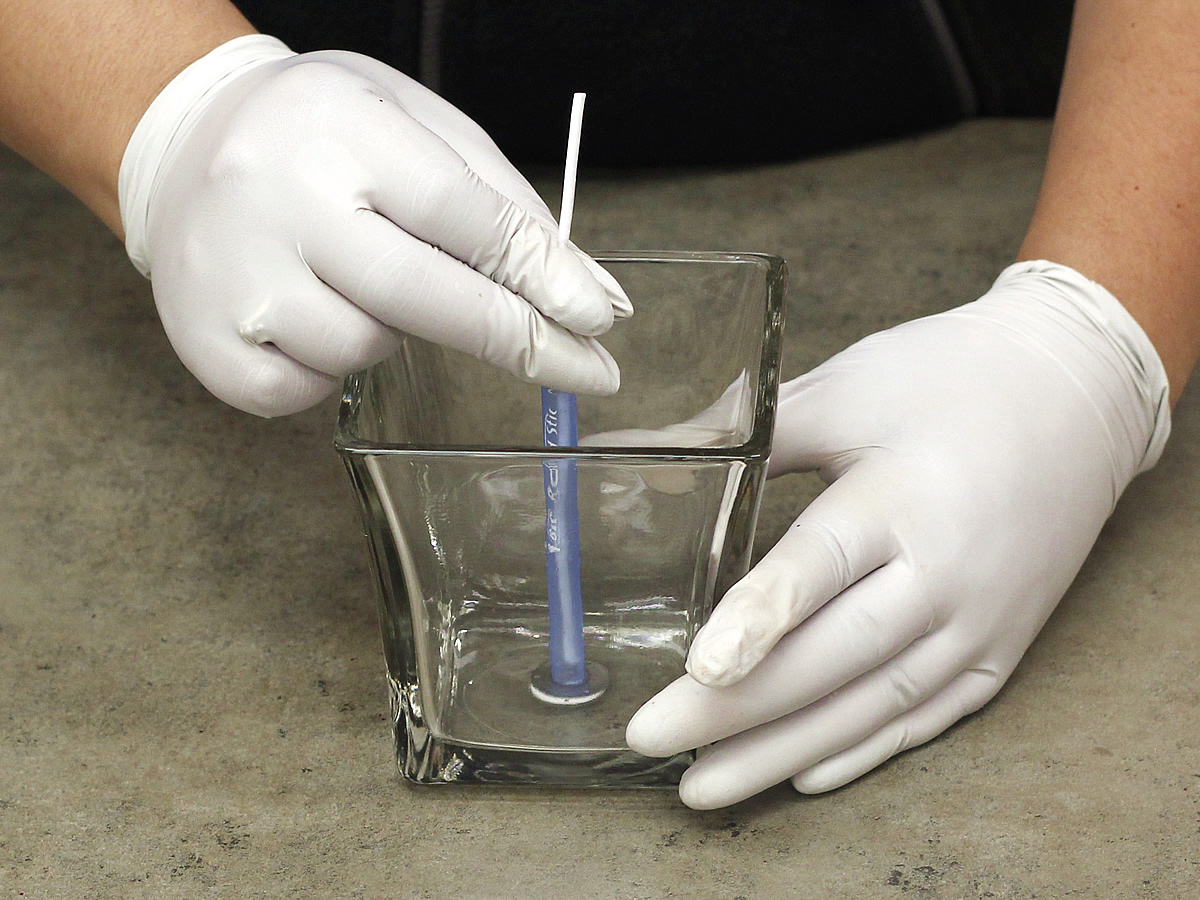
Step 1. Melt your container wax in a double boiler, and while the wax is melting, wick your container accordingly. We are using Peak’s 12 oz. Anchor Hocking Flared Square Jars with IGI 4630 Single Pour Container Paraffin wax. The widest part of this jar is 4.5 inches from corner to corner, so we will use the largest wick in the Cotton Core series which is a C-85.

Step 2. Once the wax has melted to the temperature of about 175-180 degrees F, add in your fragrance and dye if desired. We recommend using a scale to accurately measure your fragrance by weight. We have used Sweet Mango Delight Fragrance Oil, and 1 Orange Dye Chip. Mix thoroughly, and then pour into your jar.
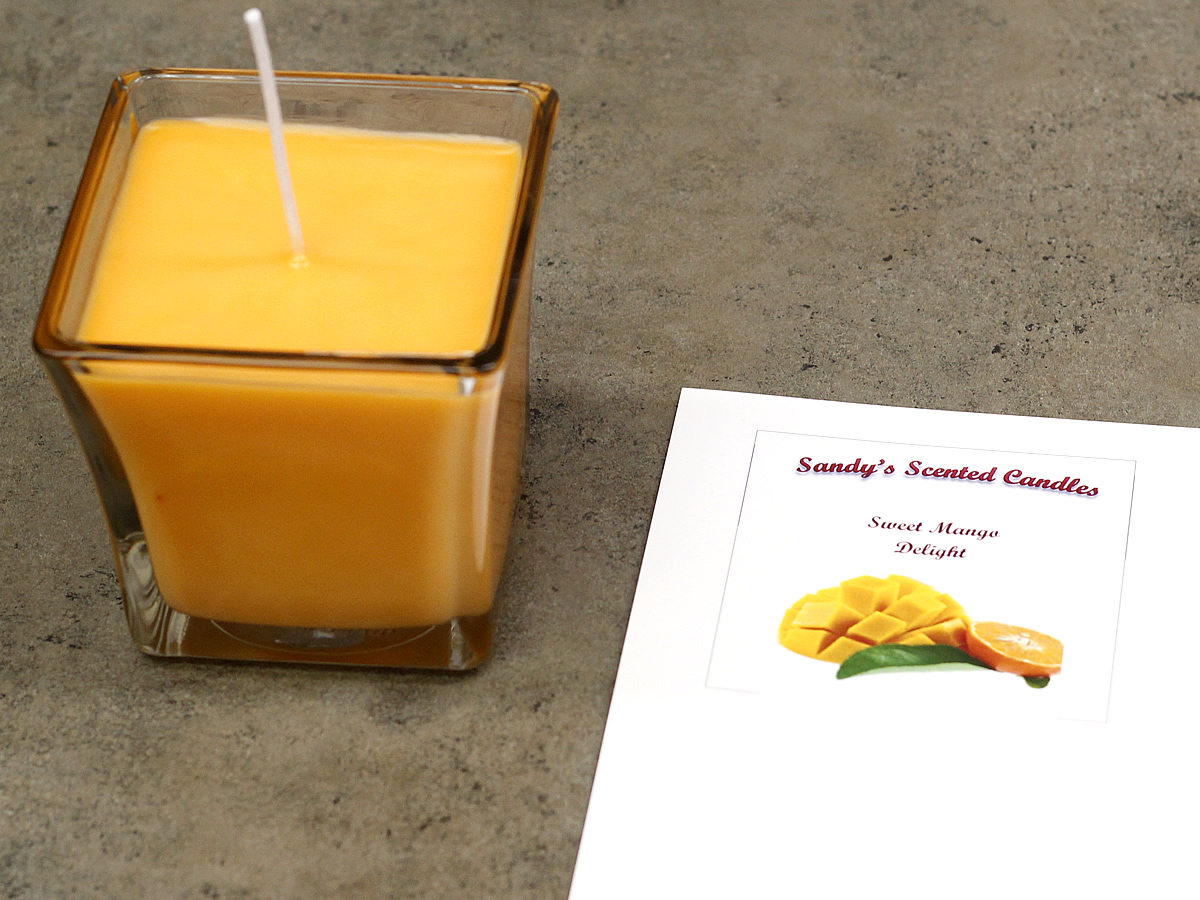
Step 3. Using Microsoft Word, or your preferred document or design program, create a layout that you like best for the lid. We inserted a square shape and measured it out to be 3.5” x 3.5”. We used Word Art for the writing, and inserted a picture of the fragrance we chose. Once you are done creating your lid, you can print on any cardstock paper.
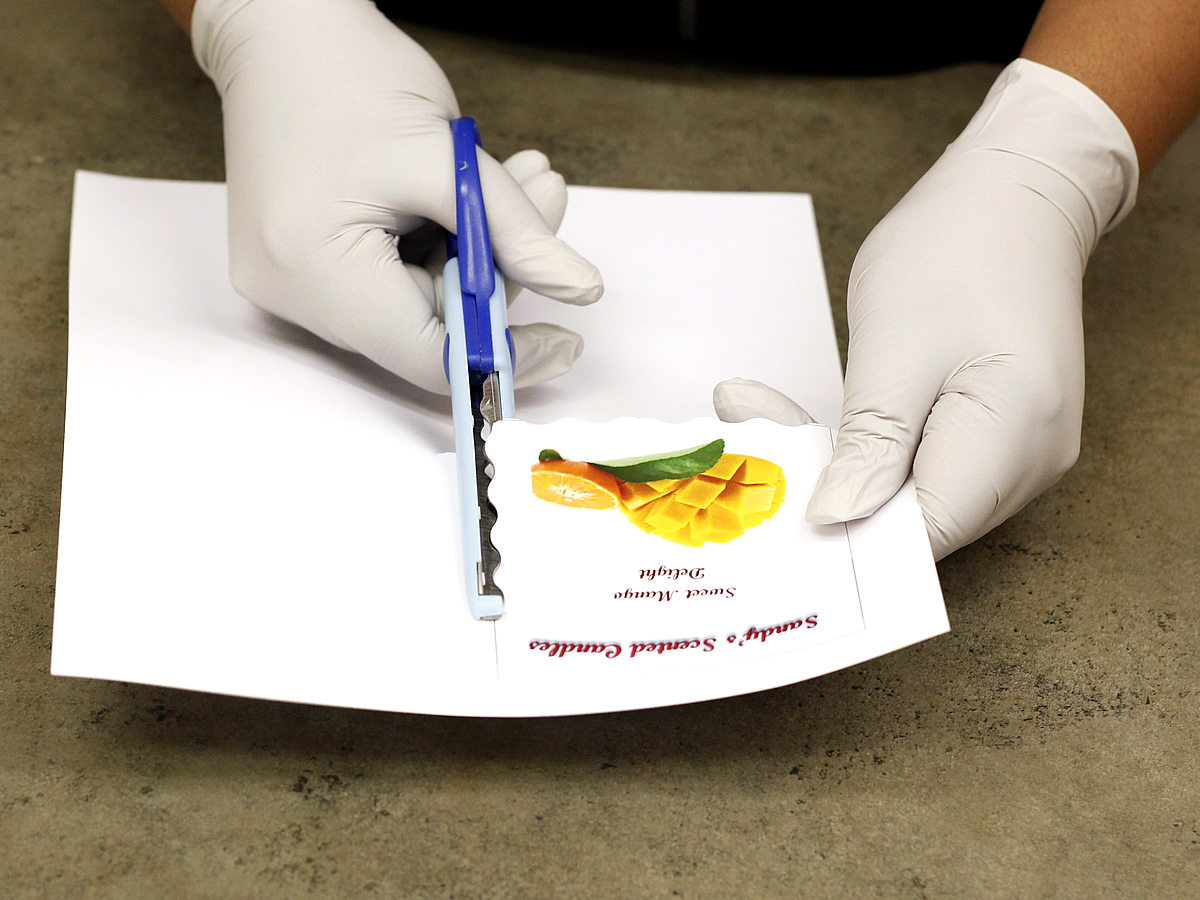
Step 4. Using either regular scissors or any type of craft scissors, cut along the lines of the shape you used to create your lid layout. We used some scalloped wavy-edge scissors you can find at your local craft store.
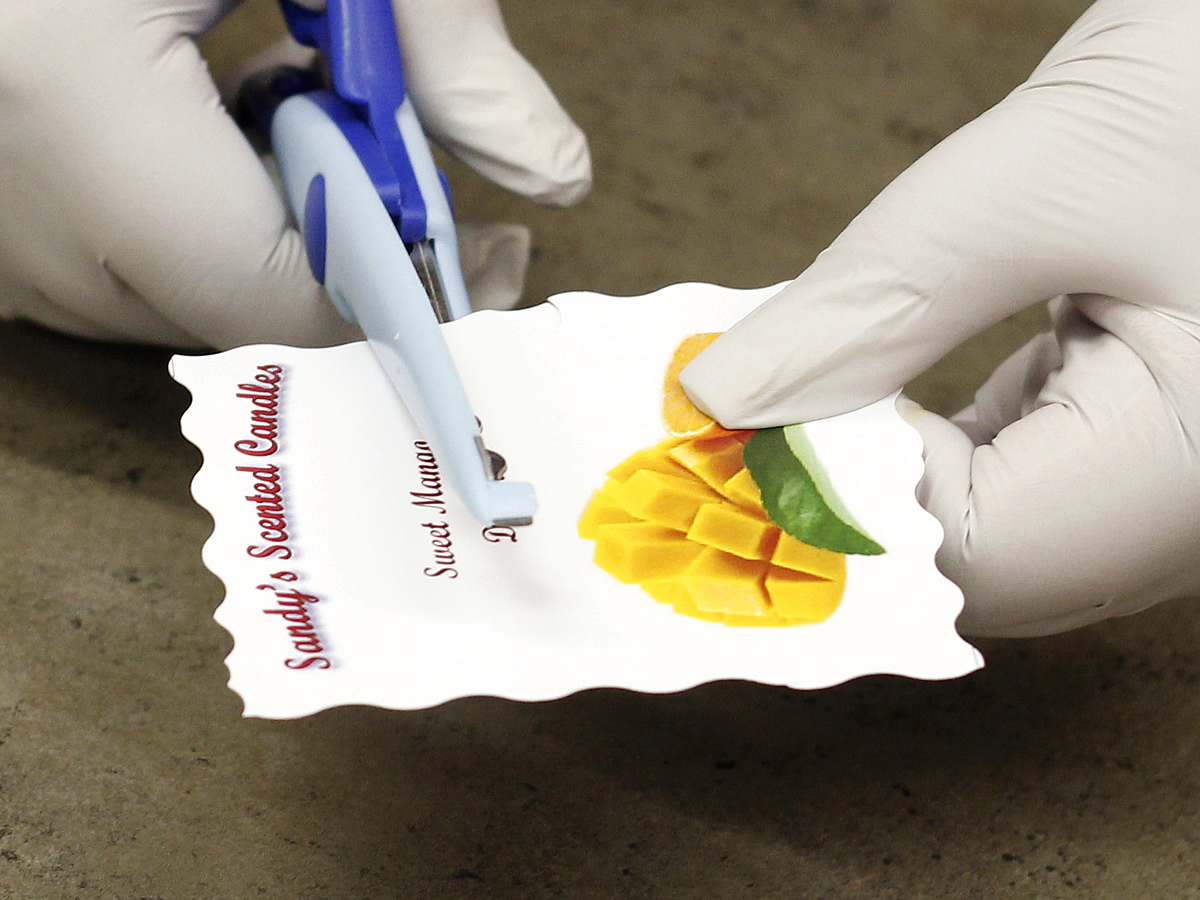
Step 5. Once the lid is completely cut out, cut into one side of the lid to make a tab to hold onto when removing the paper lid.

Step 6. Using a small paring knife or a hole-punch tool, make a hole in the middle of the paper for the wick to insert. We were unable to use a hole-punch tool for this particular lid since it was not long enough to reach the middle of the paper.
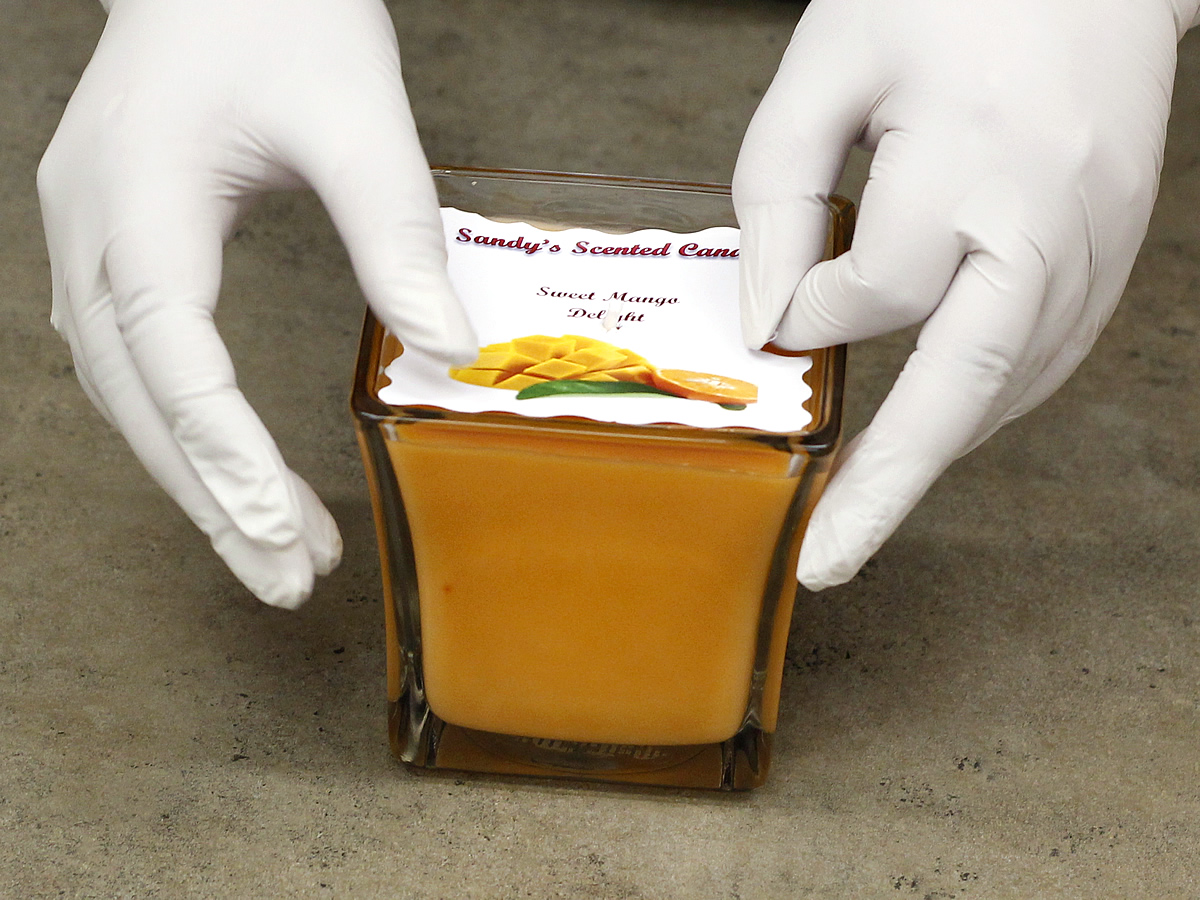
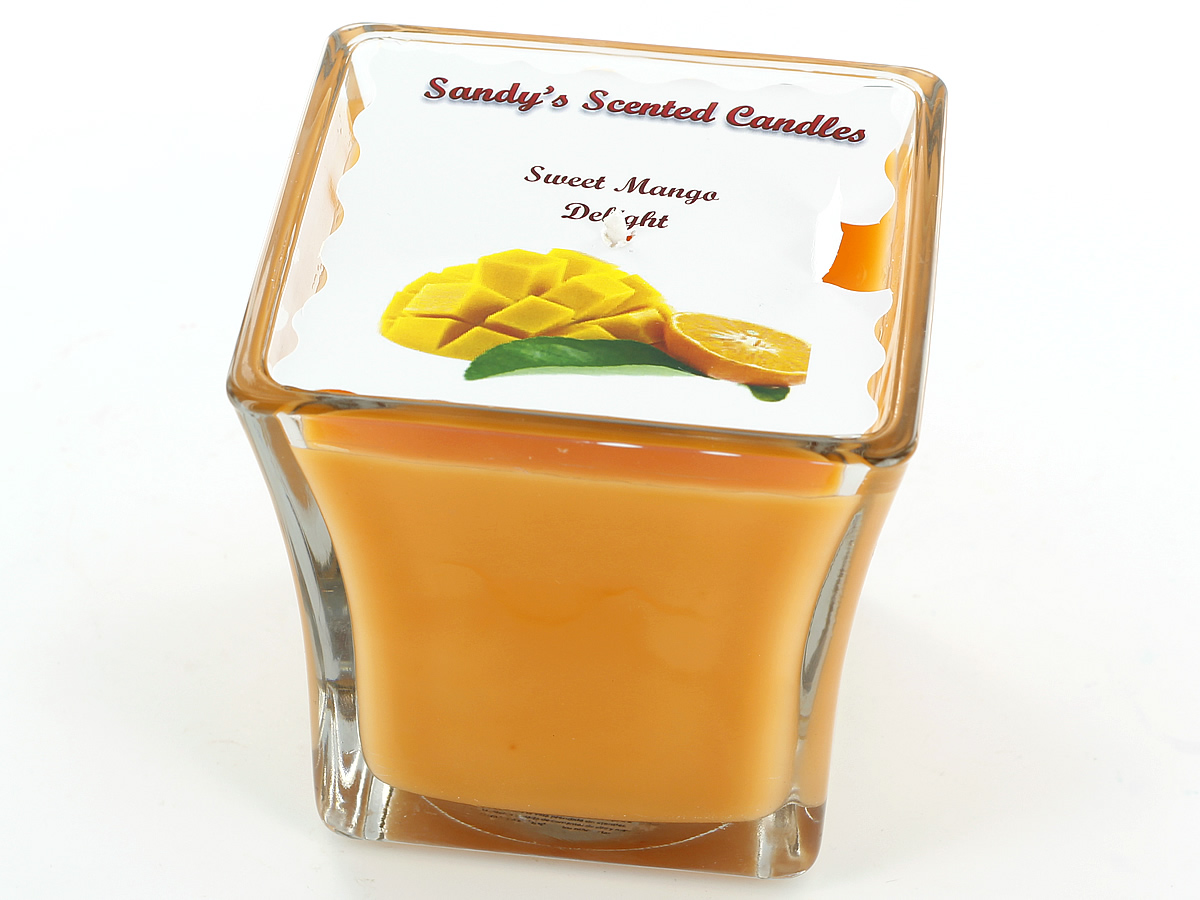
Step 7. When the candle is completely cool, trim your wick and place your paper lid on top of your candle and enjoy! Not only is it a lid to protect the wax from dust and debris, but it acts as a label as well!
Note: Be sure to remove the lid before burning and instruct anyone you may give or sell the candles to, to do so as well!


I am planning to learn how to make candles and hand carved a star shaped candles.
The paper lid is really nice. I learned a lot about making a candle.
Your tips were amazing and very helpful!!! Thank you!!!
What a fantastic idea! I can’t tell you how many times I’ve had to clean the tops of my candles off after (and during) an outdoor craft show. Thank you!
what is being used to centre the wickpls not seen that done before
You can use the wick centering tool
This is a great idea! I have been toying with the idea of making crafted items to sell but it seemed like too much effort to spend on branding for a trial run. Something like this is just perfect! And it is such an obvious idea that I read it and was like “Why didn’t I think of this?”. lol.