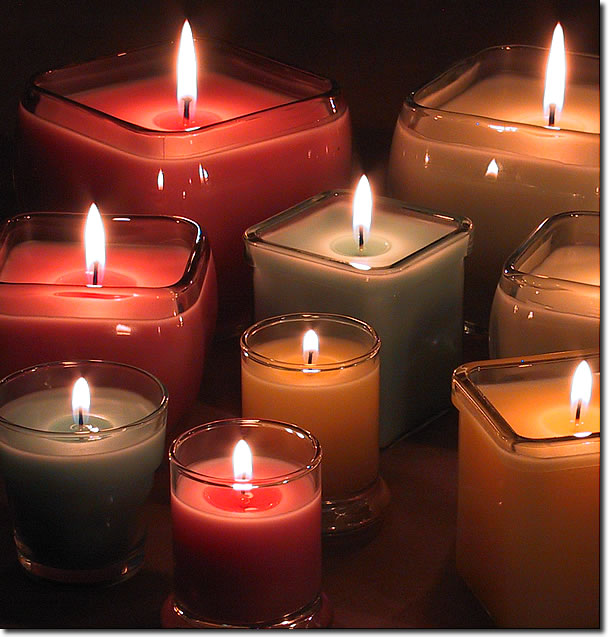
Essentially, a container candle is a non-flammable container filled with wax and a wick. They have several advantages that make them popular: First of all, they are a bit like a candle and a candle holder rolled into one. They never drip. Also, because they are in a container, we can get away with using lower melting point waxes that enhance scent throw. That fact alone gives scented container candles the ability to effectively throw more scent than their free-standing counterparts.
There are probably as many different ways to make container candles as there are candle makers. What I will do here is present a set of step-by-step instructions that works for me. The wax that I will be using is IGI-4786, a pre-blended container wax that requires no additives. There are other great waxes available for making container candles and you may need to modify some of the instructions to reflect differences in the wax you are using. Straight general-purpose paraffin will work, but it is less than ideal.
You will need:
- Wax suitable for container candles and any desired additives such as dye, fragrance oil, etc.
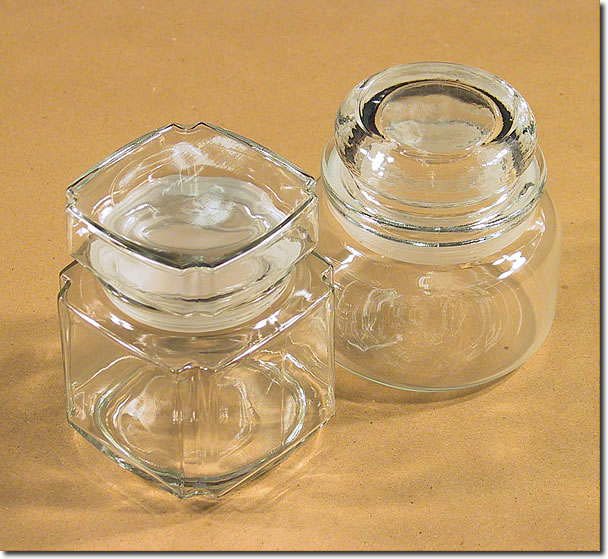
- Containers suitable for candles; many ceramics, glassware and tins fit the bill for this.
- Some kind of double-boiler set-up to melt your wax.
- Pre-tabbed wicks of a size that is suitable for the diameter of your container.
- Hot glue – from a hot glue gun or a hot glue pot
- Bic Pen
- Clothespins
- Thermometer – always use a thermometer when melting wax.
- Heat Gun
Instructions:
Step 1: Prepare your molten wax mixture.
You should be able to review these instructions while your wax is melting. Before continuing, set up a double boiler to melt your wax. A good target temperature is 170-175° F (for IGI-4786). Once your wax has completely melted, add any additives you have selected and mix thoroughly. Add them in the following order:
- Additives such as vybar or stearic acid (not needed for IGI-4786)
- Fragrance Oil
- Dye (this is done last so that you get visual confirmation that everything else has mixed well with the wax)
While your wax is melting, proceed through the next few steps. But, monitor your wax temperature frequently.
Step 2: Add pre-tabbed wicks to your containers.
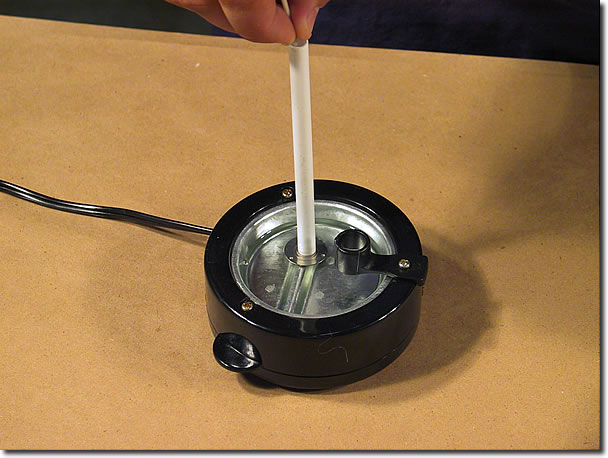
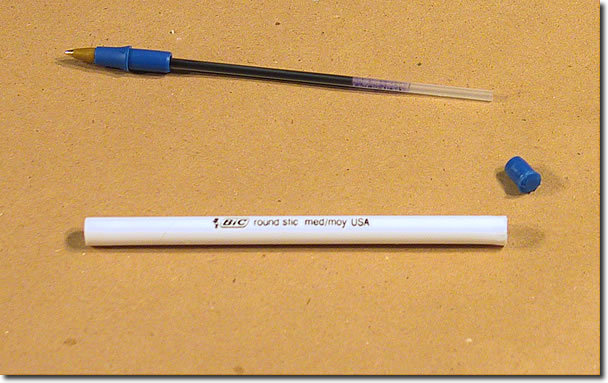 Disassemble a Bic pen. What you are after is the barrel (white). Discard the rest.
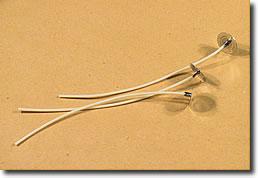
Straighten your pre-tabbed wicks out. They don’t need to be perfectly straight.

Insert a pre-tabbed wick through the barrel of the pen as shown. 6″ wicks are good for this. If you have a different length, you may have to improvise. The point of the barrel is that it makes handling the wick much easier.
While holding the wick within the barrel, apply hot-glue to the base of the wick tab. In the photo to the left, we are using a glue pot. However, a hot-glue gun will work just as well.
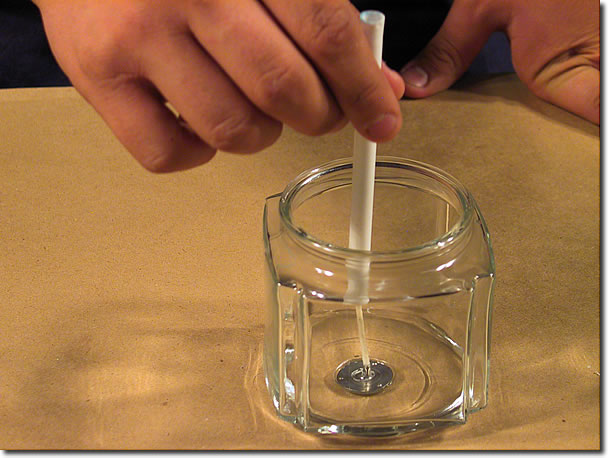
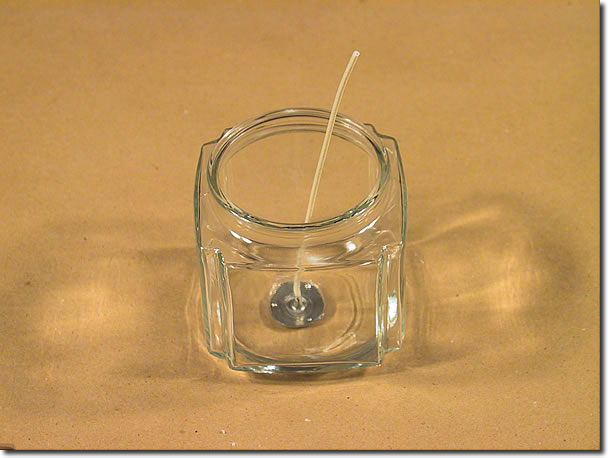
Using the barrel to guide the wick, press the tab to the center of your container.
Slide the barrel off the wick.
Proceed to the next step.
(I promise the next step won’t have so many images)
Step 3: Secure the top of your wick.
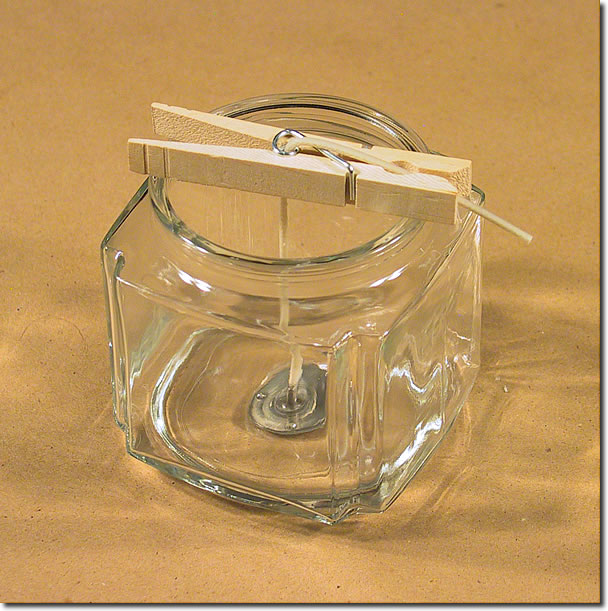
Using a clothespin, secure the top of your wick as shown. Clothespins work for containers with a opening diameter of up to three inches. For larger containers, you will have to improvise. Looping the wick around a wooden skewer also works. The objective here is to provide some sort of support to help keep the wick centered while the wax is cooling. You can actually carryout this step after you have poured your wax.
Step 4: Pre-heat your container.
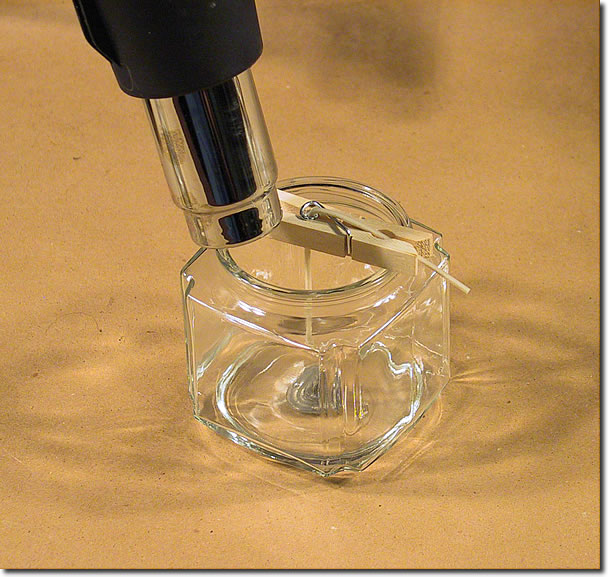 Once your wax mixture is at the proper temperature, and you have thoroughly mixed in any additives, pre-heat your container to about 150 degrees F. In the photo we are using a heat gun. However, pre-heating can also be done in the oven on the lowest heat setting. If you are using a heat gun, exercise some care as heat guns can get much hotter than 150 degrees F.
Note: This step is not absolutely necessary, but it does improve the finished product. It permits us to pour our wax at lower temperatures without trapping bubbles and it improves the glass adhesion.
Step 5: Initial Pour.
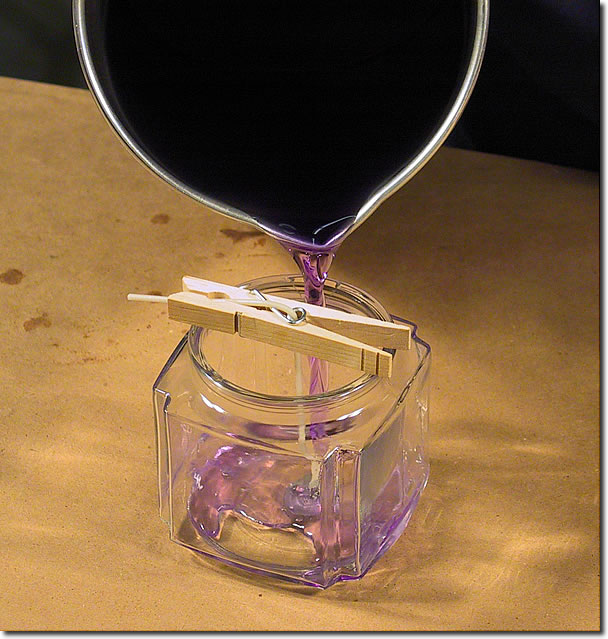 With your wax at the proper temperature (160 degrees F), carefully fill your container to the desired level. If it is a container with a lid, remember to fill it only to a level that will leave enough room for the lid to properly fit back on the finished candle.
Save about 20% of the wax in the pouring pitcher for Step 6. Do NOT return it to the heat source.
 In the photo, we have filled the container to a level that leaves some clearance for the wick and lid.
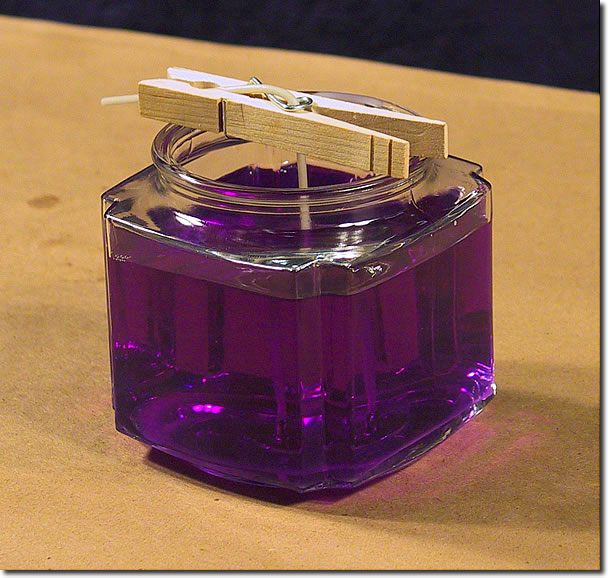
Allow the wax to completely cool before proceeding. This will typically be six or more hours. Slow cooling generally provides the best results when it comes to container candles. So, don’t attempt to accelerate the cooling process.
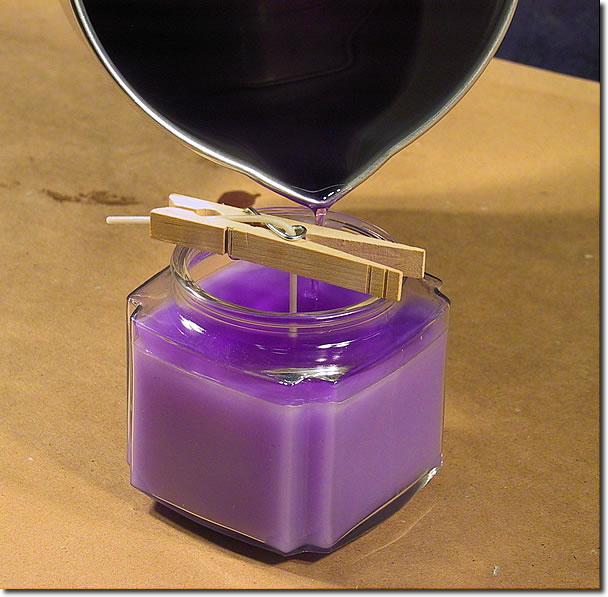
Step 6: Re-pour
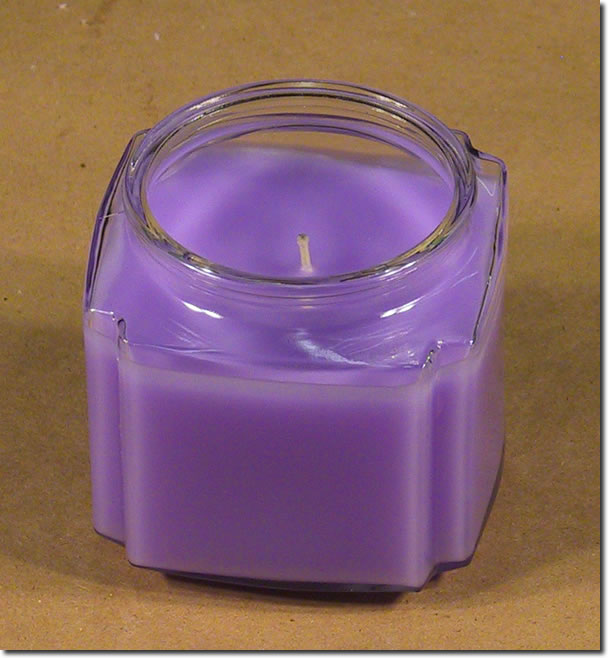
 Once your candle has completely cooled, you will notice that the wax has sunken a bit in the middle.
With the wax that you saved from the previous step, melt it back down and bring it to a temperature of 185 degrees F. We use a higher temperature for the second pour because it increases the adhesion between layers of wax.
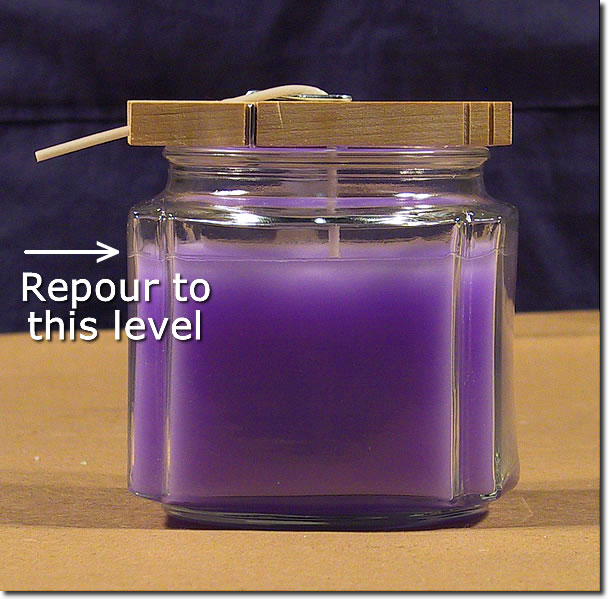
Re-pour to a level that just barely covers the wax from the initial pour. Going to this level helps hide any seam lines.
Allow your candle to completely cool.
Step 7: Trim Wick
 Once your candle has completely cooled, remove the clothespin and trim the wick to ¼”
Step 8:Enjoy!
Burn container candles only on a heat resistant surface. Containers can break.
Burn the candle for no more than 4 hours at a time.
Protect from drafts.
Keep the wick trimmed to ¼”
Keep away from children and pets.
Do no move the candle while it is burning or while there is molten wax in it.
Keep away from flammable objects.
NEVER LEAVE A BURNING CANDLE UNATTENDED.


What kind if wax should I use with a pillar candle and votive candles? I am a beginner. Also am I supposed to heat the jars that I am pouring wax into?
What causes my glass candles to have frost spots on them?
how can i get the Dyers and the wax to make the candles
Thanks for the good advice .can you heat up the container in the microwave rather using a heat gun??
Where will i get the contact number to bye these safety gadgets .
Thanks for the ideas shared.
Hi I tried your process but when I lighted the candle it melted in the middle and the area close the jar remained solid. What caused this
Hi Robert. That could happen for one of several reasons.
The melting point of the wax can play a role. For example, if you used a wax with a high melting point in a jar of large enough diameter, you will get the tunneling that you are describing.
Another possibility is too large of a wick, or too small of a wick. Too large of a wick can result in tunneling and an oversize, sooty flame. Too small and it will melt only a small radius in the middle, and eventually the flame will drown itself out. The challenge is to pick a wick somewhere in the middle that fits your wax and the diameter of the jar you are using.
Other factors that can influence your results are the ambient temperature, the thickness of the glass, and even the shape or depth of the jar.
Finally, the type of wax you are using will influence the outcome. For example, paraffin, soy, and palm wax will all melt differently.
It’s normal in most scented candles I use.
Where can I get jars like that?
There is no mention as to how much of the dye you put in the wax. I added red and it was a dark red when melted but once cooled it was pink, What to do?
Can you use any type of glass or are there types of glass that might crack