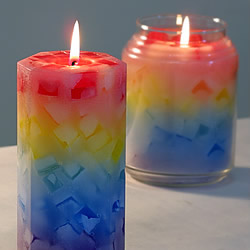
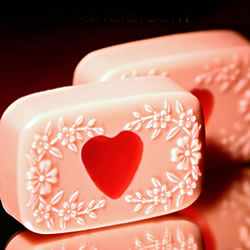
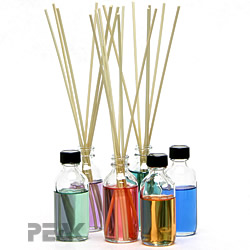
…(this will be your best friend Plastic or ceramic bowl NOTICE: there is nothing aluminum here. Aluminum and LYE do not mix!! Please do not try to use one of your candle molds for soap!! They will come out ugly…
Search results for: VIPREG2024 best promo code for 1xbet Turkey
Hurricane Shells
…to allow the hot wax to run up the sides. Fill your mold to a height that you would like the finished candle to be. Generally, it is best to cover your embedments by at least half an inch. Once…
Tilted Layers Soaps
Learn the process for making unique, multi-colored tilted layers soaps with Melt & Pour. You Will Need: –Melt & Pour Soap Base –Soap Mold (Plain molds look best, such as the Oval Soap Mold) –Bath & Body Safe Fragrance…
How to Make Pillar Candles
…sheet (one with sides will work best) that is sitting atop a pot of boiling water. Use the heated cookie sheet to melt away some of the wax until you have a flat base. Trim the top wick (not shown…
Pillar Candles With Faded Edges
…play with wall thickness and pouring temperatures to see what you like. Tip: Molds with sharp edges work best. Use squares, stars, rectangles, octagons, whatever. Round molds don’t look quite as nice for this. Variations include using different colors for…
DIY Paper Candle Lid
…and 1 Orange Dye Chip. Mix thoroughly, and then pour into your jar. Step 3. Using Microsoft Word, or your preferred document or design program, create a layout that you like best for the lid. We inserted a square shape…
Pillar Candle Embellishment
…wax is about the consistency of cookie dough, use a cookie cutter to cut out shapes in the wax. The best way to do this is to gently press down on the cookie cutter until it touches the cookie sheet….
How to Make Container Candles
…wax to completely cool before proceeding. This will typically be six or more hours. Slow cooling generally provides the best results when it comes to container candles. So, don’t attempt to accelerate the cooling process. Step…


Recent Comments