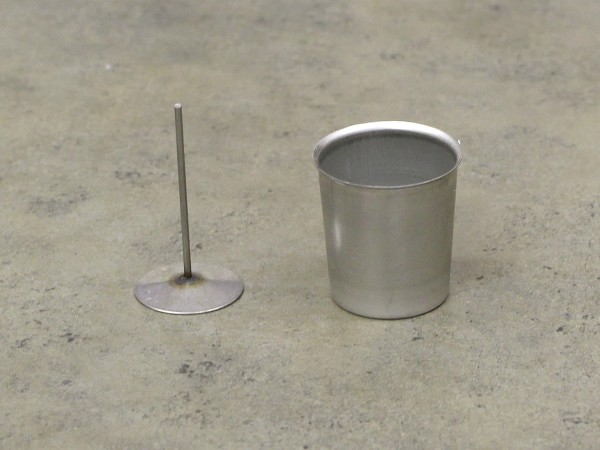
Wick pins simplify the candle making process in many ways and help achieve a perfectly centered wick, which contributes to a more even burn. This tutorial shows exactly how votive wick pins are used for making votive candles.
You will need:
–Standard Votive Mold(s)
–2.5” Votive Wick Pin(s)
–Candle Wax for votives or pillars (We recommend Votive Blend – IGI 4794)
–Votive Wicks (C-40 Cotton Core works great for paraffin)
Step 1:
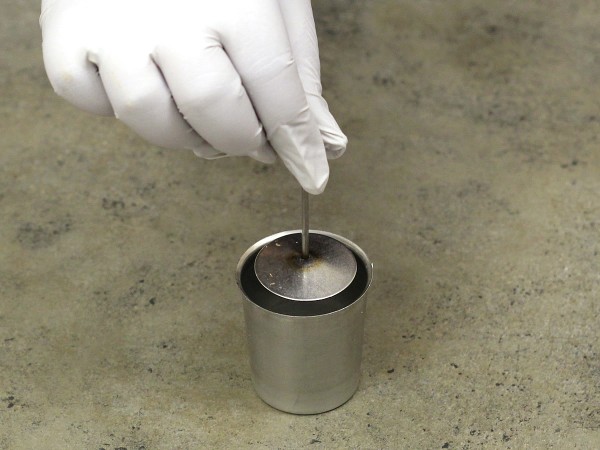
Melt your wax in a double boiler. While it is melting, place the votive wick pin inside of the votive mold.
Step 2:
Once your wax is fully melted, add your desired fragrance and colorant and mix thoroughly. Pour your wax directly into the mold to the top. Save some wax for a second pour because the wax will shrink, forming a sink-hole.
Step 3:
When the first pour is cool, re-melt your leftover wax and fill again all the way to the top.
Step 4:
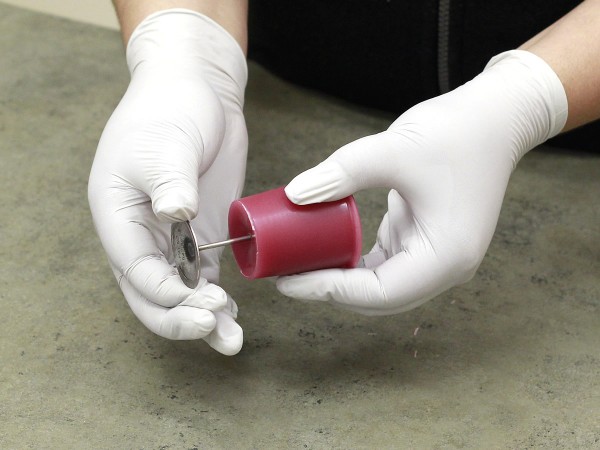
When the wax is completely cool, remove the candle and pin from the mold. Gently pull the pin out of the candle.
Step 5:
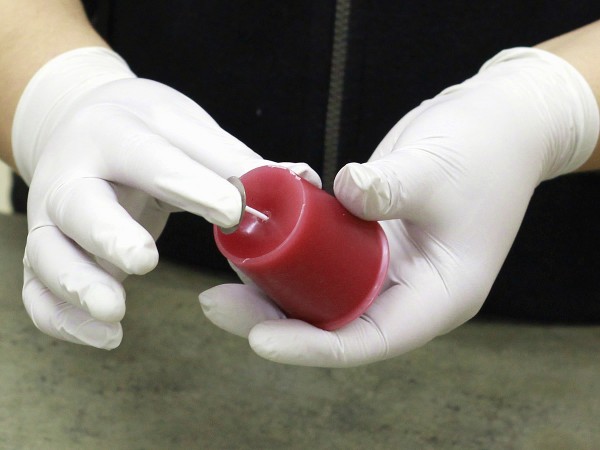
Insert your pre-tabbed wick all the way up through the bottom of the candle and press firmly to secure the tab against the bottom. Trim the top of the wick to ¼”. Now you are done!




Leave a Reply