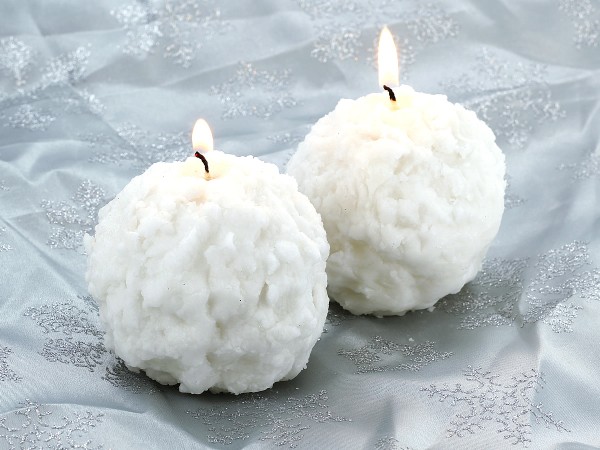
Celebrate winter with these adorable snowball candles!
You will need:
–Ball Mold
–Pillar Wax (Such as IGI 4625)
–Wick (We used 24-Ply Flat Braid)
–Wick Screw
–Mold Sealer
–Fragrance Oil (Optional)
–Pouring Pitcher
-Whisk/Fork/Spoon
Step 1:
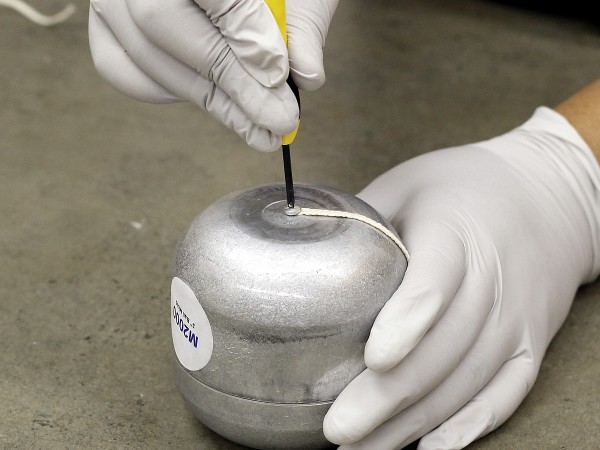
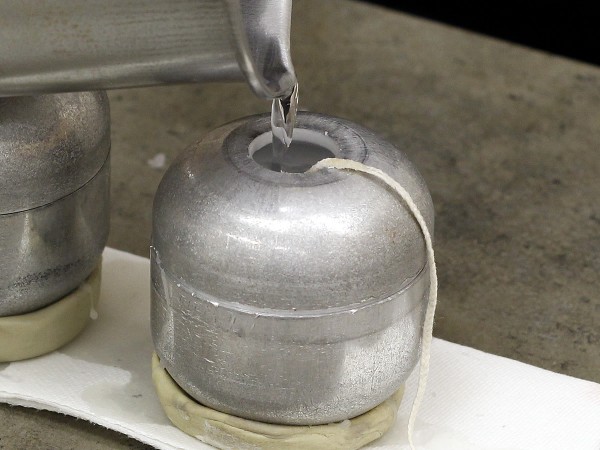
Melt your pillar wax in a double boiler. While the wax is melting, prepare your ball mold with the wick, wick screw, and a large amount of mold sealer to prevent any leaks. Tip: Ball molds can tend to stick so it helps to spray the insides with silicone spray or non-flavored cooking spray.
Step 2:
When the wax is melted to a temperature of about 170-180 degrees F., add your fragrance if desired and mix thoroughly. There is no need to add any dye since you’ll want the wax to be white as snow!
Step 3:
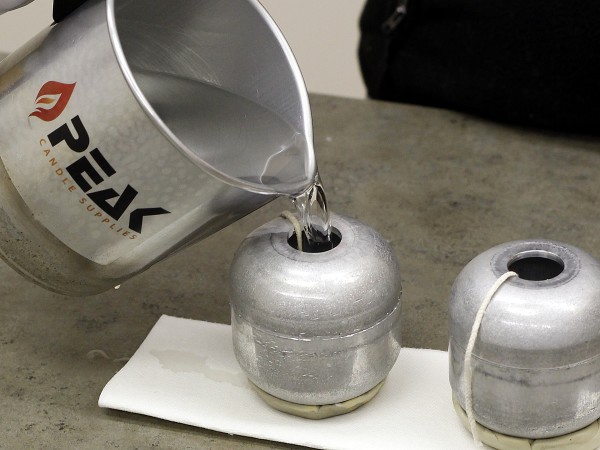
Pour the wax into the opening at the top of the ball mold. Fill the mold all the way to the top, leaving some leftover wax in the pouring pitcher for the second pour.
Step 4:
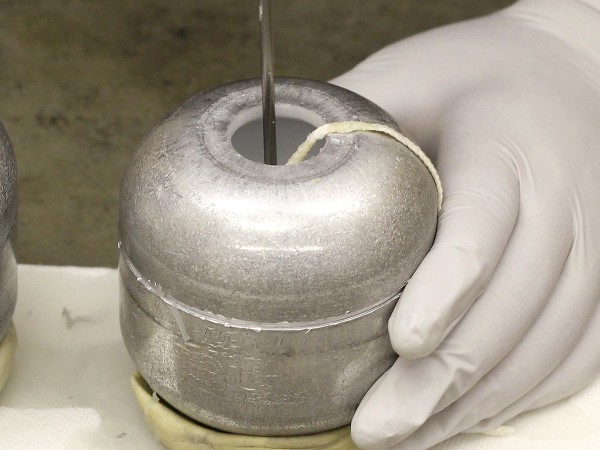
As the wax cools, use some type of skewer to poke relief holes through the opening at the top.
Step 5:
When the wax is completely cool, re-heat the leftover wax and fill back up to the top of the mold. Allow to cool completely before attempting to remove from the mold.
Step 6:
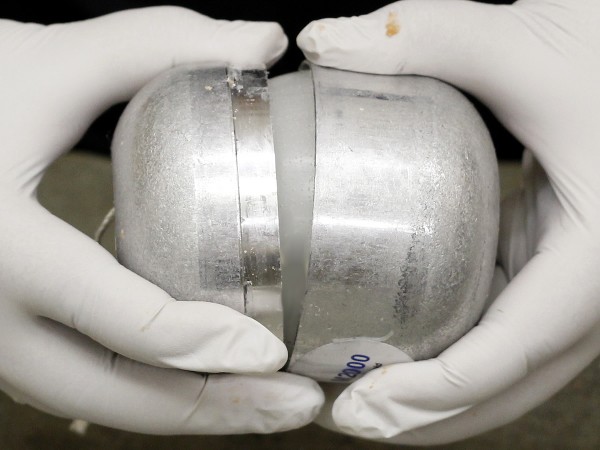
Carefully remove the candle from the mold and set aside on a paper towel. Melt some more wax for the “grubby” outside of the candle.
Step 7:
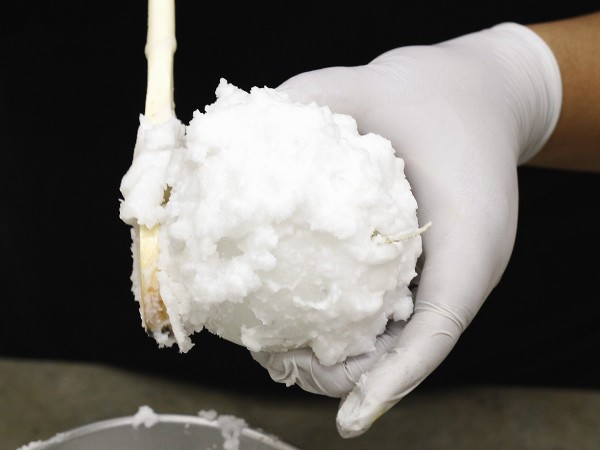
Remove the wax from the heat and whip it with a whisk or fork until it begins to thicken. Use a spoon or fork to scoop the wax onto the outside of the ball candles until you are satisfied with the appearance. Let the candle cool completely, trim the wick to about ¼”, and enjoy!




Leave a Reply