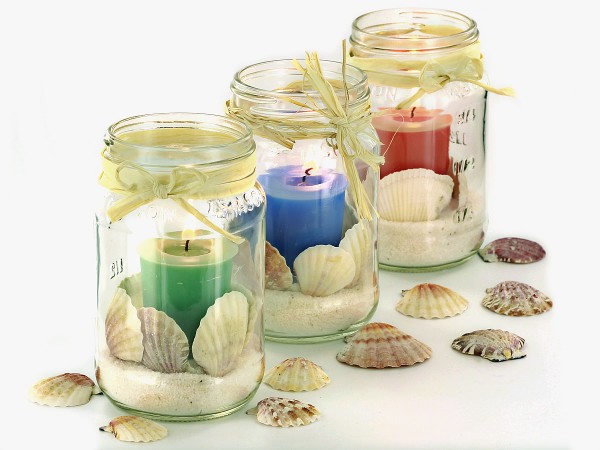
These beautiful votive lanterns make perfect centerpieces for weddings or summertime celebrations!
You Will Need:
–Votive Wax
–Votive Molds
–Votive Wicks
–Mason Jars
-Sand
-Seashells
-Raffia
–Candle Dye
–Fragrance Oil (optional)
–Pouring Pitcher
–Scale (recommended)
Step 1:
Melt your votive wax using the double boiler method. IGI 4794 is ideal for votive candles, but any pillar wax can be used if preferred.
Step 2:
When the wax has reached approximately 165-185 deg. F., add your fragrance oil (if desired) and mix thoroughly.
Step 3:
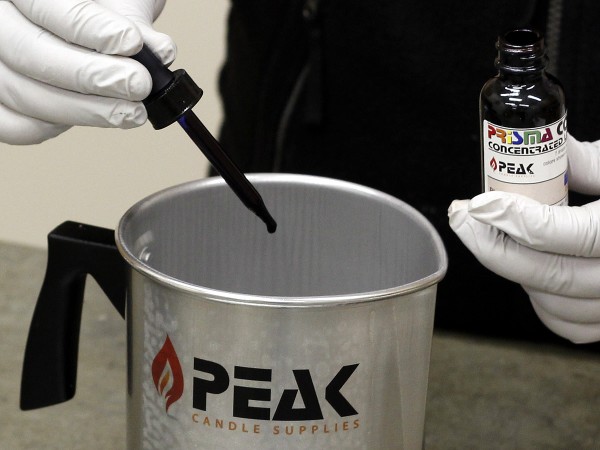
Add your desired candle dye and mix thoroughly. Blue/Sky, Teal/Aqua, Coral/Peach Liquid Dyes or Aqua Marine, Blue, or Melon Dye Chips are great colors for this project!
Step 4:
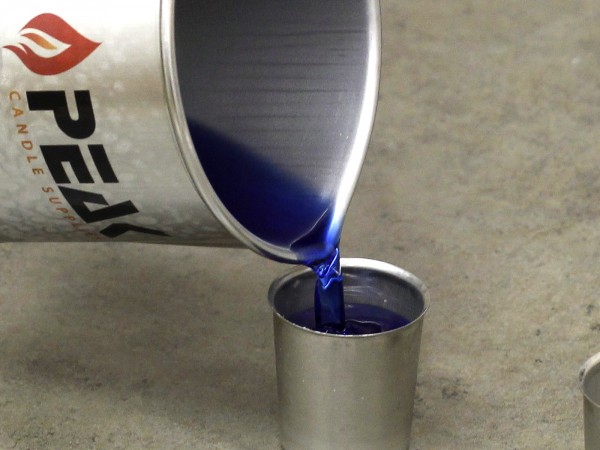
Carefully pour the wax into the votive molds, just to the rim of the molds, saving some leftover wax for the second pour. Keep an eye on the wax until it begins to congeal, and add your pre-tabbed wicks. Try to make sure the wicks stay centered by moving them with your fingers as the wax cools.
Step 5:
When the first pour has cooled completely, remelt the leftover wax in a double boiler. Carefully fill the sink holes in the votives, filling once again to the lip of the molds. (See our Votive Candle Tutorial for more detailed instructions and photos.) Tip: Add a little more uncolored wax to the original mixture to get a lighter shade for the top of your candle, creating a unique, two-toned look!
Step 6:
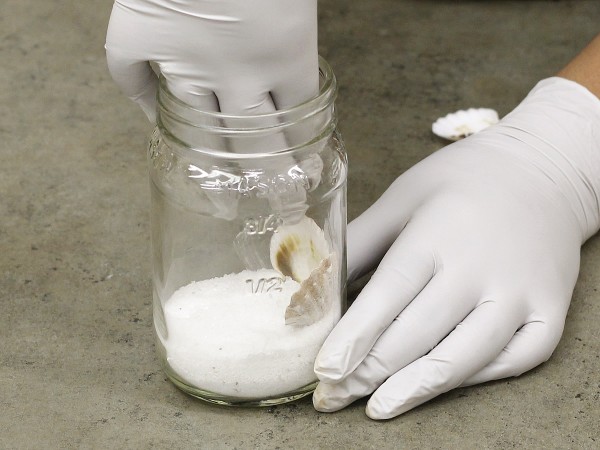
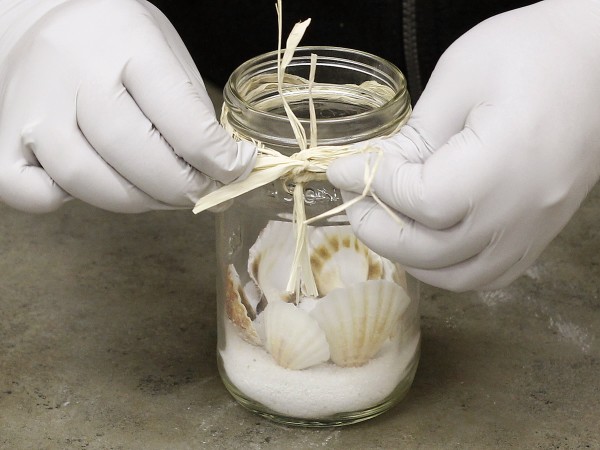
While the votive candles are cooling, prepare your mason jars by pouring some sand into the bottom and decorating with shells.
Step 7:
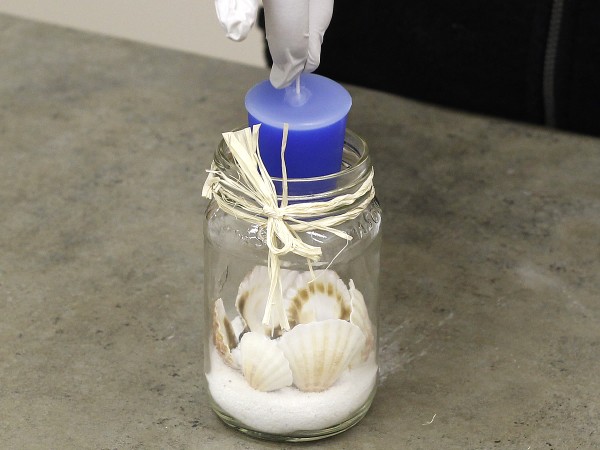
If desired, wrap some raffia or ribbon around the outside of the mason jar for a cute finishing touch.
Step 8:
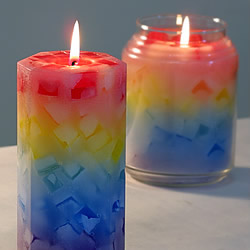
When the candles have cooled completely, remove them from the molds and trim the wicks to approximately ¼”. If you have trouble getting the candles out of the molds, try placing them in the fridge for 10-15 minutes and try again. It can also help to gently squeeze the sides of the molds with your fingers to help release. When ready, place the votives inside the mason jars, light, and enjoy!






Leave a Reply