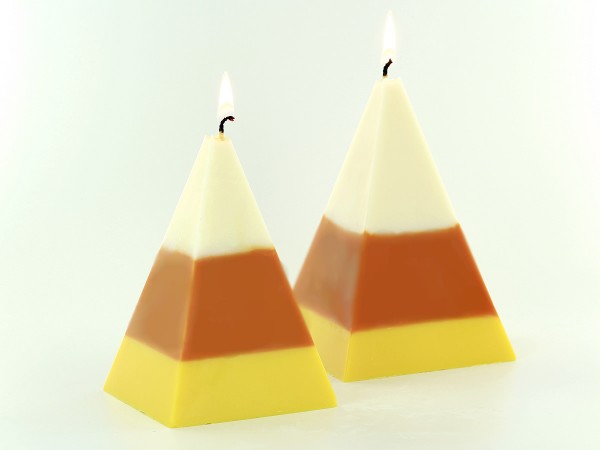
These adorable candy corn candles are perfect for fall!
You Will Need:
–Slim Pyramid Mold
–Pillar Wax (Ecosoya Pillar Blend creates the perfect pastel appearance!)
–Raw Wick (We used 24-Ply Flat Braid)
–Wick Screw
–Mold Sealer
–Wick Holder Bar or Skewer
–Pouring Pitcher
–Orange Liquid Dye or Dye Chips
–Yellow Liquid Dye or Dye Chips
–Fragrance (optional – We used Orange Chiffon Cake for the Candy Corn scent!)
–Scale (recommended)
–Wick Trimmers or Scissors
Step 1:
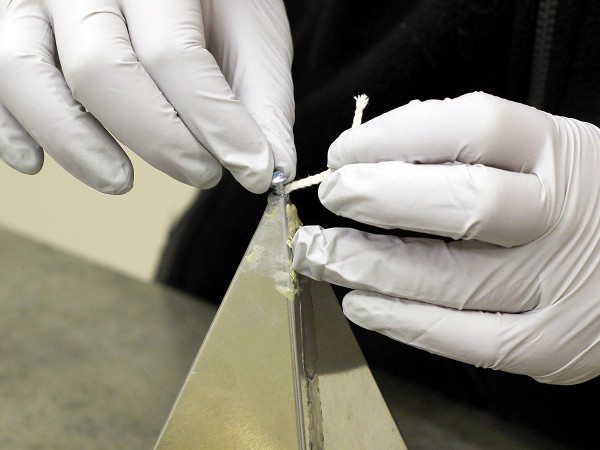
Melt about 8 ounces of wax in a double boiler. While the wax is melting, prepare your pyramid mold by threading the wick through the wick hole, securing with mold sealer.
Step 2:
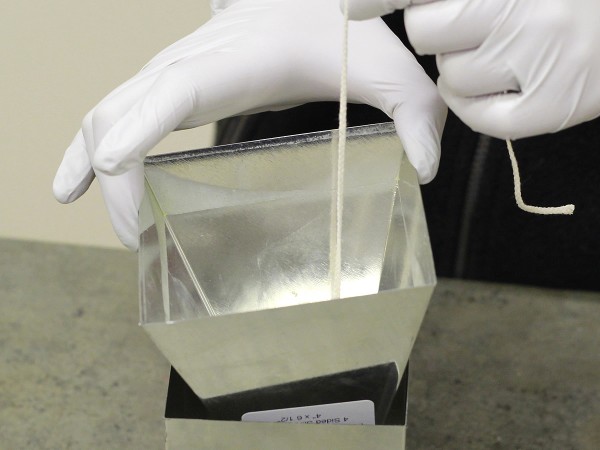
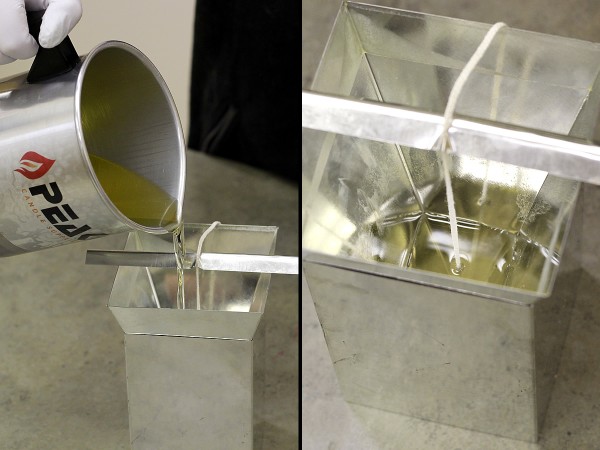
Place the pyramid mold inside of the square base. Secure the wick at the open end of the mold with a wick holder bar or skewer.
Step 3:
When the wax is fully melted, add your fragrance oil if desired and mix thoroughly. Do not add any color yet as the first layer will be white. For soy wax, we recommend about 10% fragrance, or 6% if using paraffin.
Step 4:
Carefully pour the wax into the mold up to about 1/3 of the total height. Allow the first layer to cool. Set aside the leftover wax for the second pour.
Step 5:
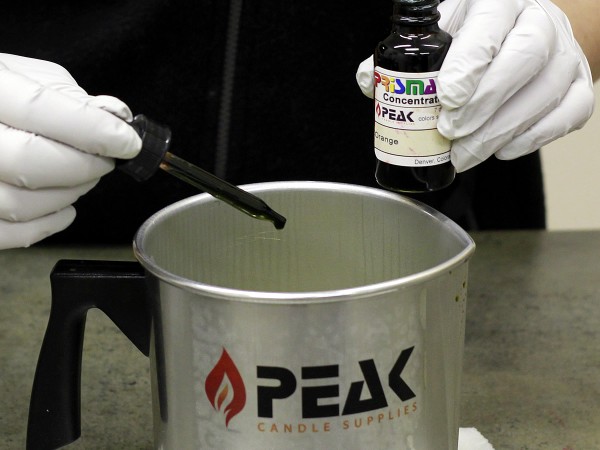
When the first layer has cooled to room temperature, remelt the remaining wax, add the orange dye, and mix thoroughly.
Step 6:
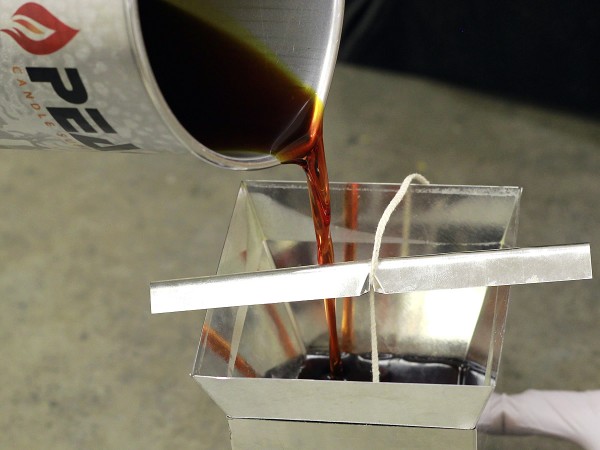
Carefully pour the orange layer, leaving 1/3 of the height of the mold remaining. Allow this layer to cool.
Step 7:
When the second layer has cooled to about room temperature, melt another 6 ounces of wax, add fragrance if desired, and the yellow dye. Mix thoroughly
Step 8:
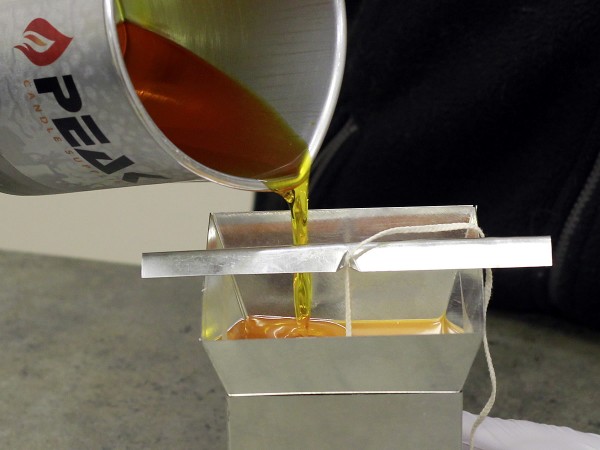
Pour the yellow layer into the mold, filling almost up to the top. Allow to cool completely.
Step 9:
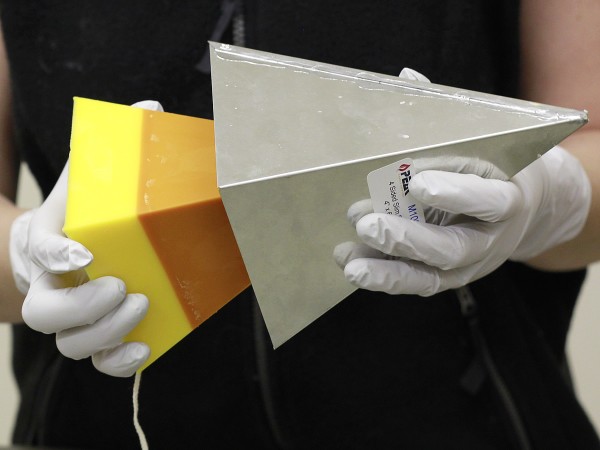
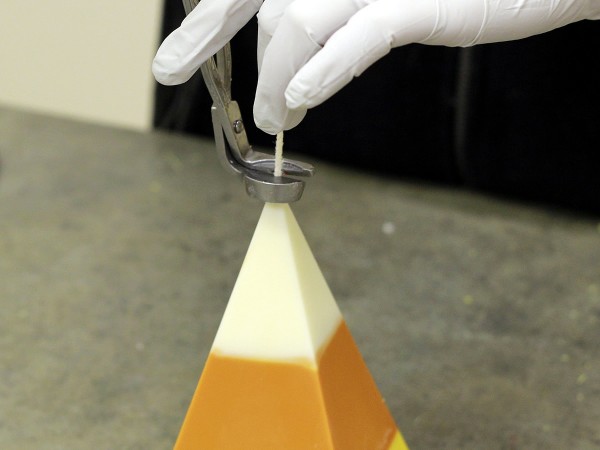
When the candle has cooled completely, remove the pyramid from the base, and remove the mold sealer and wick screw. The candle should slide right out of the mold. If you have trouble removing the candle, allow to cool a while longer and try again.
Step 10:
Trim the wick to about ¼” and enjoy!





Leave a Reply