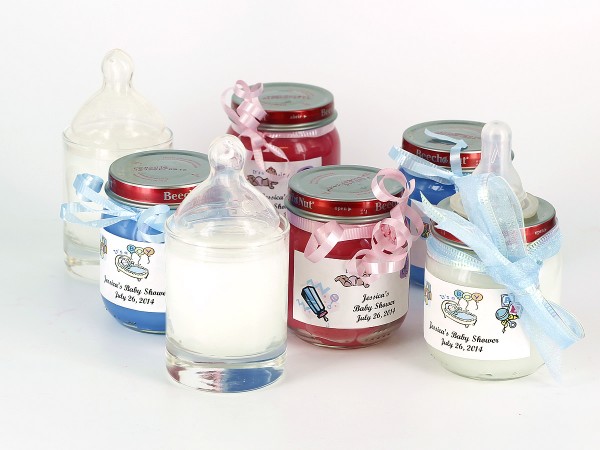
Learn to make three types of candles for baby shower favors or gifts. Choose your favorite or try them all!
You Will Need:
-Empty Baby Food Jars
–Container Wax such as IGI 4630 paraffin or Ecosoya 135 soy
–Pre-tabbed Wicks
–Fragrance (Optional)
–Candle Dye (Optional)
–Pouring Pitcher
-Mixing Spoon
–Labels (Optional)
-Ribbon (Optional)
–3 oz Clear Votive Holders (for the plain milk bottles)
-Baby Bottle Nipples (Optional)
–Hot Glue
Step 1:
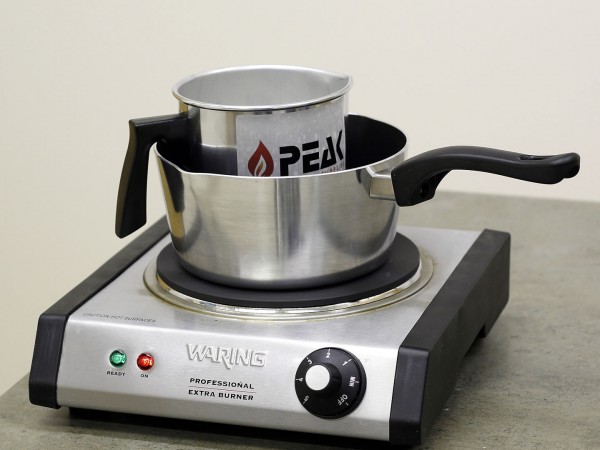
Melt enough wax needed to fill the empty baby food jars using a double boiler method. In this tutorial we will be making 2 pink colored candles for a girl, 2 blue color candles for a boy, 2 white colored candles, and two white colored votives. The baby food jars we used held approximately 3.5 ounces of wax. If you need help determining how much wax your containers will hold, try our handy calculator.
Step 2:
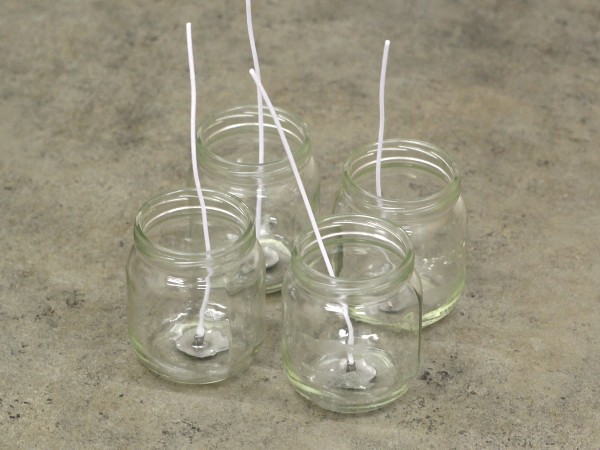
While waiting for the wax to melt, wick your containers with your selected wick. Since we used the IGI 4630 Single Pour Container Wax, and our baby food jars were about 2.5” in diameter, we used the C-60 Cotton Core Wicks. The 3 oz. Votive Holders are only about 2” in diameter, so for these we used the C-40. Secure the wick tabs to the bottoms of your containers using hot glue or wick stickers.
For the Baby Food Jars:
Step 1:
Empty the baby food out of the jars if you have not done so already. Soak the jars in hot water and remove any labels.
Step 2:
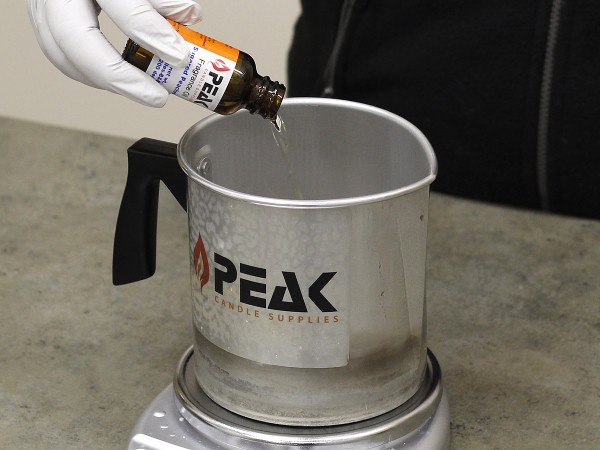
Once the wax is melted, add your fragrance if desired and mix thoroughly. Baby Powder is a classic choice, but other soft scents such as Beach Daisies, Clean Cotton, Lavender, Lilac, Pink Sugar, Storm Watch, or Sugared Peaches are all nice choices as well. We chose Storm Watch for the blue candles, and Sugared Peaches for the pink candles.
Step 3:
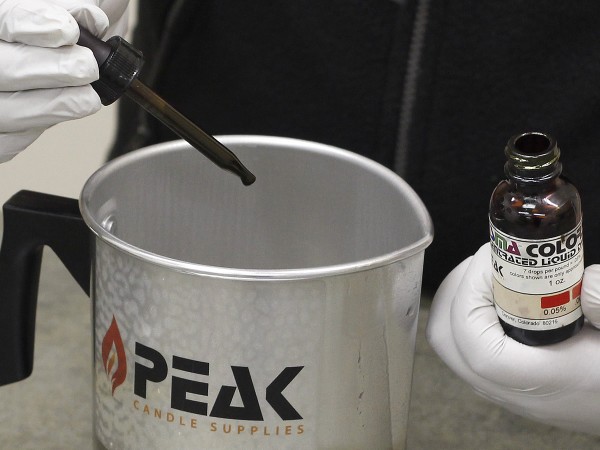
Add your colorant if desired and mix thoroughly. For pastel colors, 1-2 drops of liquid dye or ½ dye chip per pound of wax will suffice. Add more for darker shades. For white candles, use the Golden Honey/Vanilla or no dye at all.
Step 4:
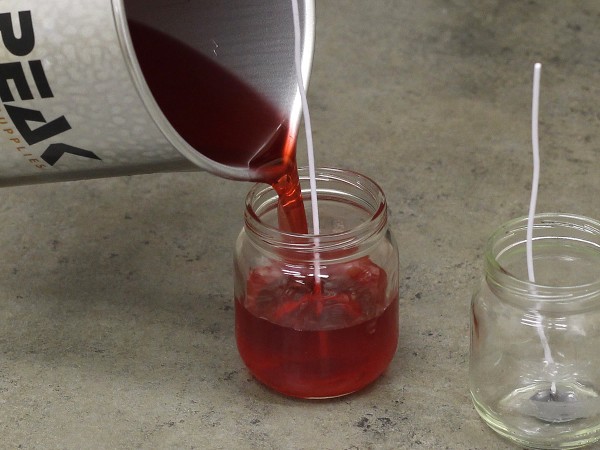
Carefully pour the wax into your jars and allow to cool completely. Make sure that the wick stays centered by using a wick holder bar or skewer to keep it in place.
Step 5:
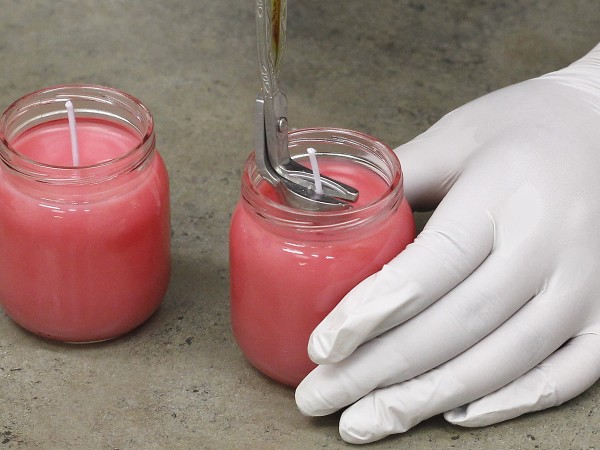
When the candles have cooled to room temperature, trim the wicks to ¼” above the top of the wax and add your decorations. Ideas for labels are listed in the steps below, as well as instructions for applying nipples to the lids to make them look like baby bottles!
For the Labels:
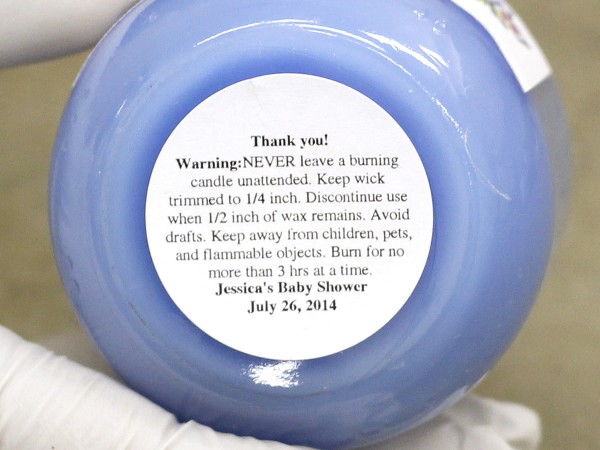
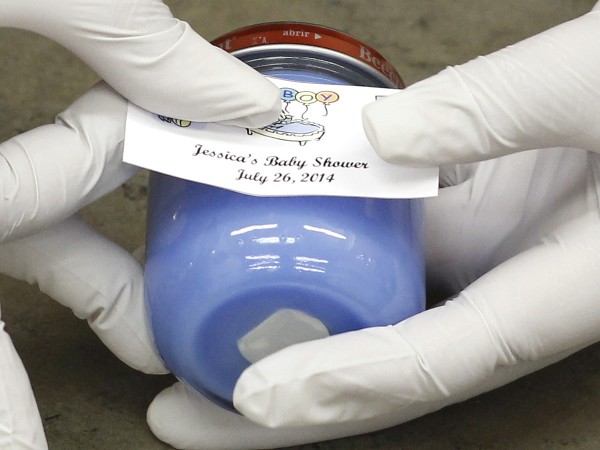
Peak offers Semi-Custom Warning Labels designed to fit on the bottom of containers. Try our Small Container Labels which fit perfectly on the bottom of the baby food jars or votive holders. You can customize them with whatever you like; a thank you note, date of the party, name of the mommy, or even the name of the expected baby! Just input what you would like printed on each of the custom lines, and let us do the rest!
You can also make your own labels for the sides of your containers. First, measure your containers to determine what size to make the labels. Open a word document on your computer to create the template. We inserted a 1.5” x 0.5” rectangle for the dimensions of our labels for the baby food jars. We also used clip art from Microsoft Word, and inserted some text to add a personal touch. This is your chance to be creative and make it to your preference. Once you have finished, you can print your labels on sticker paper and cut them out to apply to the jars.
For the Nipples:
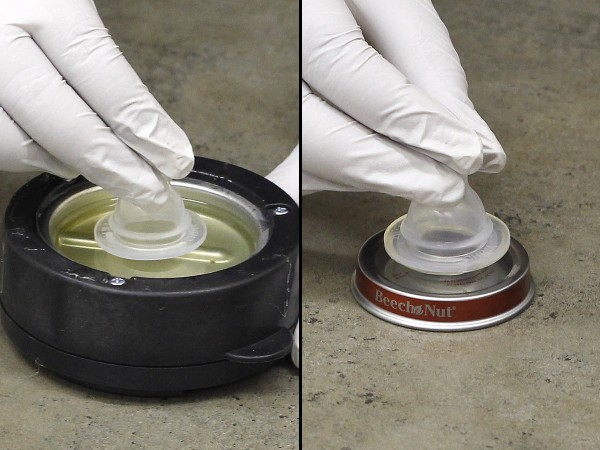
To make your candles look like baby bottles, add a bottle nipple to the tops of your lids using hot glue. We used Peak’s Glue Pot to melt some Glue Pellets, and dipped the bottoms of the nipples into the melted glue. If you are using a glue gun, apply the glue around the bottoms of the nipples. Then press firmly onto the tops of your lids and allow to cool.
For the Milk Bottles:
Step 1:
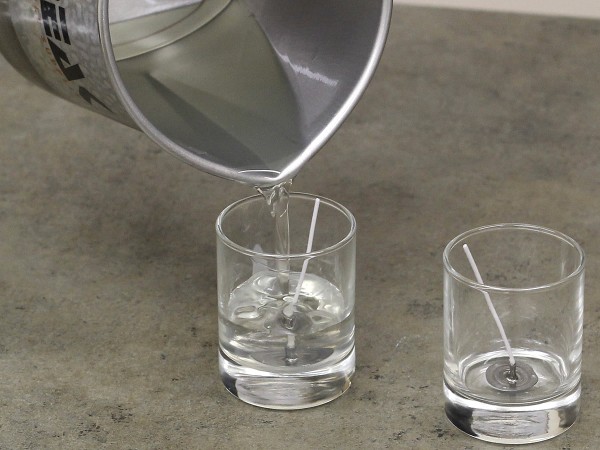
Melt your wax and wick the 3 oz. Clear Votive Holders as described above. When the wax is melted, add fragrance if desired but no color so that the candles will be white. Pour the wax into the votive holders, straighten the wicks, and allow to cool completely.
Step 2:
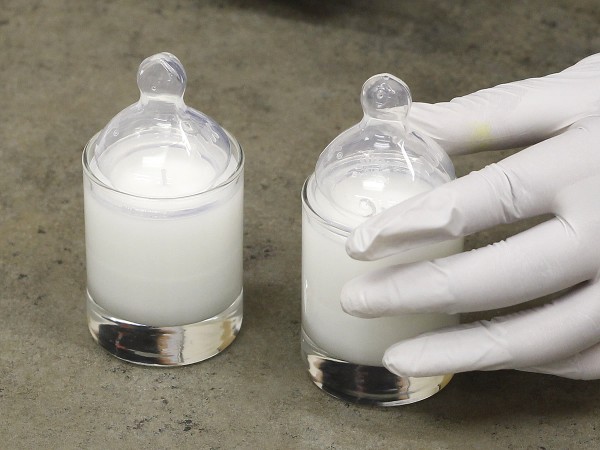
When the candles are completely cool, simply place a bottle nipple on top to make it look like a milk bottle. It’s as simple as that! Add labels or other decorations if desired, and be sure to remove the nipple before lighting.
This is a very cool product thanks for sharing I love it
Soy de Buenos Aires, Argentina. Excelente idea para el Baby shower de mi prima. Los felicito por la creatividad y buen gusto muestran en todos sus proyectos!
I want to learn how to make all kinds of candles with all kind of colors because I am so excited to make all kinds of candles like for example sweet scented candles, but in all different colors