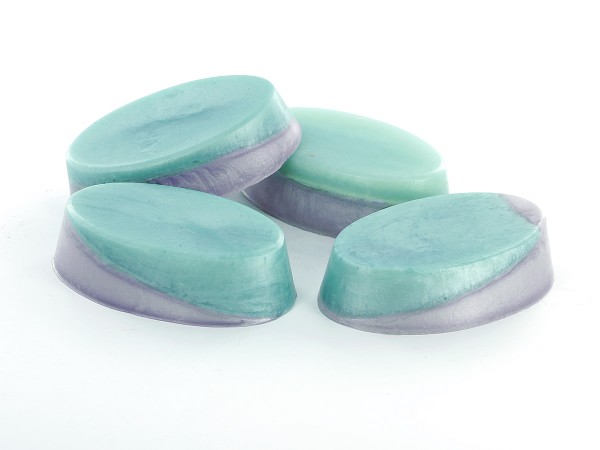
Learn the process for making unique, multi-colored tilted layers soaps with Melt & Pour.
You Will Need:
–Melt & Pour Soap Base
–Soap Mold (Plain molds look best, such as the Oval Soap Mold)
–Bath & Body Safe Fragrance Oil (optional)
–Bath & Body Colorants
-Microwave Safe Pouring Dish
-Additional pouring container
Step 1:
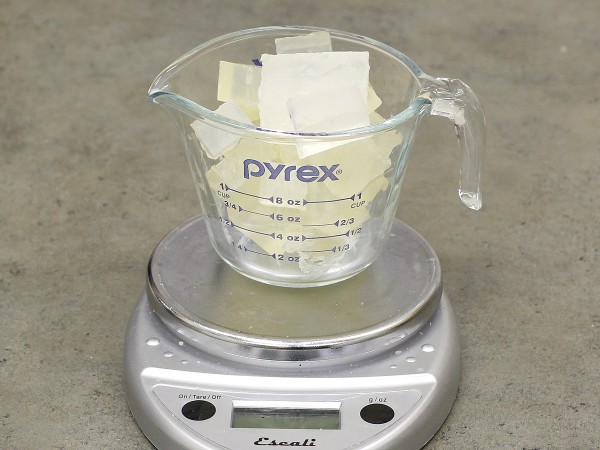
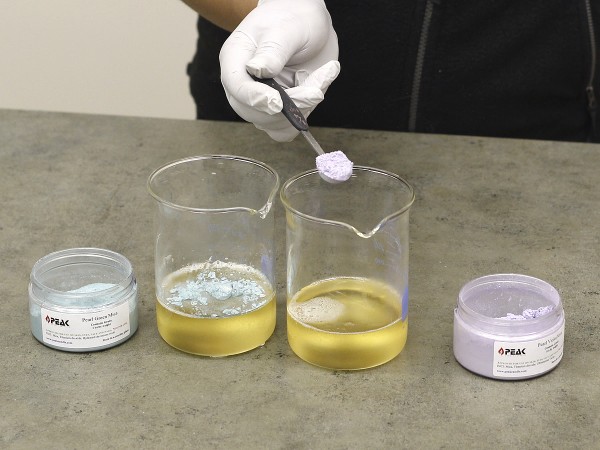
Cut your soap base into small chunks and melt in the microwave in 30-second increments until fully melted. We used the Clear Glycerine base since we used the Pearl Green and Pearl Violet Mica colorants for a lovely shimmer! White bases will not shimmer as much due to the opacity of the bases.
Step 2:
Add your fragrance oil if desired and mix thoroughly. Separate equal amounts into two pouring containers to add your different colors. If you will be doing two different fragrances, separate the soap before adding the fragrance as well.
Step 3:
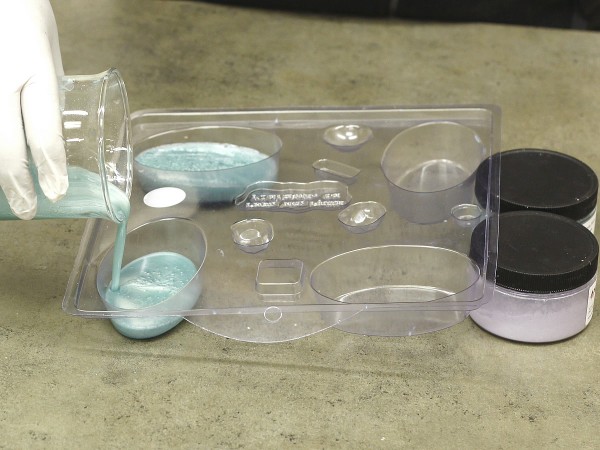
Prop up one side of your soap mold with something small and flat. We used our mica containers since they were the perfect height for our mold. Pour the color you would like to be the top layer into each of the mold cavities and allow to cool.
Step 4:
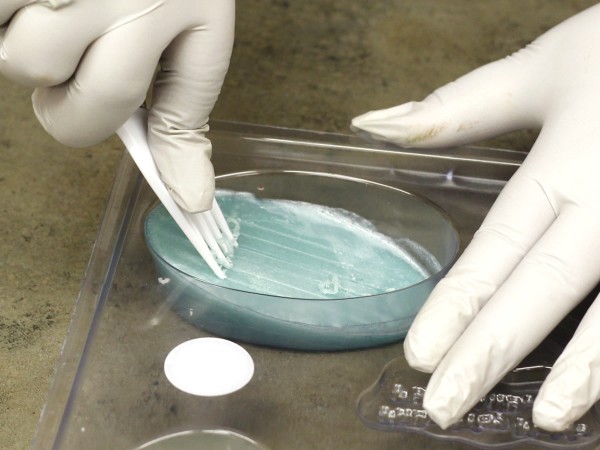
Once the first layer is solid but still somewhat warm to the touch, use a fork to make score lines on the soap to help adhere the two layers.
Step 5:
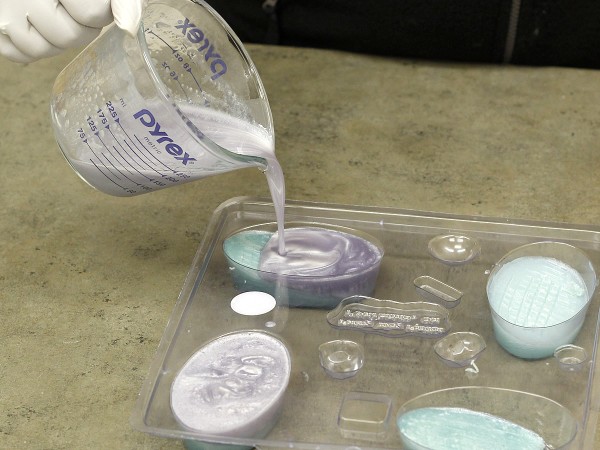
Re-melt your second color and stir to ensure there are no solid chunks. Remove the props under your soap mold so that it is sitting flat, and pour your second layer.
Step 6:
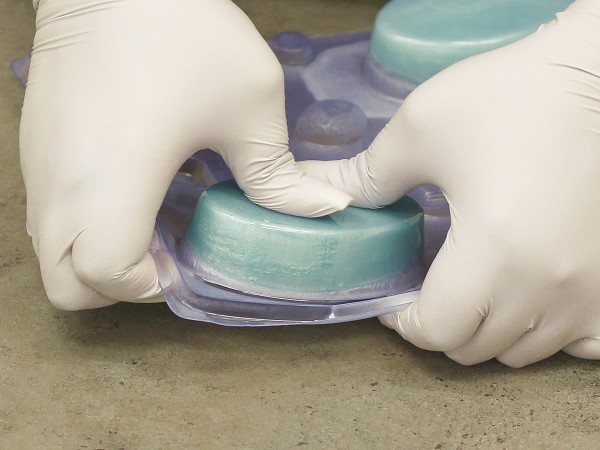
Once the soaps are completely cool, pop them out of the molds using your thumbs. If you have difficulty removing them from the molds, try putting them in the fridge for about 10-15 minutes and try again. Now your soaps are ready to enjoy!

Leave a Reply