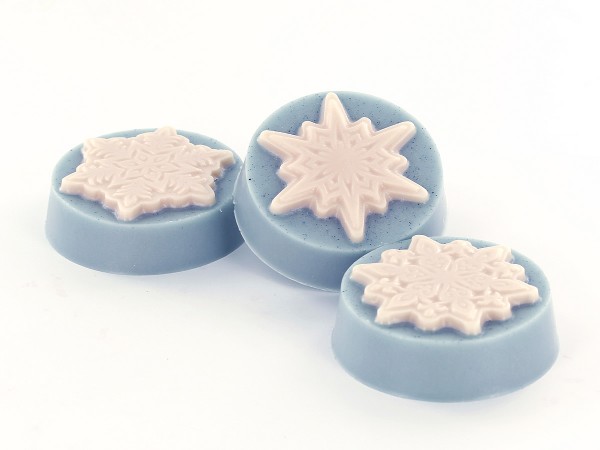
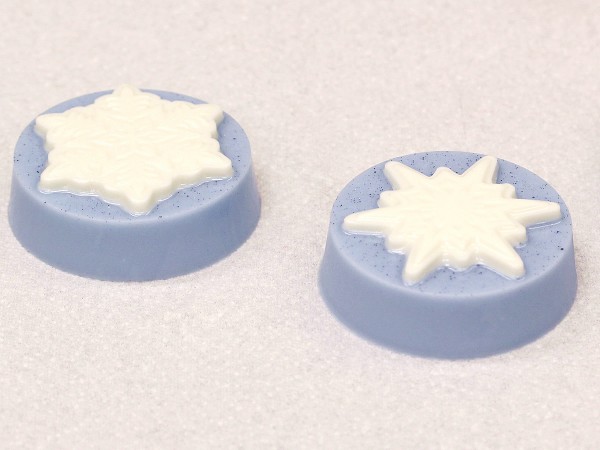
These beautiful snowflake soaps will put a chill in the air this winter!
You Will Need:
–White Melt & Pour Soap Base
–3 Snowflakes Soap Mold
–Pearl Blue Mica (Or Brilliant Blue Liquid Colorant)
–Sparkle Mica (Optional)
–Bath & Body Safe Fragrance Oil (Optional)
-Microwave Safe Pouring Dish
–Scale (Recommended)
-Rubbing Alcohol (Optional)
Step 1:
Melt a small amount of white soap base in the microwave. Add about 2-3% fragrance oil if desired.
Step 2:
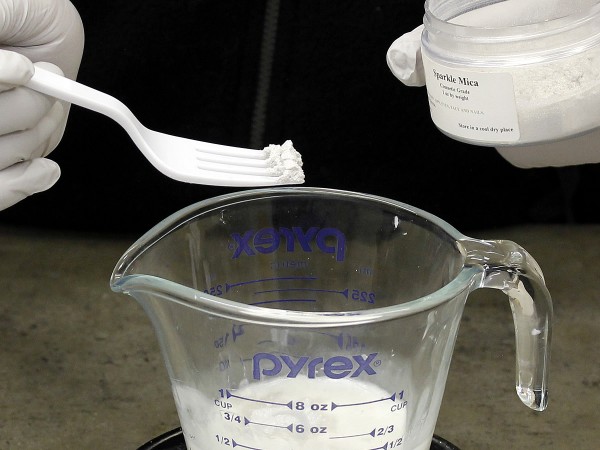
Add some Sparkle Mica, if desired, and mix thoroughly. The Sparkle Mica will not color the soap but will add a subtle, sparkly sheen to the snowflakes.
Step 3:
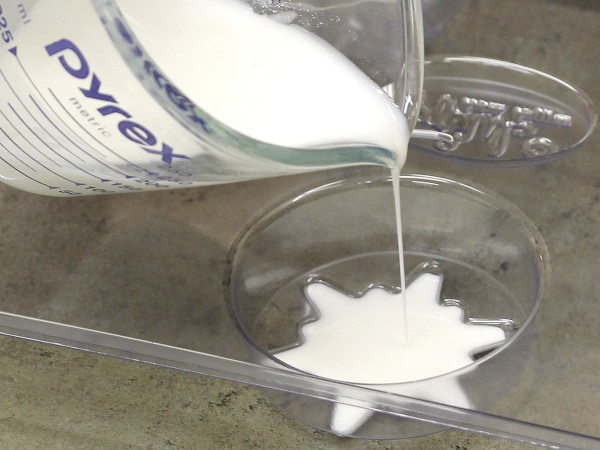
Slowly and carefully pour the soap into only the snowflake areas of the soap molds. Allow to cool.
Step 4:
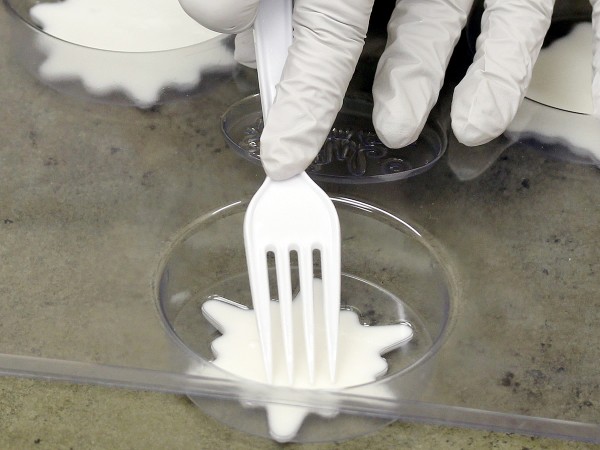
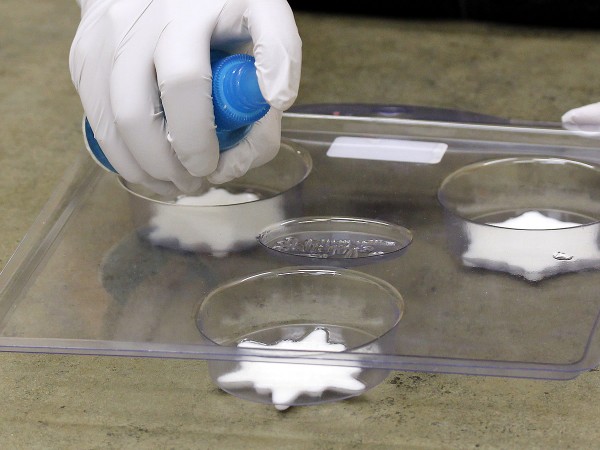
When the soap has cooled almost completely, use a fork to score the top of the soap to help adhere to the next layer.
Tip: Lightly spraying the surface of the soap with rubbing alcohol will also aid in adhesion between layers.
Step 5:
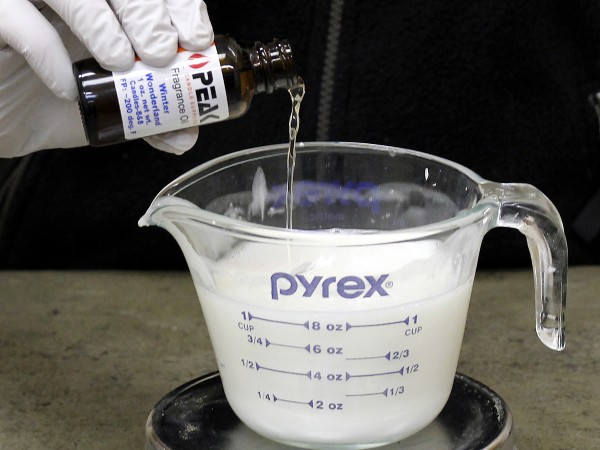
Melt some more soap base in the microwave (if you have any leftover soap from the first pour, you can just add it to this batch.) You will need approximately 10 ounces of soap base to fill all 3 cavities. Add some more fragrance oil, if desired, and mix thoroughly.
Step 6:
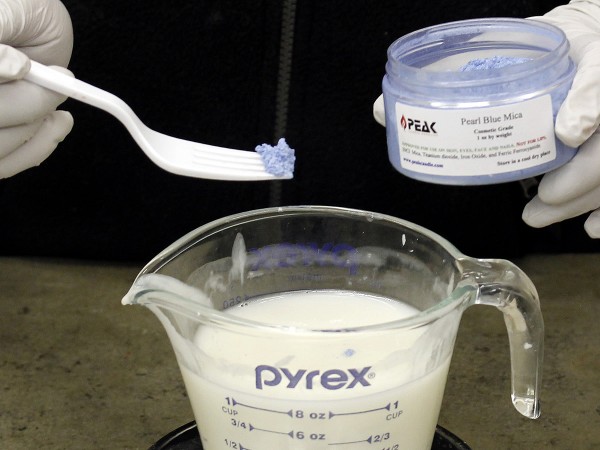
Add your Pearl Blue Mica or Brilliant Blue Liquid Colorant to your soap and mix thoroughly. Stir less to achieve a speckled look with the Pearl Blue Mica, or mix thoroughly with a small amount of soap base in a separate container to minimize the speckles. (The liquid colorant will not clump or speckle but doesn’t have the sparkly sheen like the mica.)
Step 7:
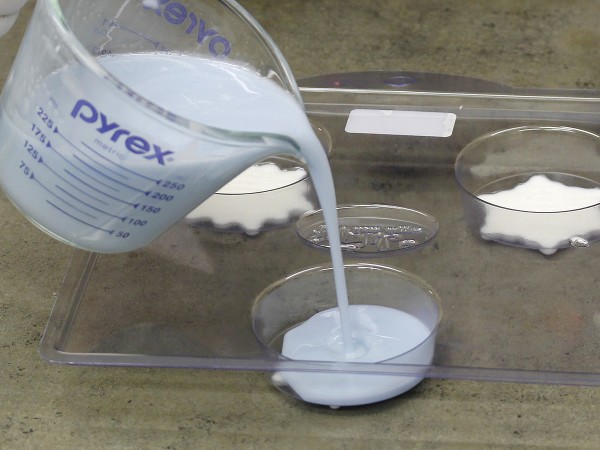
Pour the blue soap into the molds almost all the way to the top, and allow to cool completely.
Step 8:
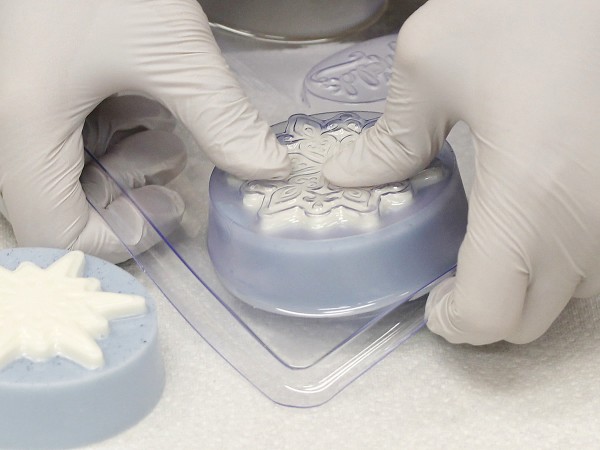
Once the soaps have cooled, use your thumbs to gently press on the outside of the mold to release the soaps. If you have trouble getting them out, try placing them in the refrigerator for 10-15 minutes and trying again. Enjoy your beautiful soaps!

Leave a Reply