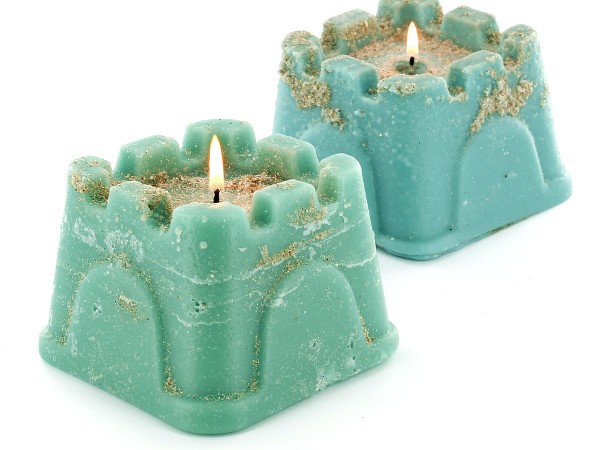
These cute sand castle candles make a great summertime activity!
You Will Need:
–Pillar Wax
–Pouring Pitcher
-Sand
-Box or other container
-Plastic Sand Castle Mold/Bucket
–Pillar Wick Pin
-Drill
–Pre-tabbed wick
–Fragrance Oil (optional)
–Candle Dye (optional)
–Scale (recommended)
Step 1:
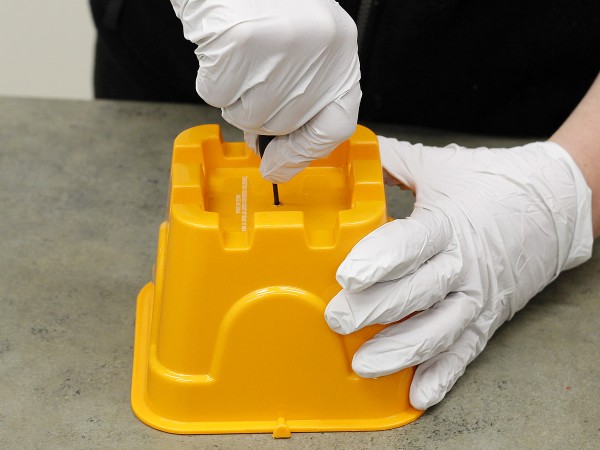
Melt some pillar wax in a double boiler. While the wax is melting, prepare your mold. Using a regular plastic sand castle mold or similar shaped bucket, drill a hole in the center of the mold, large enough to fit the wick pin.
Step 2:
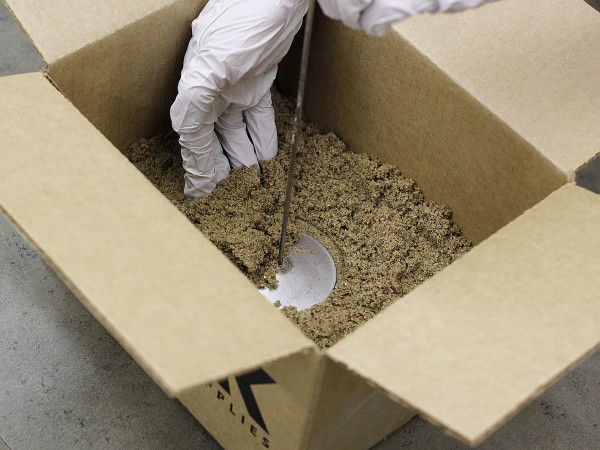
Fill the bottom of a box or large tub with sand and place the wick pin in the middle, covering it with some sand to hold it in place.
Step 3:
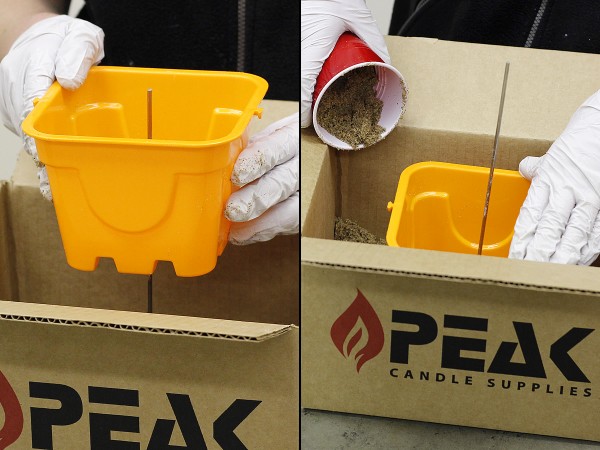
Place the sand castle mold into the box of sand, threading the wick pin through the hole you made in the mold. Fill the rest of the box with more sand, packing it down against the sides of the sand castle mold. When finished, gently remove the plastic mold from the box, leaving a sand castle-shaped form in the sand.
Step 4:
When your wax is fully melted, add fragrance and dye if desired, and mix thoroughly.
Step 5:
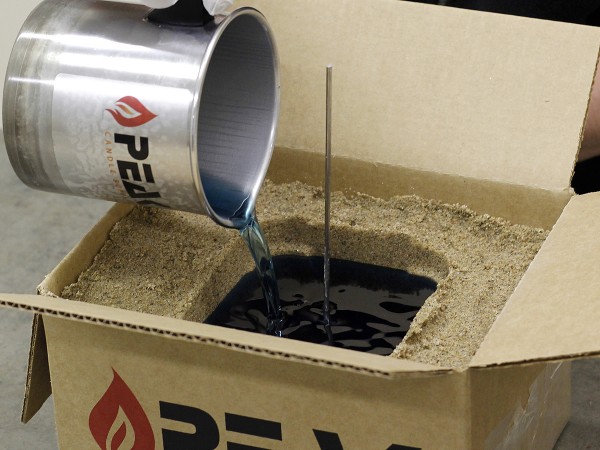
Pour the wax into the hole in the sand and allow to cool, leaving a small amount of leftover wax in the pouring pitcher for the second pour.
Step 6:
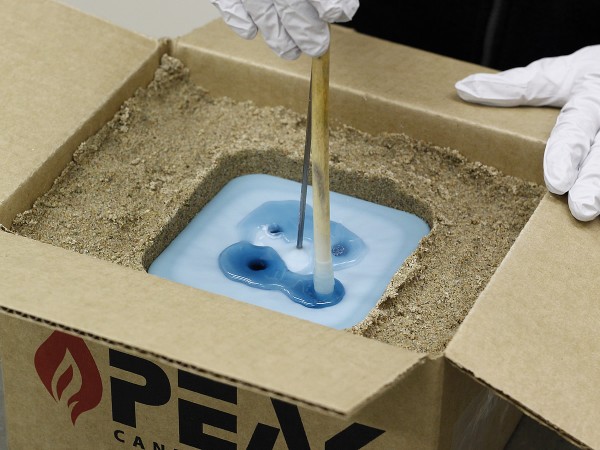
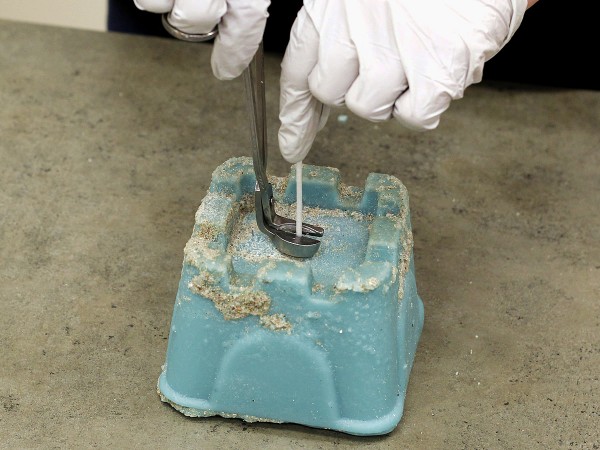
Continually poke relief holes in the top of the wax during the cooling process.
Step 7:
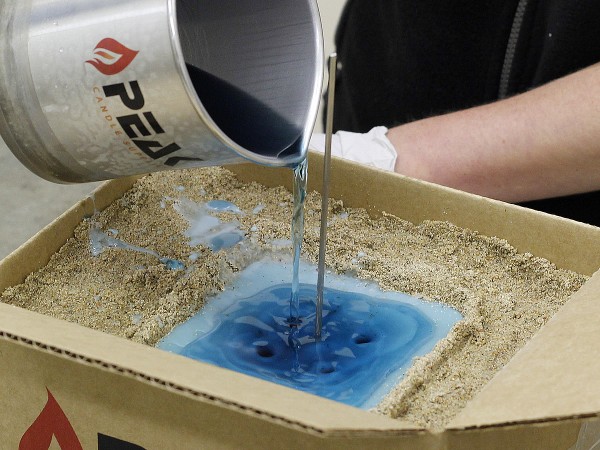
When the wax has fully cooled, re-melt the leftover wax and fill in the relief holes to create a flat bottom for the finished candle.
Step 8:
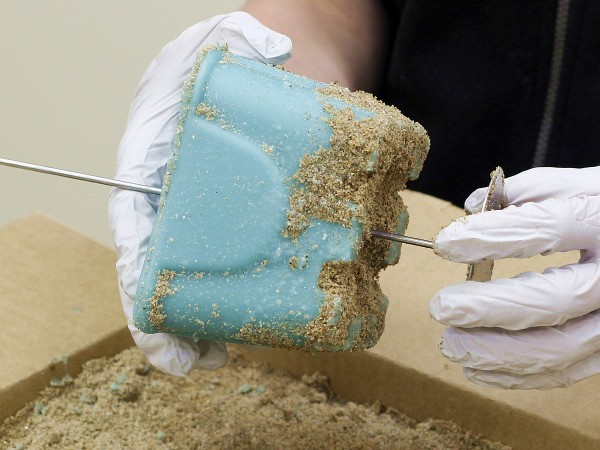
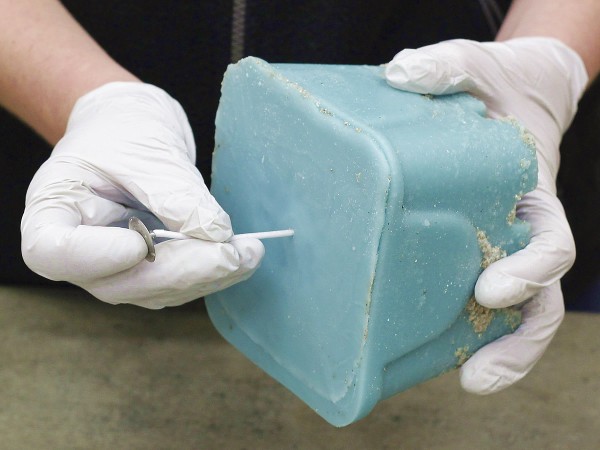
When the candle has cooled completely, pull the candle out of the sand using the wick pin. You may need to dig it out of the sand with your fingers. Remove the wick pin and gently brush off the excess sand.
Step 9:
Insert your pre-tabbed wick up through the bottom of the candle through the hole left by the wick pin.
Step 10:
Trim the wick to about ¼” and enjoy!




Leave a Reply