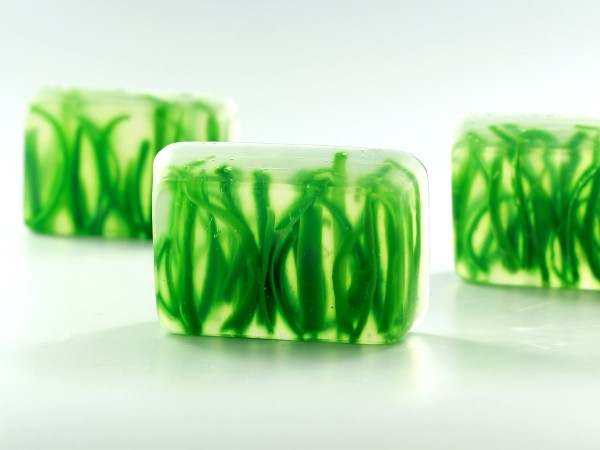
Learn to make these pretty grass soaps for spring and summer!
You Will Need:
–Clear Glycerine Soap Base
–White Soap Base (Any Kind)
–Rectangle Soap Mold
–Green Soap Colorant (We used a mixture of the Sunshine Yellow and Teal Green Liquid Colorants)
-Cheese Grater
-Microwave Safe Pouring Cup
–Tall Grass Fragrance Oil (optional)
–Scale (recommended)
-Rubbing Alcohol (recommended)
Step 1:
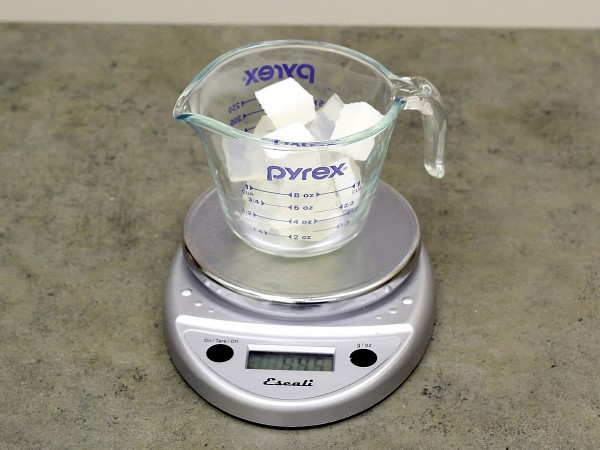
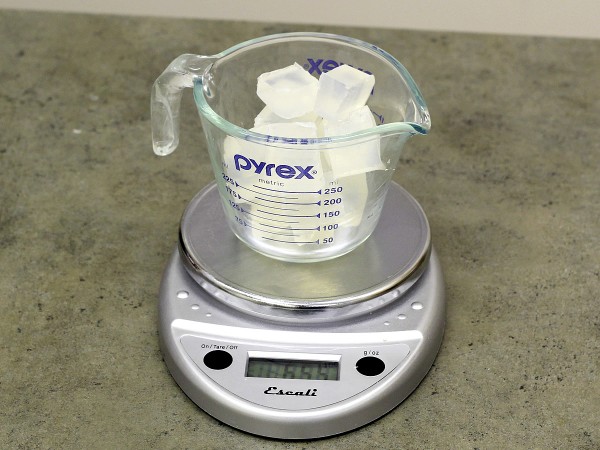
Cut a combination of clear and white soap base into chunks and melt in the microwave in 30-second increments until fully melted. Tip: You want the soap to appear opaque like grass, but the addition of the clear base helps the soap achieve a deeper color than the white base by itself.
Step 2:
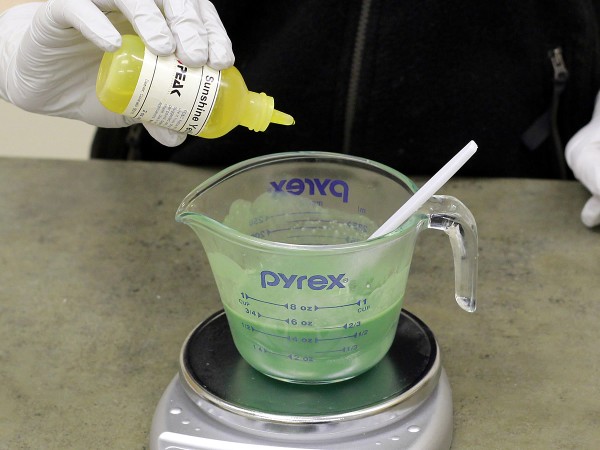
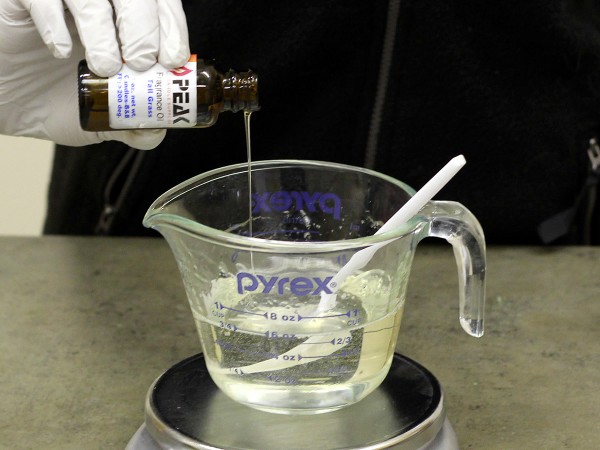
Add fragrance if desired, and add the green colorant or combination of yellow and blue, or yellow and teal green. Start with a small amount of colorant and mix thoroughly, continuing to add the colors until your desired shade is achieved.
Step 3:
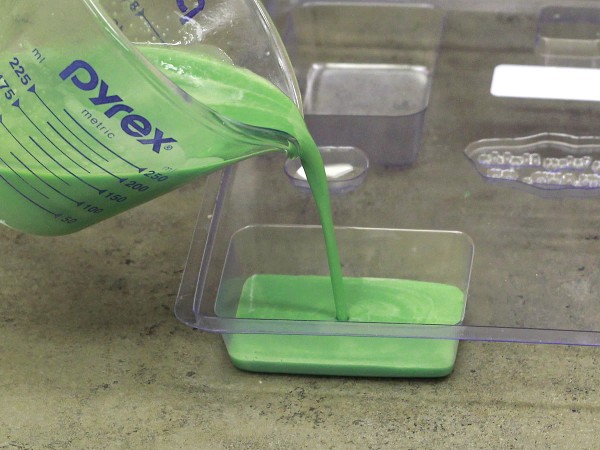
Pour the green soap into the rectangle molds and allow to cool completely.
Step 4:
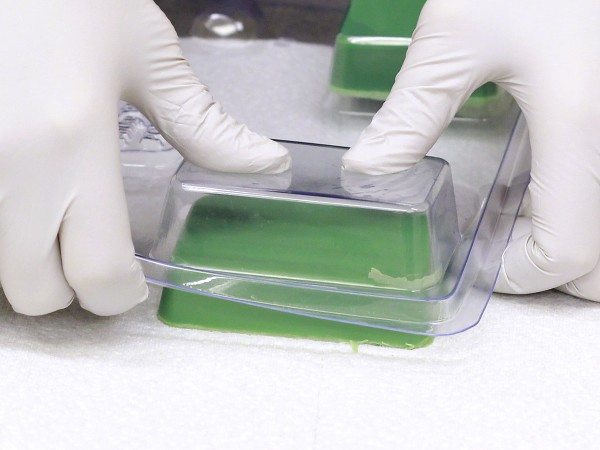
When the green soaps are cool, pop them out of the molds using your thumbs. If you have trouble getting them out, try placing them in the refrigerator for about 10 minutes and try again.
Step 5:
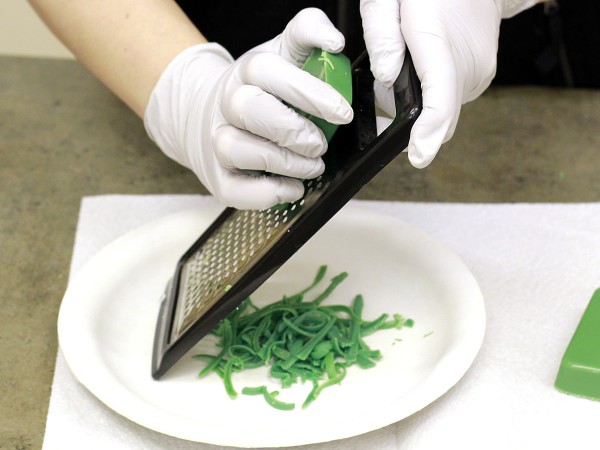
Use the cheese grater to carefully shave the soaps into grass-like strands. A grater with larger holes is ideal for this project to create more realistic looking grass. Smaller holes will tend to create small spirals of soap instead of thicker strands.
Step 6:
Cut up some more of the clear soap base and melt in the microwave. Do not add any white base to this batch, as you want to keep it completely transparent.
Step 7:
Add fragrance if desired and mix thoroughly, but do not add any color.
Step 8:
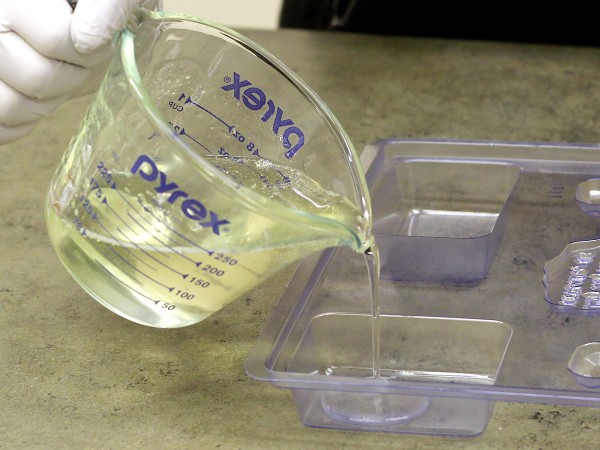
Pour a thin layer of clear soap base into the rectangle molds, just enough to completely cover the bottom of the mold.
Step 9:
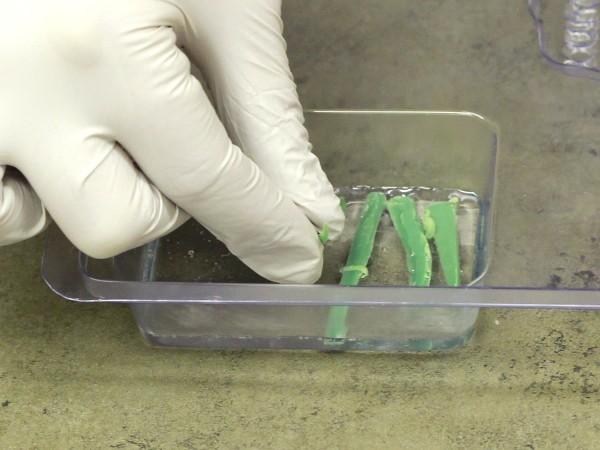
Arrange the green strands of “grass” soap on top of the first layer of clear soap. Spray with rubbing alcohol to aid in adhesion between the layers.
Step 10:
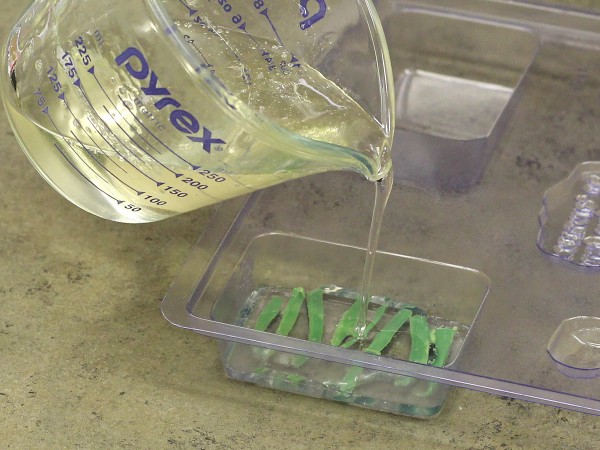
Make sure the clear soap is still liquid, or put it back in the microwave for a few more seconds to remelt it if it has begun to solidify. Slowly and carefully pour a second layer of clear soap, making sure not to pour too quickly and move the strands of grass around. If they do move, use a fork to push them back into place. Repeat this process for another layer or two, until the molds are filled to the top. Allow to cool completely.
Step 11:
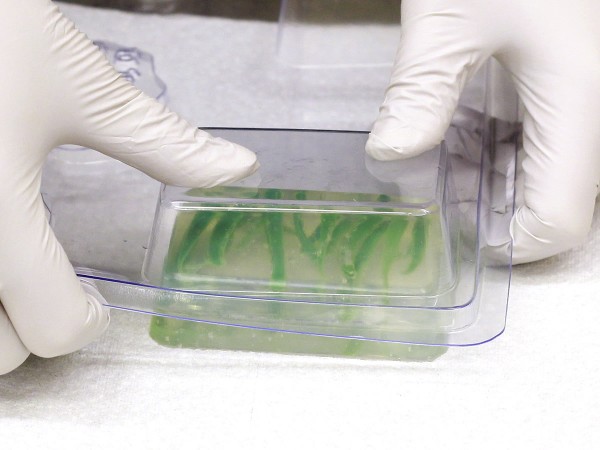
Once the soaps are completely cool and solidified, pop them out of the molds using your thumbs, and enjoy!

Leave a Reply