An alternative to using mold sealer.
Okay, so I’m sharing how I work my metal tape in hopes that it helps someone. This method has worked for me, without fail, saving me money on wasted tape and wax. I learned fast the hard way the couple times I’ve skimped on my method.
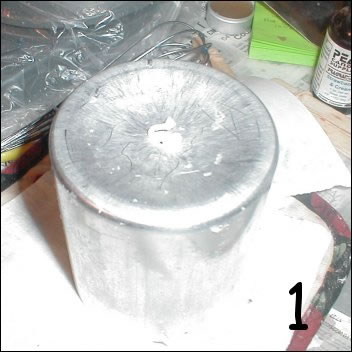
 Step One: Clean mold with heat gun, removing wax and tape residue from the top surface.
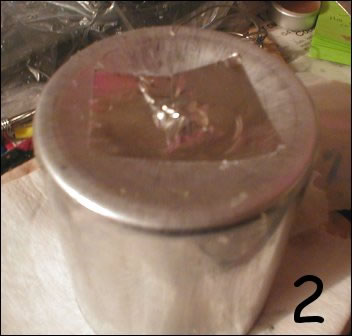
Step Two: Apply small piece of tape over wick, pressing from the center out.
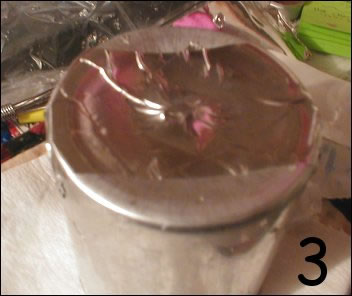
Step Three: Place a larger piece of tape over the first one, pressing from wick out to the sides. Make sure the tape is big enough to extend over the sides.
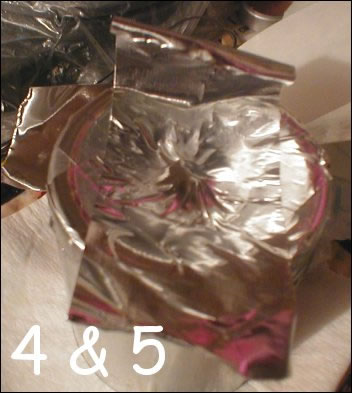
Step Four-Five: Using two more pieces of tape, make an “X” over the piece you have on there and apply (one piece of tape at a time). You can see in the picture that I start from the middle out, making sure it’s tight around the wick, and that I have enough overhang to go over the sides.
When you have that all done, go around the outside with your hand one last time and make sure it’s all smooth.
I’m sure everyone has their own metal tape method. This one has worked so good for me, that I figured I’d share it for those who are having trouble or just starting out.
Hope it helps!!
Editorial Note: Metal Tape can be found at most hardware stores, as well as stores like Wal Mart. It is sometimes refered to as metal repair tape or aluminum repair tape. Reports have suggested the best brand of tape to use for this is 3M.


Leave a Reply