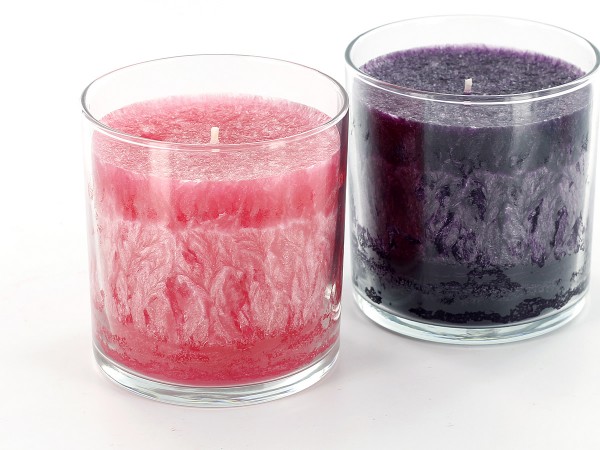
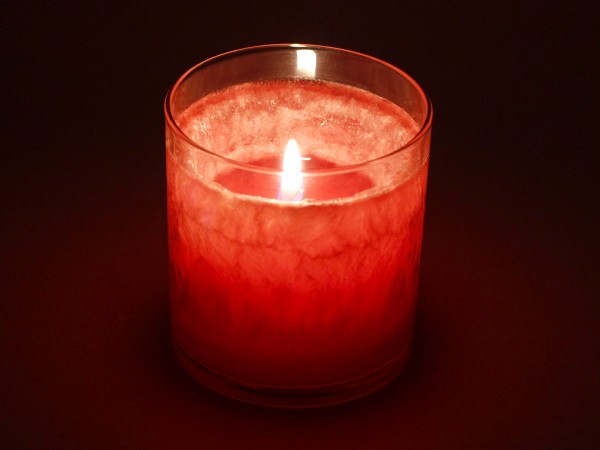
Palm Wax is natural wax which produces a beautiful crystallized effect on your finished candle. In this tutorial we will show you step by step instructions on how to achieve the perfect crystals for a container palm wax candle.
You will need:
–Container Palm Wax (Glass Glow or Sparkle Light)
–Glass containers (We used 11.5 oz Straight Sided Tumblers)
–Pre-tabbed Wicks (RRD is recommended for Palm Wax. We used the RRD-40)
–Fragrance Oil
–Concentrated Liquid Candle Dye
–Hot Glue or Wick Stickers
–Heat Gun (optional)
-Paper towels, bubble wrap, cloth, or other form of insulation
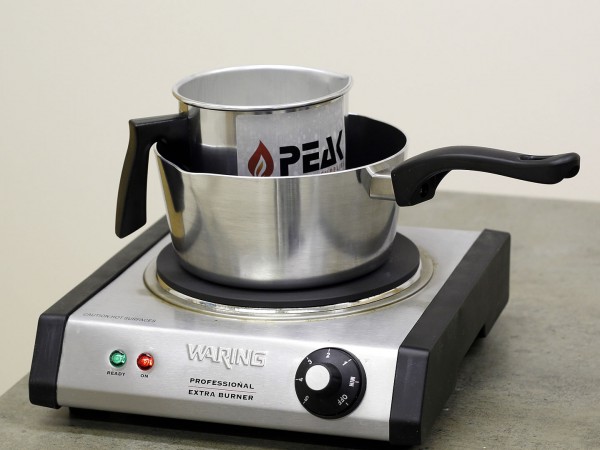
Step 1. Choose which Container Palm Wax you wish to use and measure out the amount of wax you will need for your container. Try our handy calculator if you need help determining the appropriate amount of wax. Melt the wax using a double boiler method.
Step 2. While your wax is melting wick your container using the proper wick for the diameter you have chosen. For container Palm Wax we recommend to use the RRD Pre-Tabbed Wicks. RRD wicks are designed for more viscous waxes such as Palm Wax. Therefore needing to wick up is usually not necessary. Since our diameter is 3 inches for the 11.5 oz Straight Sided Tumblers we will use a RRD 40. (Testing is always encouraged in order to find a wick that works best for your particular recipe). Secure the wick to the bottom of the container using hot glue or wick stickers.
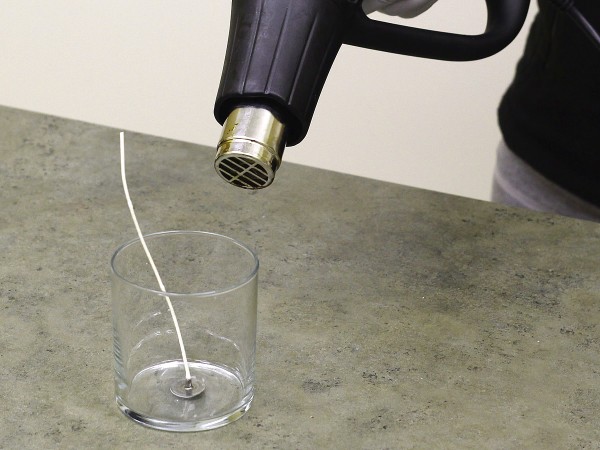
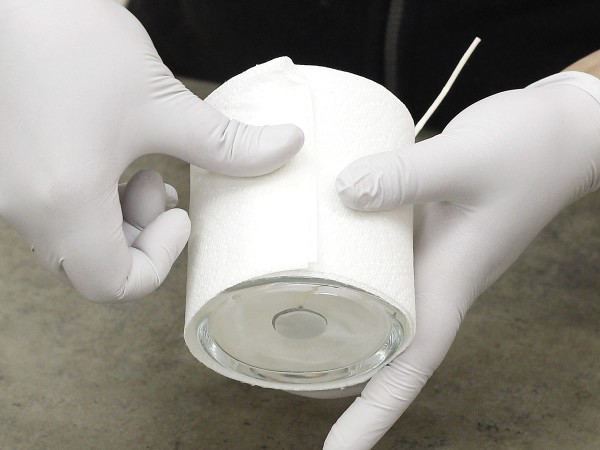
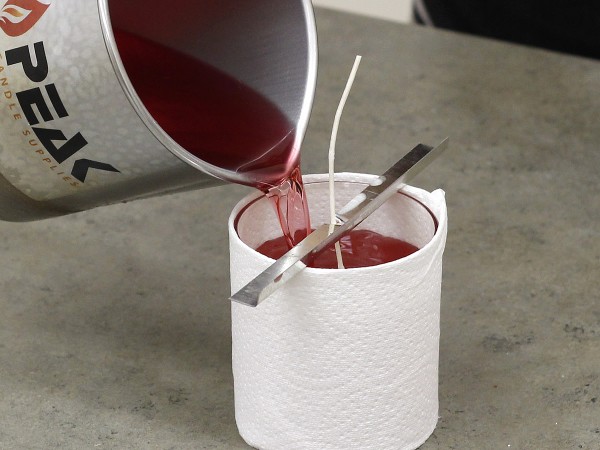
Step 3. Once your container is wicked, you can use a heat gun to preheat your container. This helps the crystals form more effectively. If you don’t have a heat gun, you can place the jars on a cookie sheet in the oven for a few minutes on the lowest setting. Once your container is warm to the touch, wrap some paper towels (or chosen medium) around your container and hold using tape. This helps keep container insulated. The slower the wax cools, the better the crystal patterns will come out.
Step 4. Once your wax has melted and reached a temperature of 180-210 degrees F, add your fragrance and dye and mix thoroughly. Recommended fragrance usage for container palm waxes is about 3% by weight. (Approximately ½ oz per pound). Once you are ready to pour, ensure that your temperature is around 200 degrees F. If not, put your wax back in the double boiler until it reaches 200 degrees. It is important to pour at this temperature to help the crystal patterns form.
Step 5. Allow the candle to cool completely, but do not attempt to speed up the cooling process by removing the insulation or placing it in the refrigerator, as this will inhibit the crystal formations. Once your candle has completely cooled you can remove the insulation, trim your wick to about ¼” and enjoy!
Note: Palm wax is much more viscous than other waxes, and has different burn properties. Palm wax will often leave some wax hang-up on the sides of the jars, even with the proper wick size. Although this is not considered ideal with other types of waxes, with palm wax, it provides a beautiful glow as the candle burns down and the light from the flame shimmers through the crystal patterns. Be patient and attentive with your wick testing to find the burn that you like best!

Thank you for taking the time to post tutorials. I appreciate them!
Your instructions were really enlightening, I guess I have mixed up the steps a little bit but my candle is looking nice though.
thanks again
Do you have any recommendations for scents that work better with Palm wax or if you can link to a resource? I am new to candle making and have read that soy wax can create problems for scents which can be avoided by choosing specific scents, but there is no information on palm wax.
Hi Vidyut,
There is not really a rule of thumb to selecting specific scents with palm wax. All of the fragrance oils we carry at Peak Candle Supplies are 100% concentrated and have no problems in Palm Wax.
I have had trouble finding info from people who’ve actually used palm. So far, my experience hasn’t been great. This stuff is like concrete. I can’t clean it off anything completely, so only use items you don’t plan on using for anything else, unlike soy,no soap and water cleanup. Haven’t successfully wicked one yet. Apparently you have to stir the slushy top when cooling to release air trapped underneath, as the top hardens first. Seems to throw scent very well. I’m going to keep at it since I bought 55lbs,but it’s a bit of a pain. I ruined the pan I used for the double boiler that held the water. I love the way it works though, just wish I could find more user info on it.
I’m with you. I wish there was more instructions however I find clean up super easy. I tried the flip method. I think I will try the relief hole method. Also there is a palm wax user group on FB. I have not tried mixing the slushy top to get rid of air pockets. Do you then hit it with your heat gun so the top is smooth?
I absolutely love palm wax use it all the time
We use RRD 40 wicks, but the palm wax only melts about a 1/2-1″ diameter around the wick and doesn’t melt the rest of the wax. The wick burns down causing it to burn up while the majority of the wax is unmelted and hence, wasted. Any tips or solution to our problem? My daughter bought a less expensive wick. Not sure if this is our problem… cheap wicks.