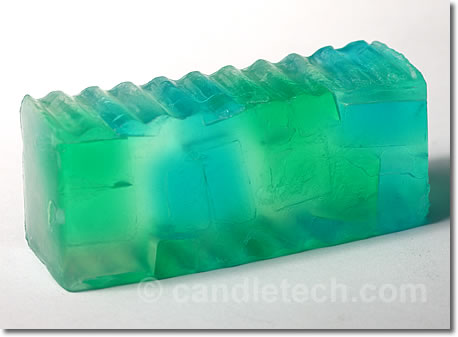
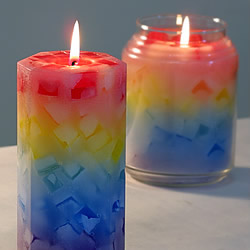
Step-by-step instructions for M & P Chunk Soaps.
Contributed by Soap & Candle Stand
Instructions:
 |
Step 1: Begin by making chunks. Since we’re talking square chunks, I used a flat, rectangular mold. You might want to spray the mold with Crisco, or a light coating of petroleum jelly. Heat your soap and color as desired, then pour into the mold (I poured mine about 1/2 inch deep). After it has been poured, applying a quick spritz of rubbing alcohol to the soap will deter bubbles. |
 |
Step 2: I usually let it cool for 10 minutes, and the pop in the fridge for another 15-20 (or longer). |
 |
Step 3: After the soap is solid, remove from mold. If it doesn’t come out with some gentle help, put it back in the fridge for a little while longer. |
 |
Step 4: Cut the soap into chunks of desired size. I made squares and some long rectangles. You can get creative here and use some cookie cutters, or cut some fancy triangles, but I kept it pretty plain. I have a cutting board I use specifically for soaps; remember soap is slippery – be careful when cutting!! |
 |
Step 5: Arrange chunks into mold of choice. I put the squares in haphazardly, and then lined the rectangles in the mold. |
  |
Step 6: Time for the overpour. Some people squirt their chunks with alcohol just before the overpour. I haven’t noticed a significant difference, try it both ways and see what you find. However, I recommend letting your chunks cool a bit before doing the overpour. If they are too cold, they will sweat.For the squares, I scented the overpour, but no color, and used a clear base. With the rectangles, I scented and colored an opaque base. |
 |
Step 7: After pouring, you should do some tapping to release air bubbles, but not enough to jostle all your chunks – especially if you have them placed a particular way.After tapping, spritz with the alcohol to kill the bubbles. Do the whole wait 10 minutes, then move to fridge thing until they are solid (see step 2). |
 |
Step 8: Remove soaps from the mold. Cut them however you please. Enjoy!! |


Leave a Reply