Contributed by Julie Kay
Instructions:
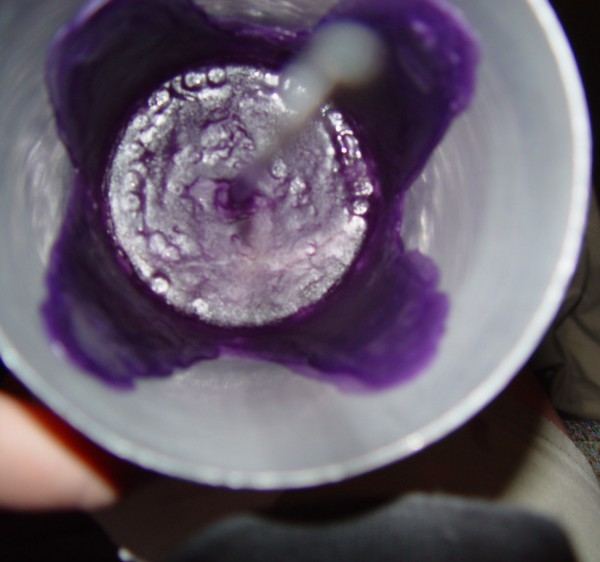
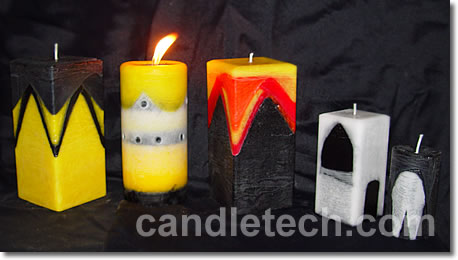
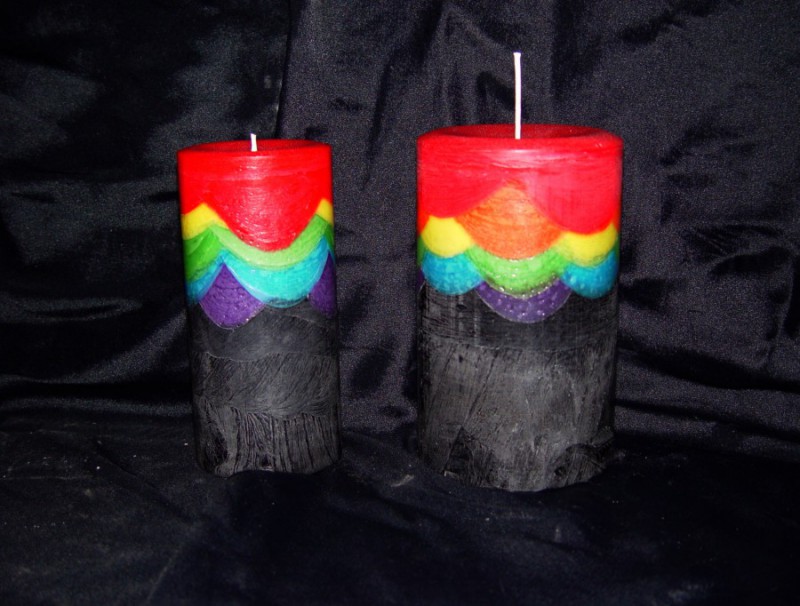 1. Pour a small amount of hot wax (the temperature you pour the wax will dictate how thick you’re able to make your layer) in the bottom of my mold, (I use a wick pin for these but I don’t see why you couldn’t wick it how ever you normally wick your mold)
2. Carefully tilt the mold back and forth to adhere the wax to the mold in some areas, if you develop any air bubbles pop them with a skewer,
3. After it cools (doesn’t take long at all) pour some more wax, tilt the mold back and forth to coat the area already coated with wax, to make the wax thicker, then you may choose a different color, or even just a variation of your original color and repeat the process, repeat as many times as you want,
4. After your all done with all the coats, I suggest that you roll a few layers of what ever color you decide is going to be your fill color, this will help set the other colors so that what ever does melt with the hot re-pour will be the same color.
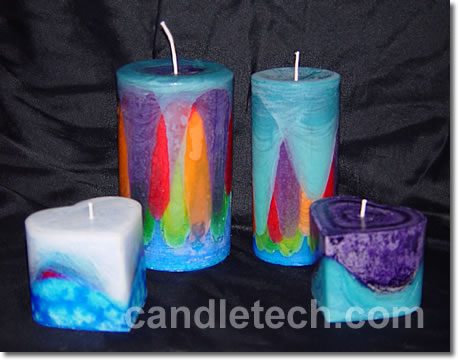
5. Let it cool completely, like cold mold not warm, then fill the mold with hot wax, like 185 or 190.
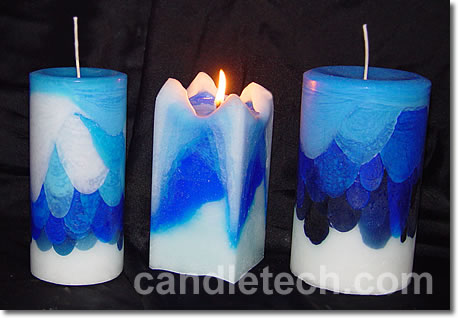
 When I made my very first one I didn’t pour my filling wax hot enough and it did NOT adhere to the colors I had already cooled in my mold, actually at that point I set that mold away for a couple of weeks and forgot about it, it was after I went looking for that mold that I decided to pour some very hot wax in my mold to clean it out, tada! that’s when I knew I was on to something… I really thought that most of my design inside would melt to nothing but it didn’t, The first one I made I did not use a water bath, however it can be helpful depending on how crisp you want your definition’s of contrasting colors to be, after the filled mold has started to set up poke relief holes, after doing a few of these you will see how important this step is, when I poke relief holes I almost press my skewer against the sides of the molds to keep the designed wax tight against the sides of the mold, being careful not to press so hard the your skewer actually touches the inside of the mold.


Very useful ! Thank you